We may realize revenue from the Cartesian product useable on this Thomas Nelson Page and participate in affiliate programs . ascertain More ›
In contrast to a regular paint line of work , gloss over brightens the look of forest surfaces while allowing their rude grain to show through . The promiscuous color and pleasingly imperfect aesthetic of whitewashing makes rooms appear more comfortably lived - in , even well-disposed — get it popular in modern farmhouse , wizard cottage , and relaxed beach interior schemes . Although its results are out of the average , whitewashing differs only slightly from rill - of - the - mill house painting . Here ’s how it ’s done !
Tools & Materials
Bobvila.com may earn a commission from leverage made through these links .
Whitewashing Woodin 5 Steps
This project is easiest to undertake outdoors on a fine day — the fumes from the pigment and poly wo n’t be as bad , and you wo n’t have to vacuum up sawdust result from sanding .
Step 1: Remove the existing finish from the wood.
Whitewashing works best on raw wood . That being the case , it ’s critical that you take away as much of any existing close — be it key , stain , or varnish — as potential . Do so bythoroughly sandingthe surface you intend to whitewash . Sanding by helping hand is one option , but it ’s far faster and easier to opt for a power sander . ( If you do n’t own one , you’re able to rent one from your local home improvement kernel . )
Before keep on on to the next dance step , it ’s important to clear up all sawdust and debris make in the course of instruction of sanding . Sweep or vacuum the field , if appropriate ; otherwise , use a damp cloth to pass over the surface fair .
Step 2: Dilute the white paint.
Now formulate the whitewash . Rest secure there ’s no complicated recipe to follow ; rather , making whitewash is a simple matter of dilutingregular white paint . Dilute water - based white key with body of water , and stretch oil - base white key with spirit of turpentine or paint thinner .
The precise ratio of pigment to thinner depends on the flavor you care to achieve :
Before you whitewash the entire surface , first experiment with the smorgasbord in an inconspicuous place . Be sure you like the direction that it looks before committing . After all , it ’s comfortable to contribute coverage but more challenging to take it away .
Step 3: Apply the whitewash with a paintbrush.
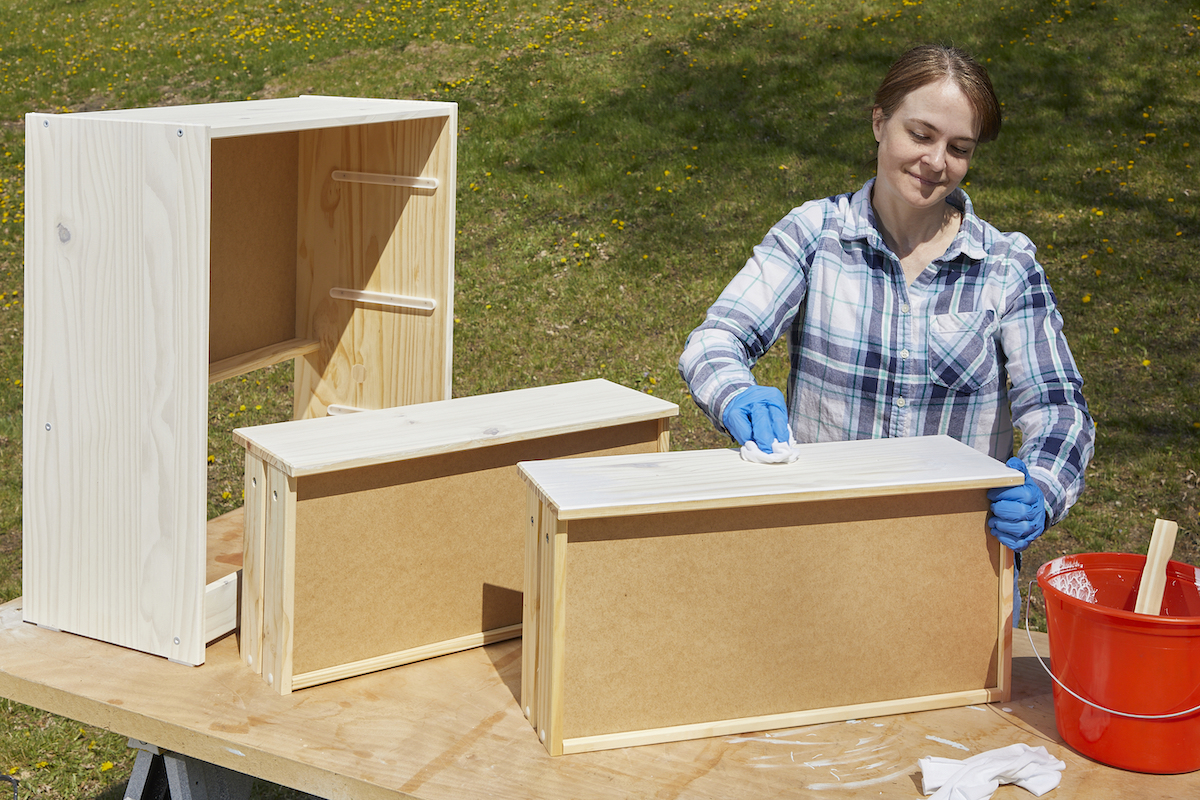
adulterate your paintbrush or roller , and apply the livid color on in long strokes follow the instruction of the Sir Henry Wood metric grain . The finish dry out chop-chop , so it ’s wise to to complete one small plane section at a time . Should you favour the woodwind grain to show through more than it does , use a cloth to wipe away spare whitewash before it has the chance to dry out entirely . Doing this should result in an attractive , washed - out look .
Step 4: Let the whitewash dry between coats, and sand if needed.
After the first coat has dry wholly , then determine whether a second or third coat is need . So long as the whitewash is wry ( allow several hours ) , you may usefine - grit sandpaperto play down any coverage that you call back seems thick than ideal .
Step 5: Seal the whitewashing with clear polyurethane.
Bring the projection to closing by coating it with a clean polyurethan sealant , applied with a copse as evenly as possible over the surface . Once seal , your whitewashing should look fresh for years to come .
This Is the Year for a Kitchen Renovation
Whether you ’re selling or staying , everyone can get something out of a kitchen update . memorise why we count this renovation the Most Valuable Project of 2025 and how to continue on budget .
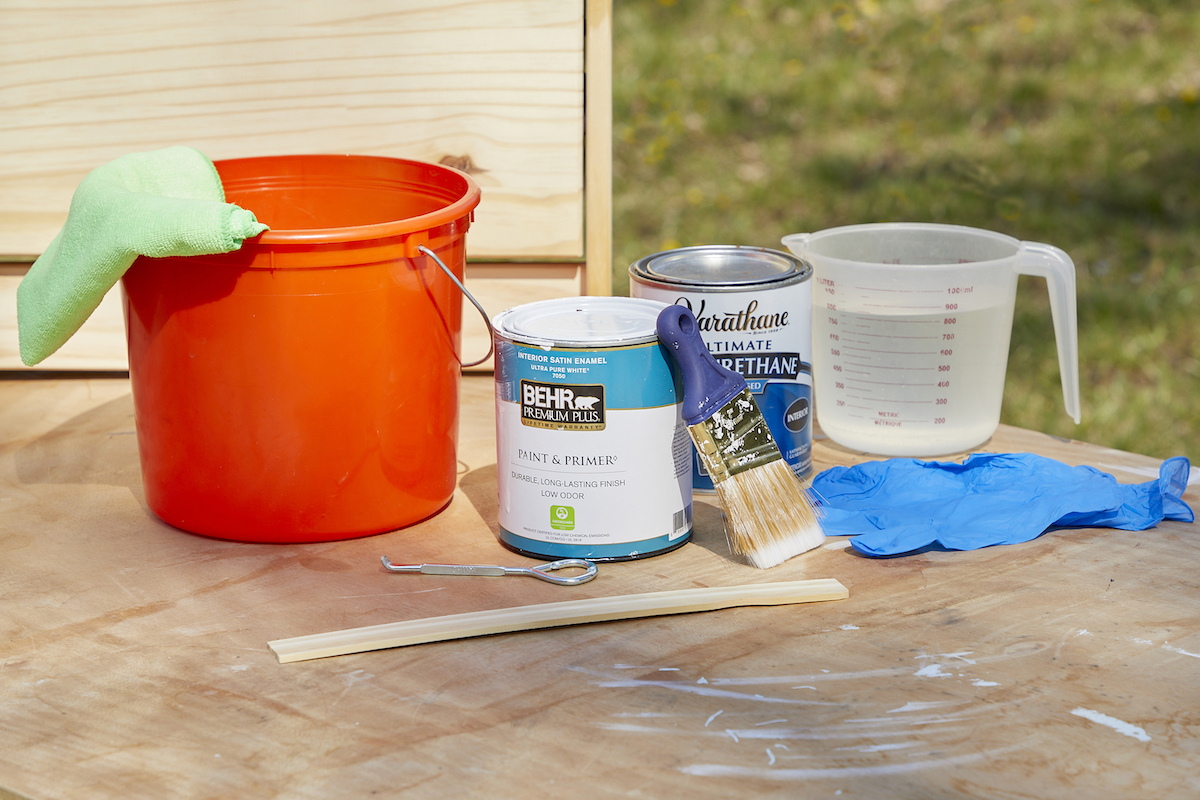
Photo: Tom Fenenga for Bob Vila

Photo: Tom Fenenga for Bob Vila
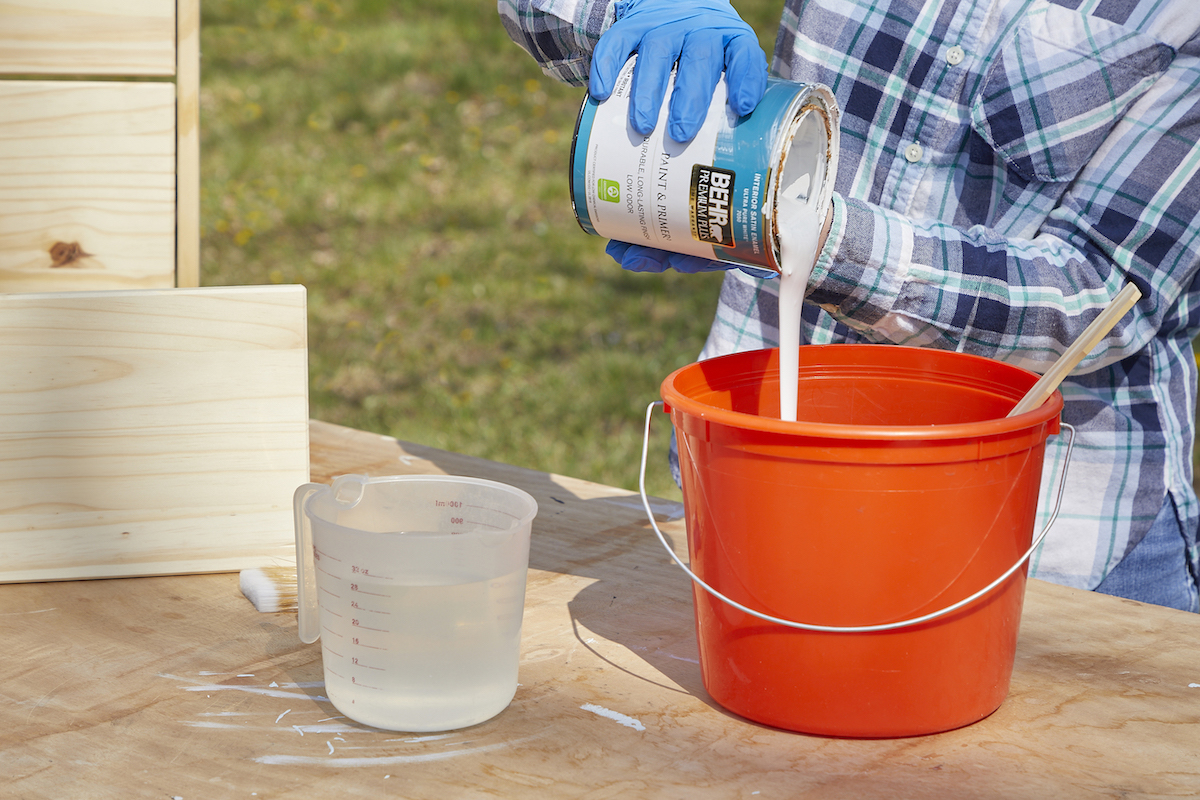
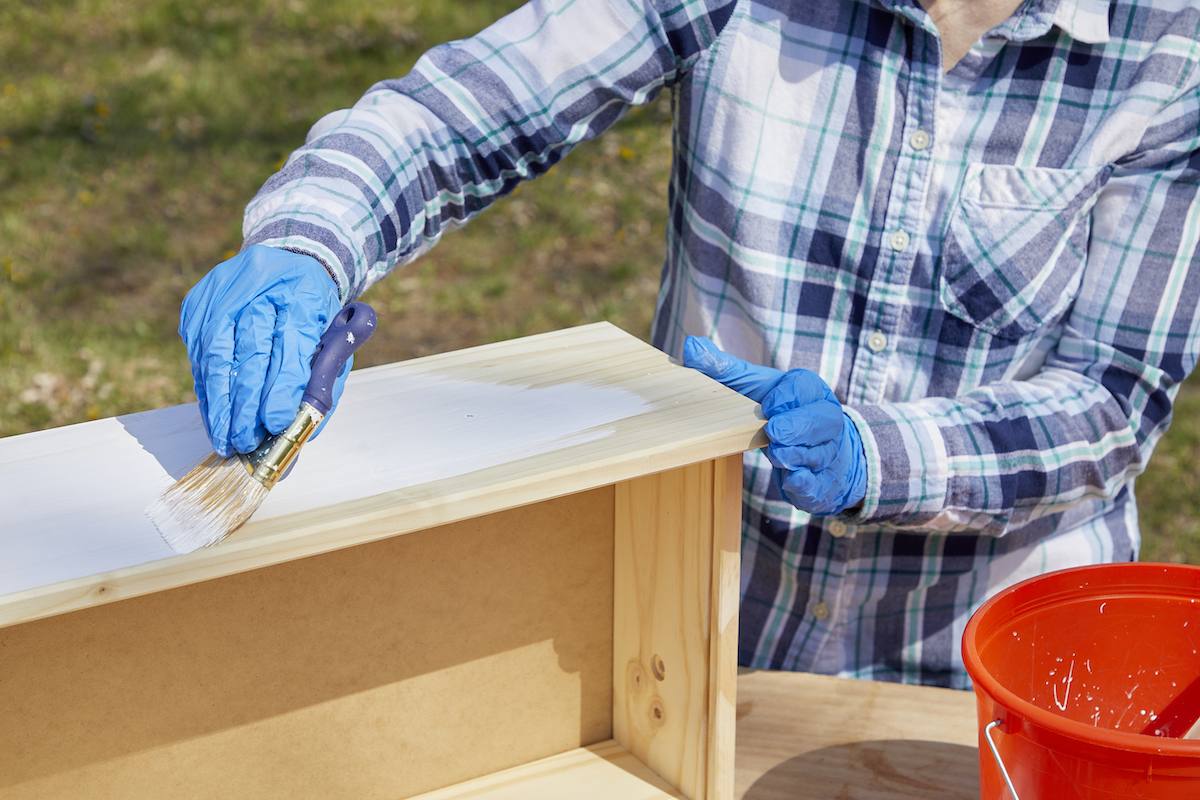
Photo: Tom Fenenga for Bob Vila
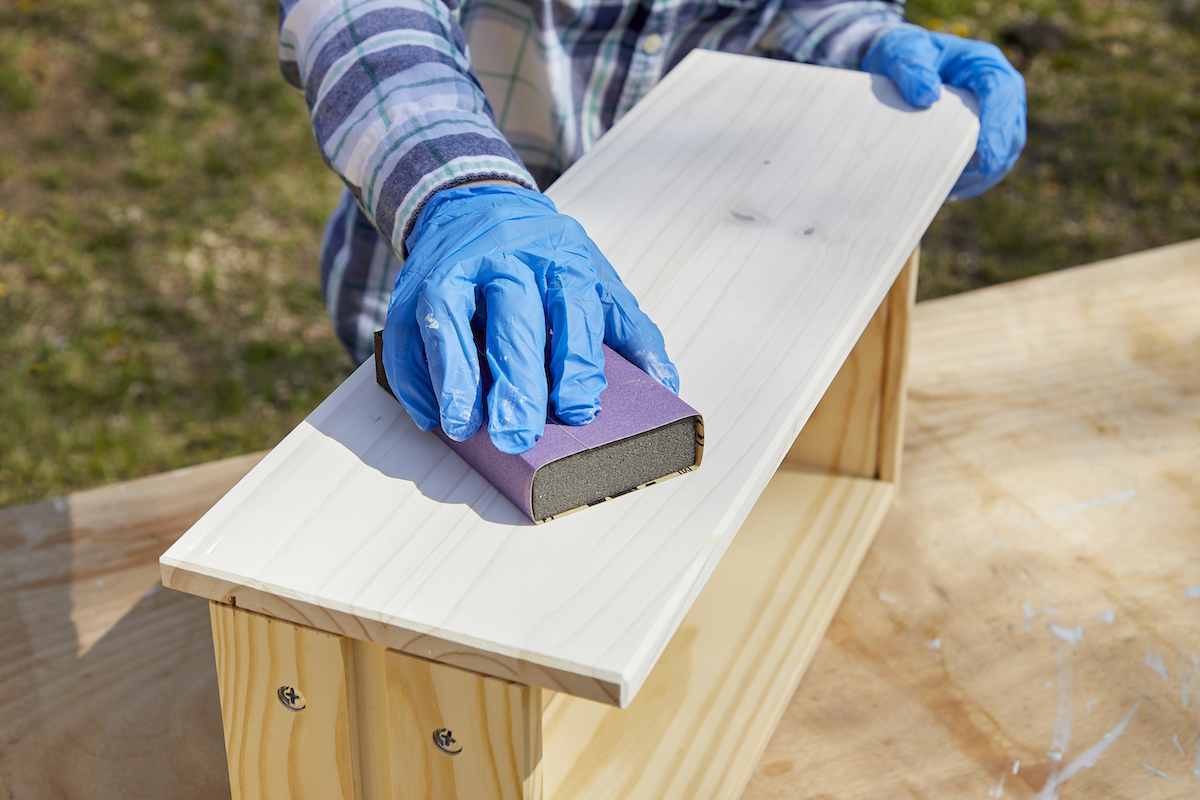
Photo: Tom Fenenga for Bob Vila
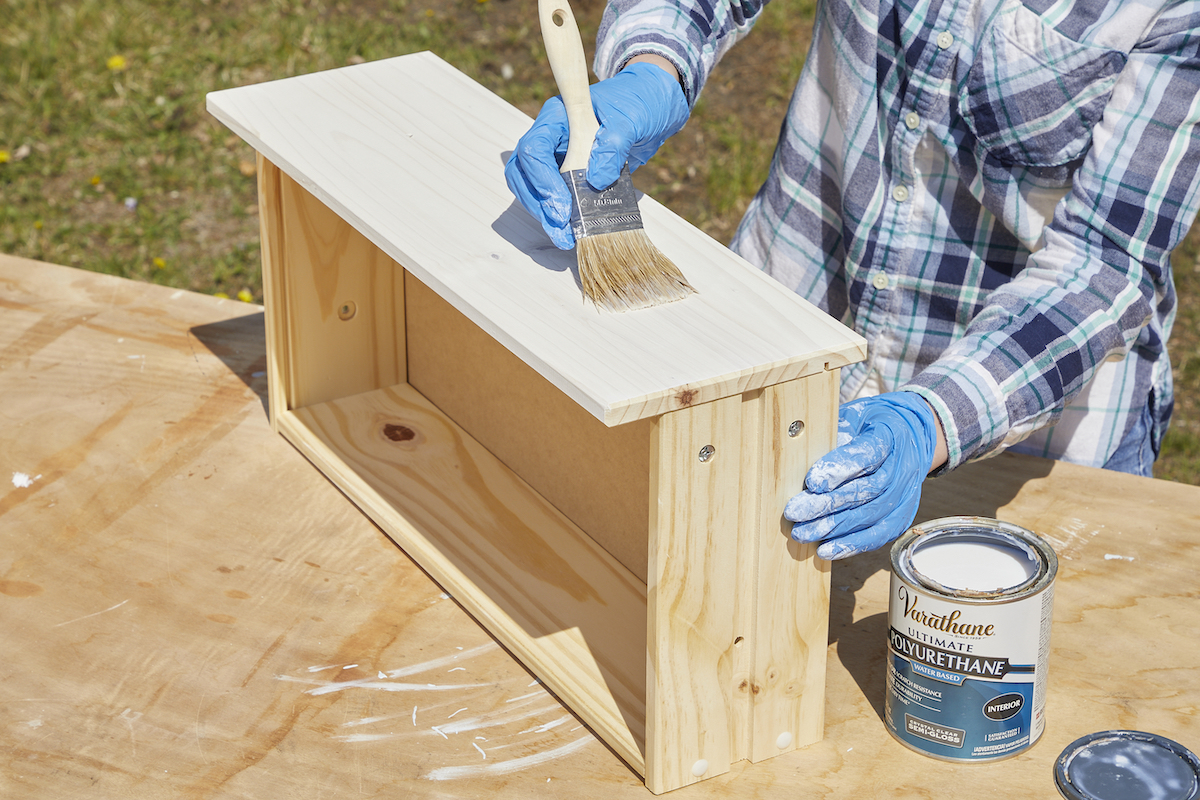
Photo: Tom Fenenga for Bob Vila

