When most people think of peanut vine , they envision a simple-minded snack , often guy , salt , and packed into small suitcase .
But for those with a green thumb and a taste for experiment , the idea of growing peanut vine from storehouse - bought nuts might spark curiosity .
The big question is : Can you really take those peanuts from the store , plant them in ground , and watch them sprout into a flourishing peanut plant ? The answer is a resounding yes , but with some significant consideration to ensure success .
What Are Peanuts?
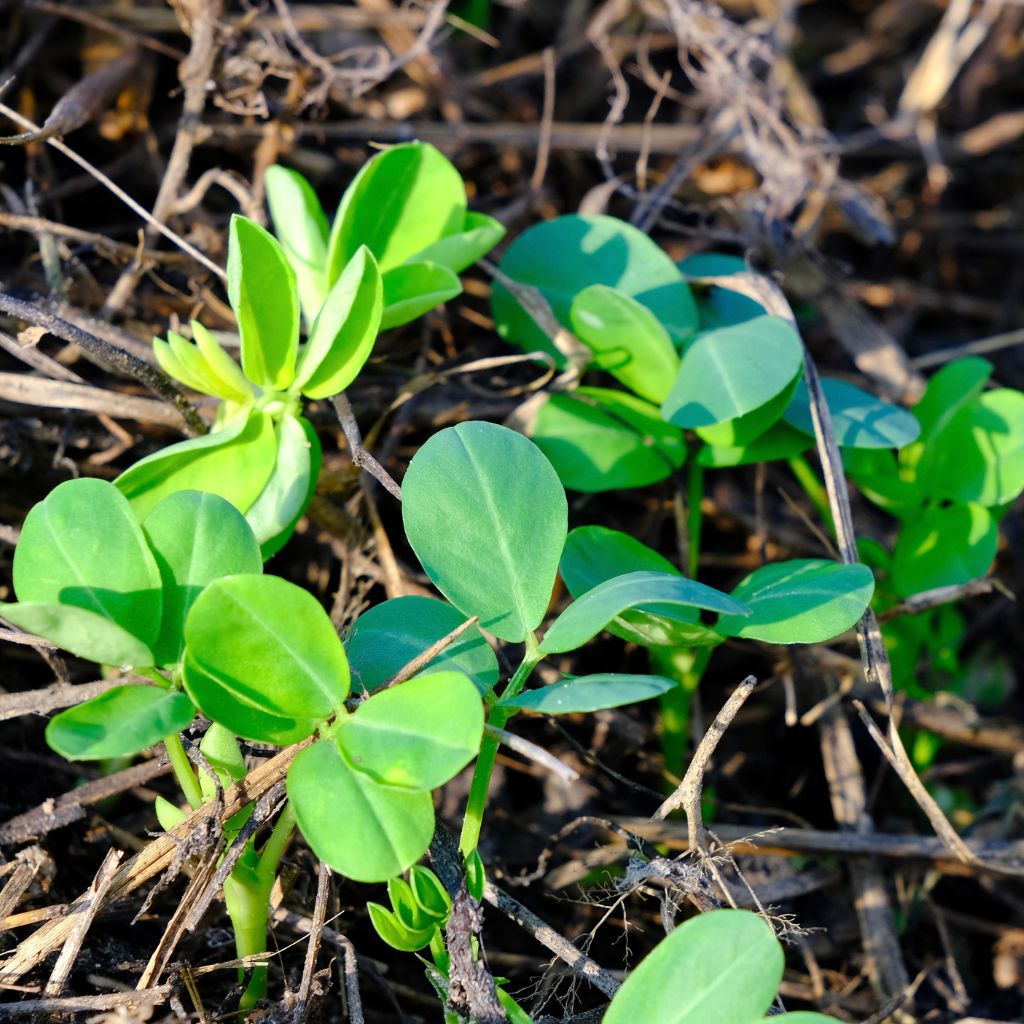
Before diving into the process , it ’s essential to understand what peanuts are . Despite their name , peanuts are n’t actually loco ; they ’re legumes , belong to the same category as beans and lentils .
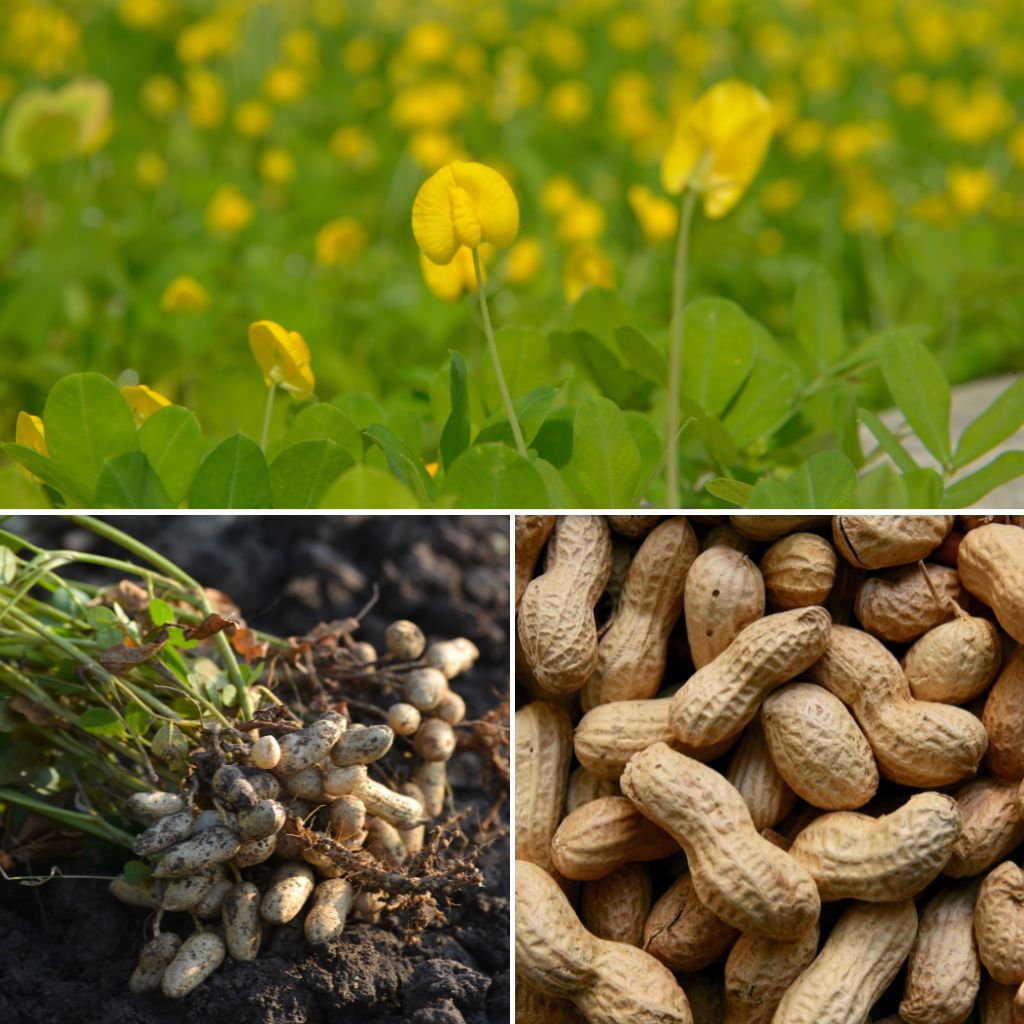
Native to South America , the peanut vine flora ( Arachis hypogaea ) is a fascinating species that blossom above background but develops its pods underground . This unique growing habit , known as “ peg , ” is one of the many reasons peanuts are challenging to grow .
Choosing the Right Peanuts
The first whole tone in growing peanuts from memory board - buy nuts is selecting the right character . Not all peanuts are create equal when it comes to germination potential drop .
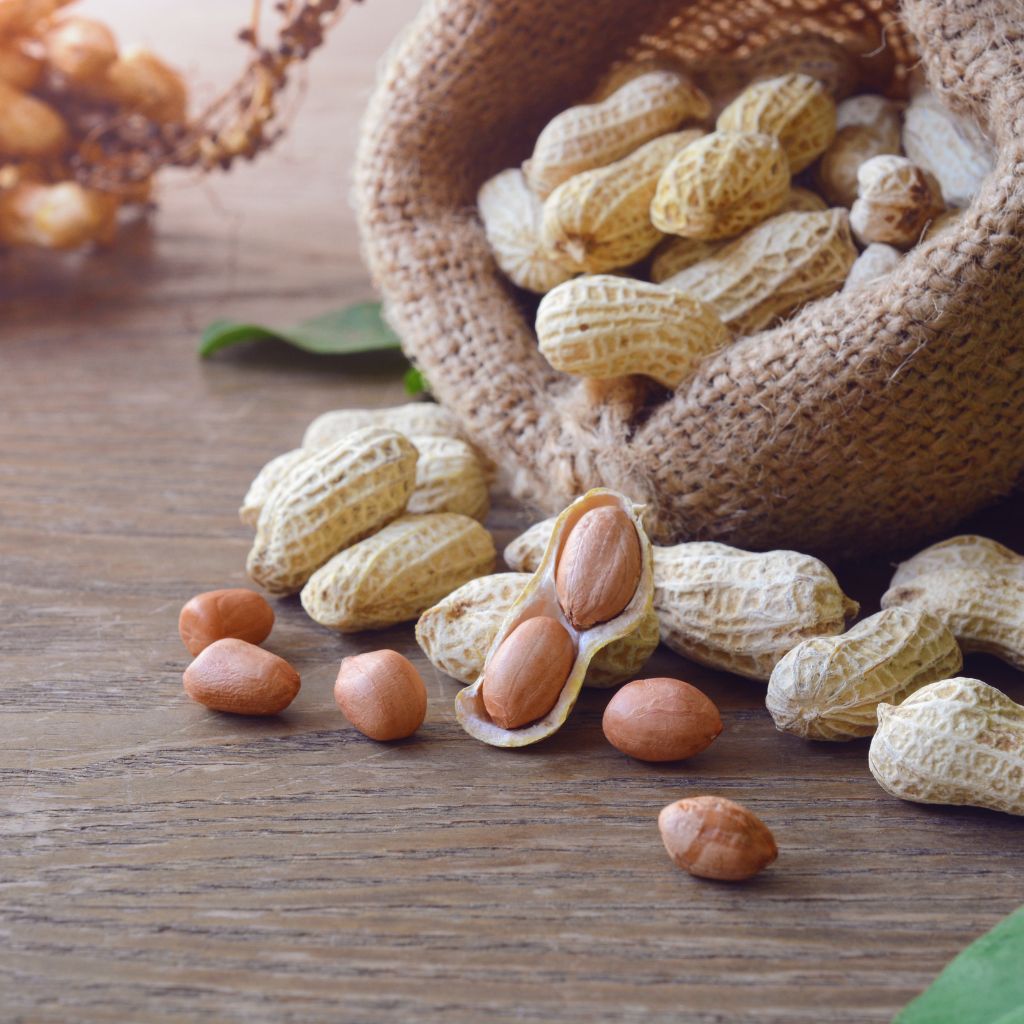
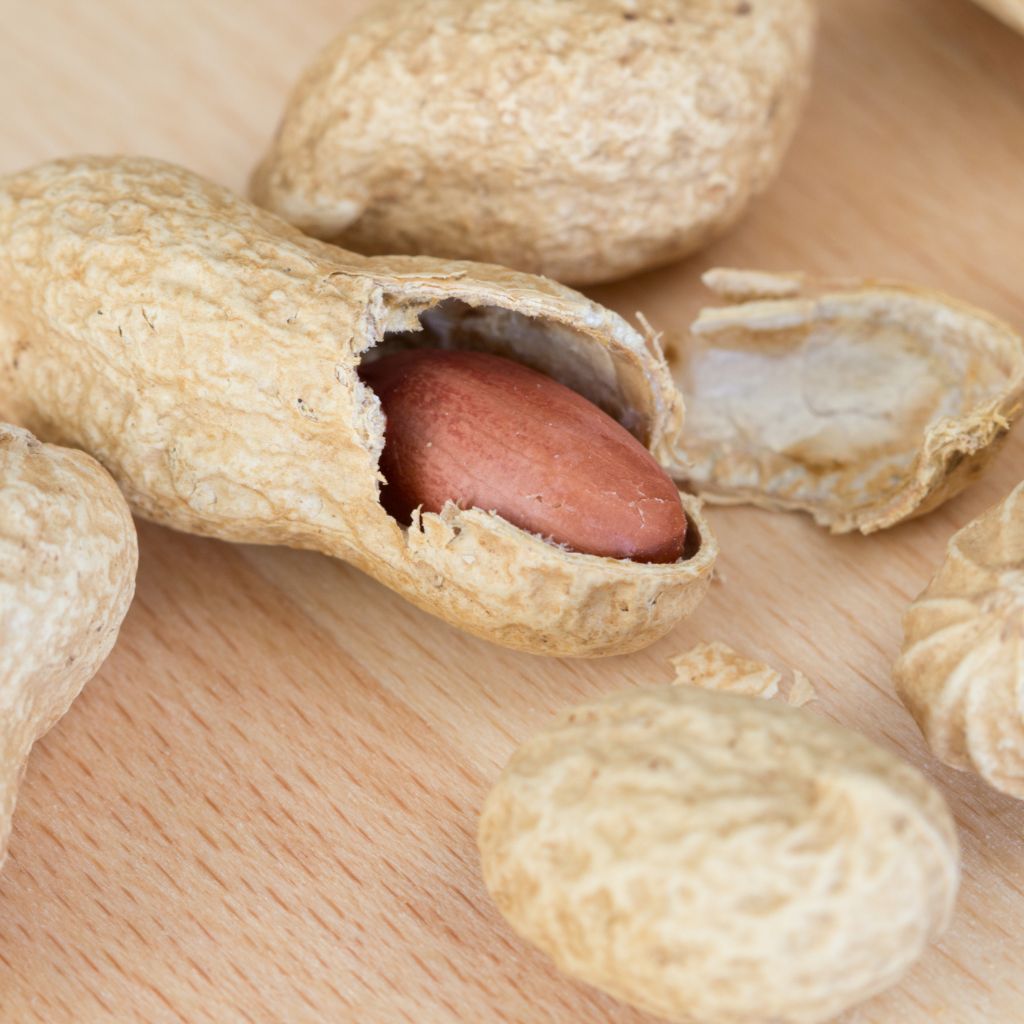
To give your plants the best fortune at success , you must opt fresh , bare-assed , and uncooked peanut that are still in their shells .
Roasted or salted peanuts wo n’t germinate , as the cookery process kills the seed inside . Therefore , when shopping for earthnut to set , look for those label as in the altogether or immature peanuts .
These are typically available in wellness food store or specialty markets . check that the peanut are in their shells , as the cuticle offer protection and wet memory during the sprouting process .
Preparing for Planting
Once you ’ve got your hands on the correct peanuts , the next whole step is preparation . earthnut require a long produce season , typically between 100 to 130 frost - free days . This make them a bit challenging to grow in cooler clime , but not impossible .
1 . Start Indoors : In regions with shorter growing season , it ’s advisable to start your Arachis hypogaea seeds indoors .
Plant them in small pots about 5 - 8 week before the last expected frost . This gives them a head start and ascertain that they ’ll have muckle of sentence to age when transpose outside .
2 . Soil Preparation : peanut flourish in well - draining , liberal soil . Sandy loam is ideal , but you could amend labored soils by adding sand and ripened compost to improve drain . The soil should be more or less acidic , with a pH between 5.5 and 7.0 .
3 . Planting deepness and Spacing : When planting , sow in the monkey nut about 1 - 2 inches bass and 24 - 36 inches apart . If you ’re planting in rows , space the rows at least 72 inches apart to give the plant life ample room to spread out .
Peanuts are known for their sprawling maturation riding habit , so equal spatial arrangement is crucial .
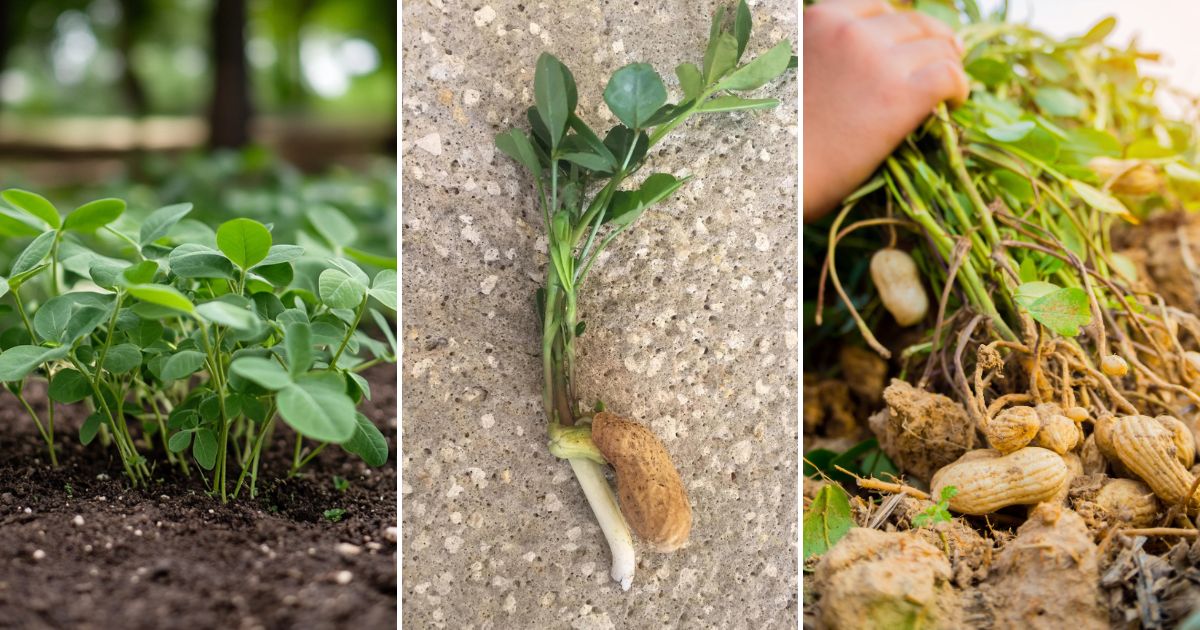
The Germination Process
Germinating peanuts can be a test of forbearance . After establish , you ’ll need to provide coherent care to encourage sprouting .
1 . Temperature and Light : Peanuts necessitate ardent soil to develop , with temperatures consistently above 60 ° F . They also require full sunlight , so pick out a sunny location or render sufficient Inner Light if starting indoors .
2 . Watering : Keep the grease evenly moist but not waterlogged . Overwatering can lead to rot , while underwatering can do the seeds to dry out out and fail to germinate .
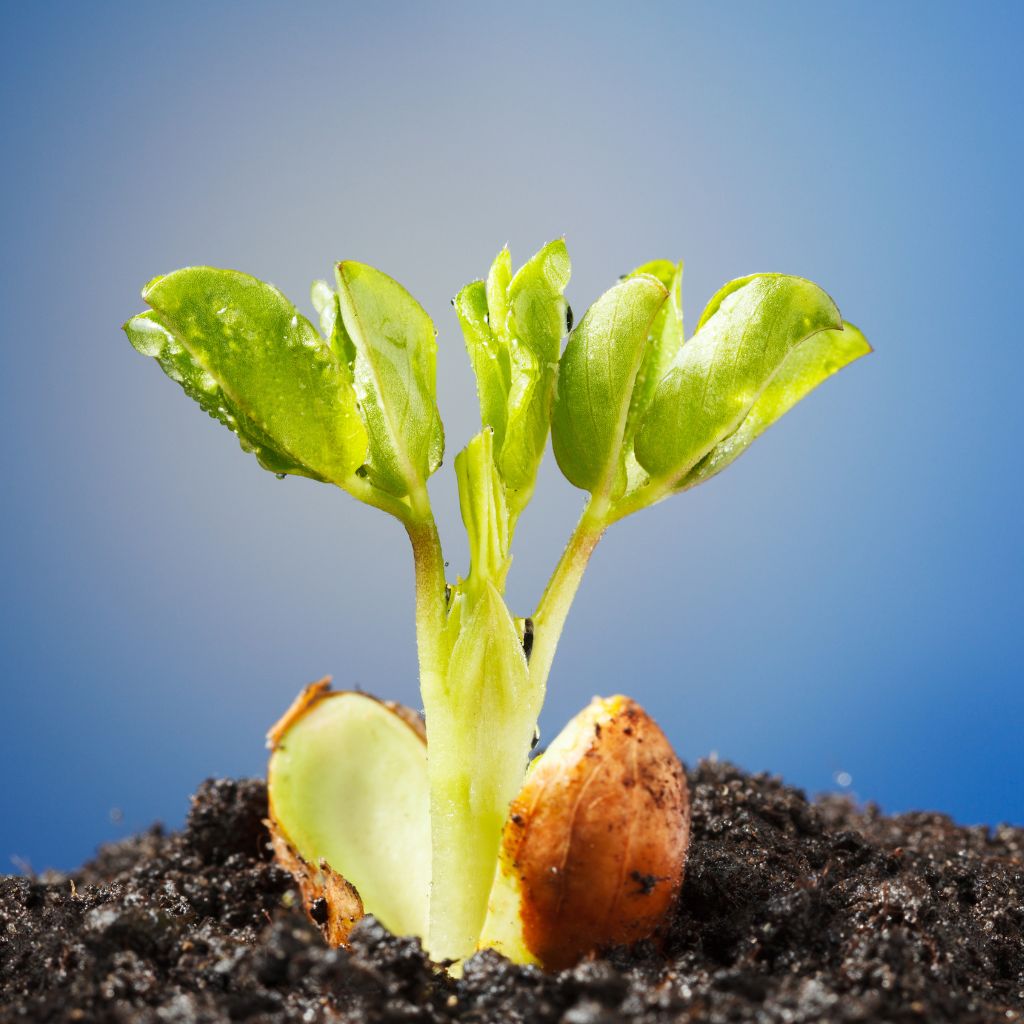
With the good conditions , you should see sprout emerge from the ground within 7 to 10 day . Once the seedlings are established and the risk of frost has passed , you could transplant them outdoors if you start them indoors .
Growing and Caring for Peanut Plants
Once your peanut vine are in the earth and sprouting , the care turn becomes comparatively straightforward , though care to contingent is still important .
1 . Watering : goober necessitate about 1 inch of water per week . insure the dirt stays moist , particularly during flowering and pod development , but be thrifty to avoid overwatering , which can cause the pods to molder .
2 . Mulching : As the industrial plant grow , mulching around the base can help oneself retain wet and suppress smoke . When the plants reach about 6 inches in height , lend a level of mulch . This also helps to keep the grunge temperature consistent , which is good for peanut development .
3 . Fertilization : Unlike many other crops , peanuts are N - fixers , meaning they draw nitrogen from the air and store it in their root .
This means they do n’t demand much nitrogen fertilizer . or else , focalise on providing calcium , which is vital for pod development . A low-spirited - N or balanced plant food applied before planting is usually sufficient .
4 . Pest and Disease Control : earthnut are comparatively sturdy , but they can be susceptible to sealed pests and diseases . Regularly inspect your plant for signs of aphid , foliage spots , or fungous issues .
Using organic pesticides or practicing craw gyration can help manage these problems .
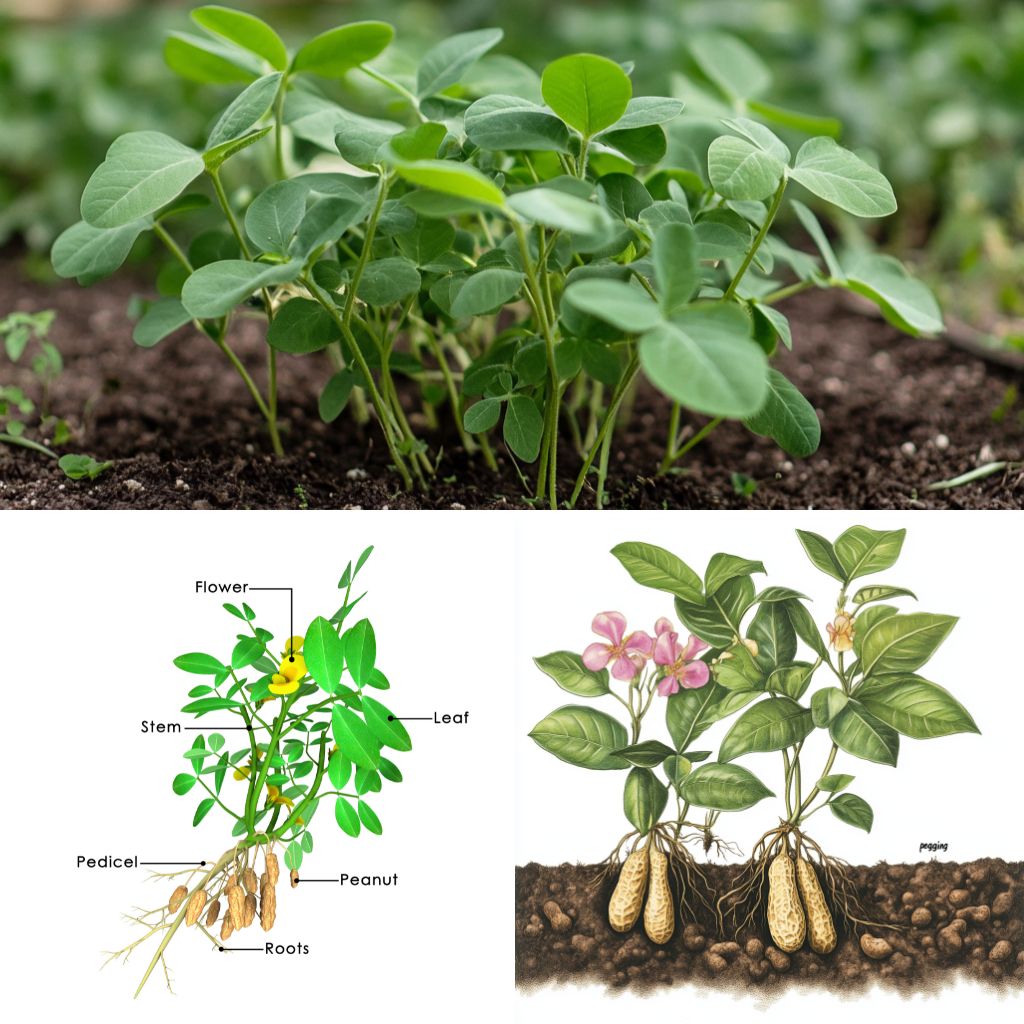
The Unique “Pegging” Process
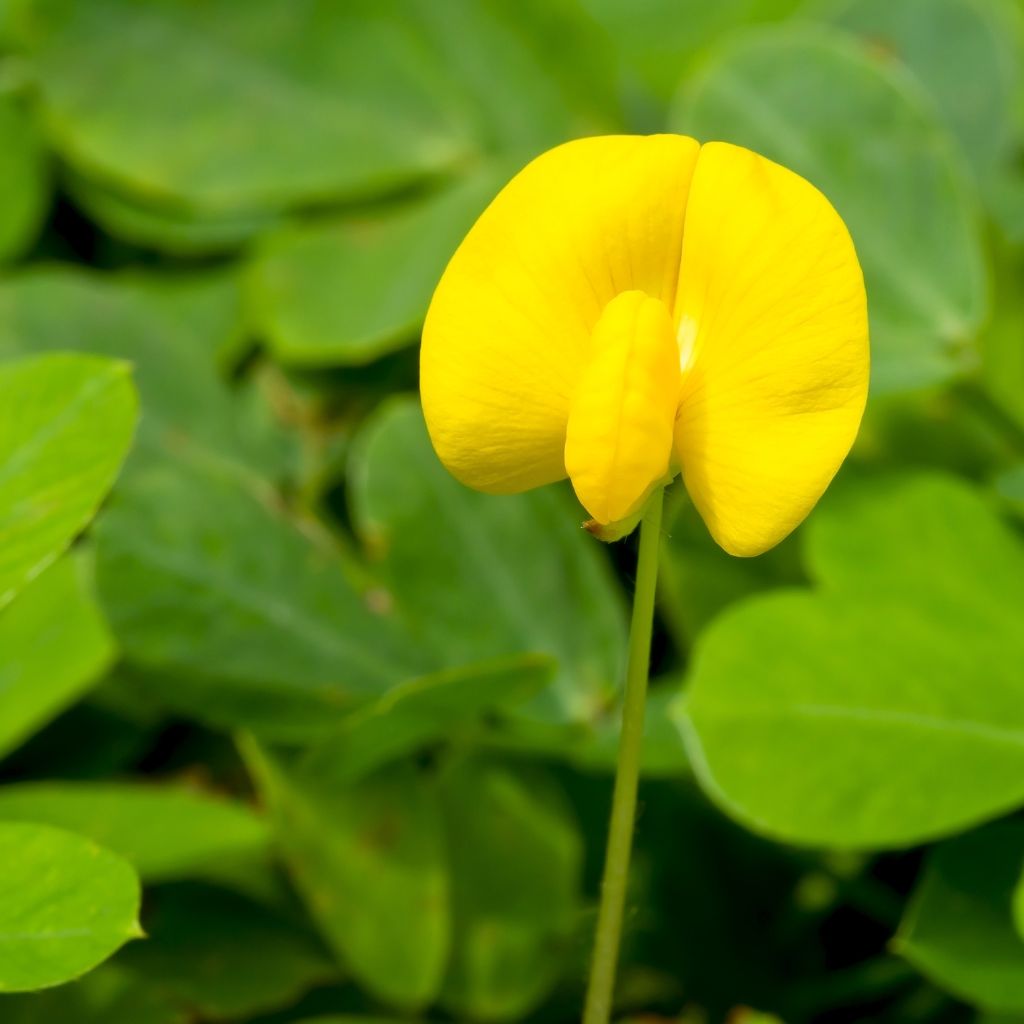
One of the most interesting face of growing peanuts is the “ pegging ” process . After the peanut plant flush , the heyday stems , known as “ pegs , ” elongate and turn downward , finally pushing into the soil . This is where the peanut will develop .
To support this process , gently mound soil around the groundwork of the plant life as the pegs start to organize .
This gives the pegs an leisurely track into the dirt , where they can establish and grow the earthnut pods . This phase is crucial for a good harvest , so be mindful of providing the proper conditions for the pegs to fly high .
Harvesting Your Peanuts
Harvesting peanuts is both an exciting and frail process . depend on the variety , peanuts will be quick for harvest about 100 to 150 days after imbed .
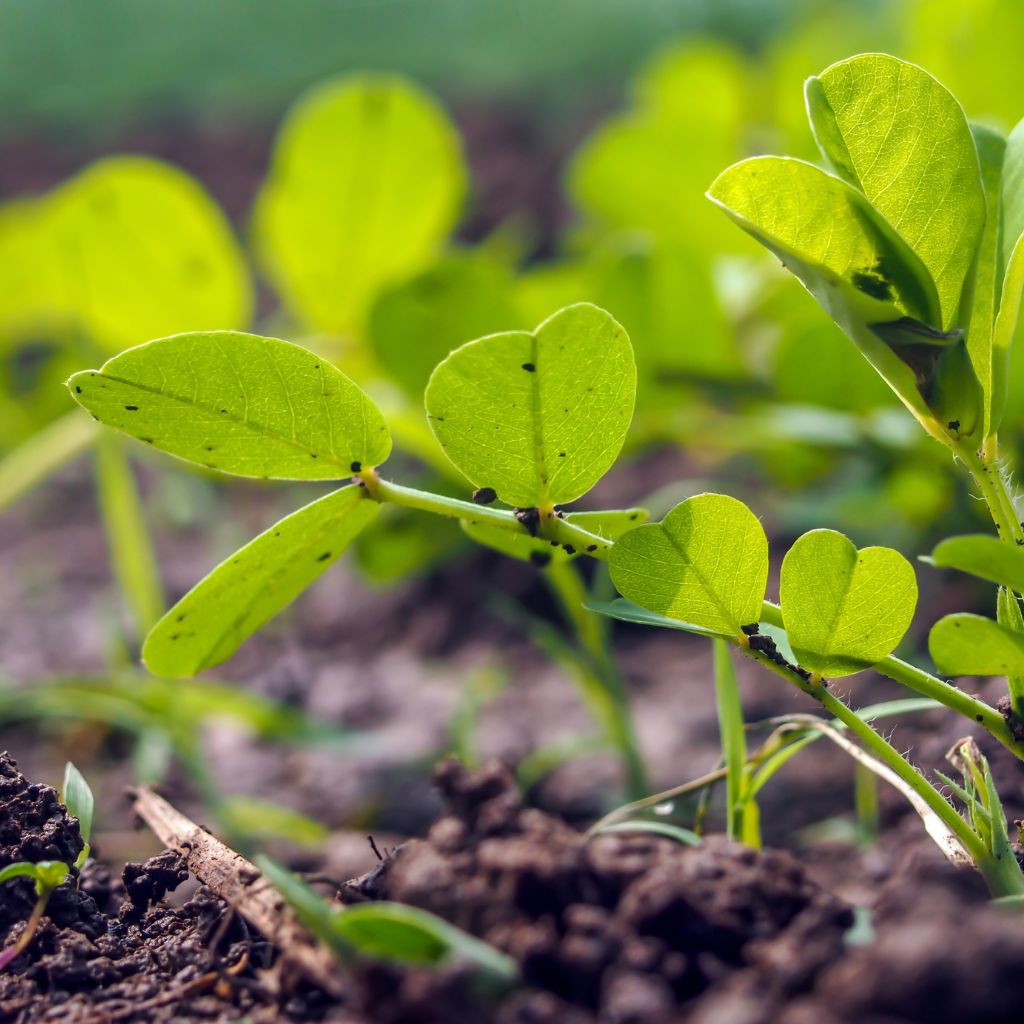
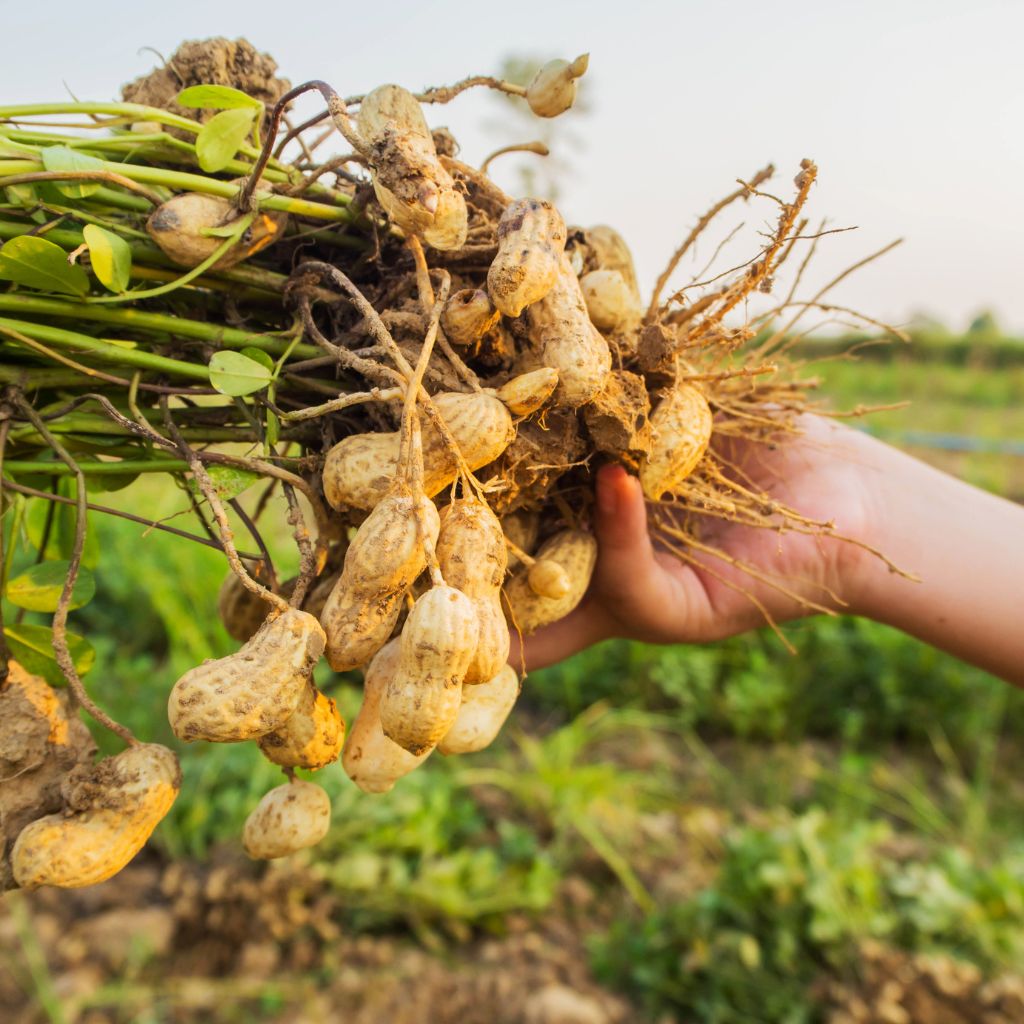
1 . sign of Maturity : The secure indicator that your peanut are quick to be harvested is the yellowing and wilting of the industrial plant ’s foliage . At this peak , the peanut pod will have senesce underground .
2 . Harvesting Technique : To glean , cautiously moil around the nucleotide of the flora with a coon or garden fork , being cautious not to damage the peanuts . plagiarise the total plant life out of the ground and shake off any excess soil .
3 . Curing : After harvest , the groundnut postulate to be bring around , which involve dry out them to reduce moisture capacity . Hang the plants upside down in a warm , dry , and well - ventilated country for about two weeks . This bring around process is of the essence for foreclose mold and assure that the peanuts are safe for storage .
4 . stash away Your earthnut : Once cured , you could move out the peanuts from the plants and salt away them . If kept in a cool , juiceless berth , peanut can last several months . For longer storage , consider keeping them in airtight containers or even freezing them .
So , with right preparation , the correct growing conditions , and a bit of patience , you may transform a simple grocery memory purchase into a thriving peanut crop .
This gardening experimentation is not only rewarding but also educational . It offer a unique chance to understand the sprightliness cycle of a peanut vine works , from germ to reap .
So , why not give it a effort and see if you’re able to turn those humble addict into a homegrown harvest ?