Planting can be effortless and fun when using a practice session plumber’s snake bit . Whether you ’re planting medulla oblongata or put up small shrub , the proper plan of attack make all the difference .
These tips will head you through the process , ensuring you work efficiently and effectively to achieve a beautiful garden . lease ’s explore how you could implant like a pro .
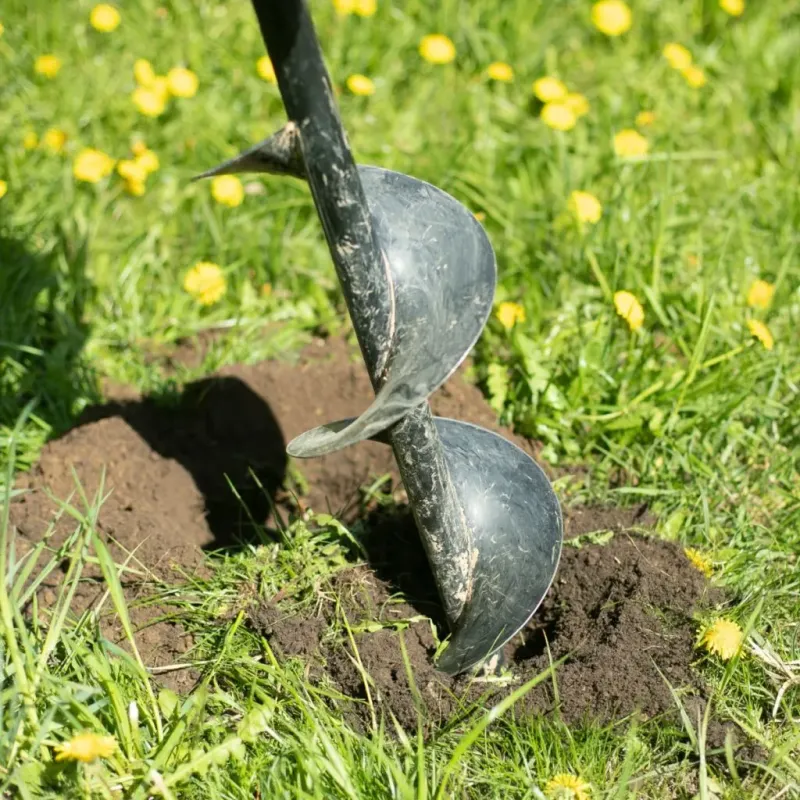
1. Choose the Right Auger Bit Size
Selecting the correct screw auger bit size is crucial for successful planting . pocket-size plumber’s snake run best for bulbs , allowing for accurate planting without disturb surrounding soil . Larger augers are ideal for seedlings or pocket-sized bush , providing ample quad for root maturation .
When choosing , consider the plant ’s tooth root ball size and the depth needed for planting . This assure that each works has the infinite it necessitate to thrive . Overall , choose the veracious sizing gimlet helps maximise efficiency and promotes tidy plant increase .
Always match the auger size to your specific planting need for optimum results .
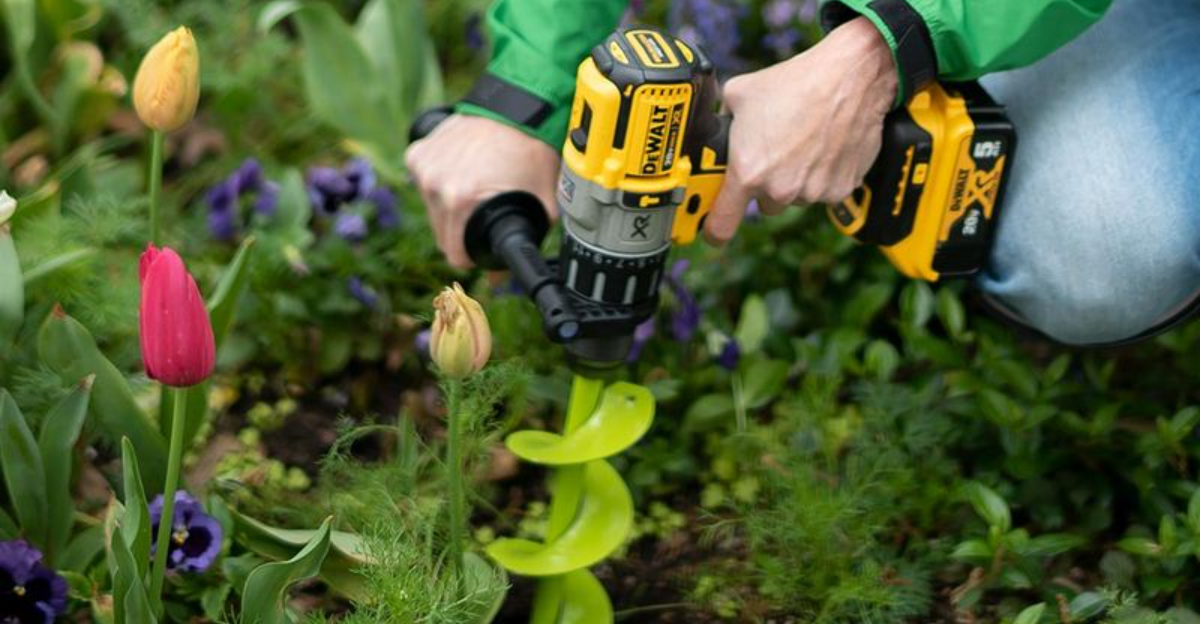
2. Use a Cordless or Electric Drill
Utilizing a cordless or electric practice session can make planting a gentle wind . see to it that your drill is at least 18V to provide sufficient powerfulness without stall . This power ensures smooth mental process across wide-ranging soil type .
Cordless drills offer the advantage of mobility , construct them perfect for larger garden . However , electric exercise provide consistent power , ideal for prolonged use . Always check over the torque context to cover the resistivity when dig out into land .
This combination of power and flexibility facilitates effective planting , save time and endeavour , especially in extensive horticulture projection .
© Simple Garden Life
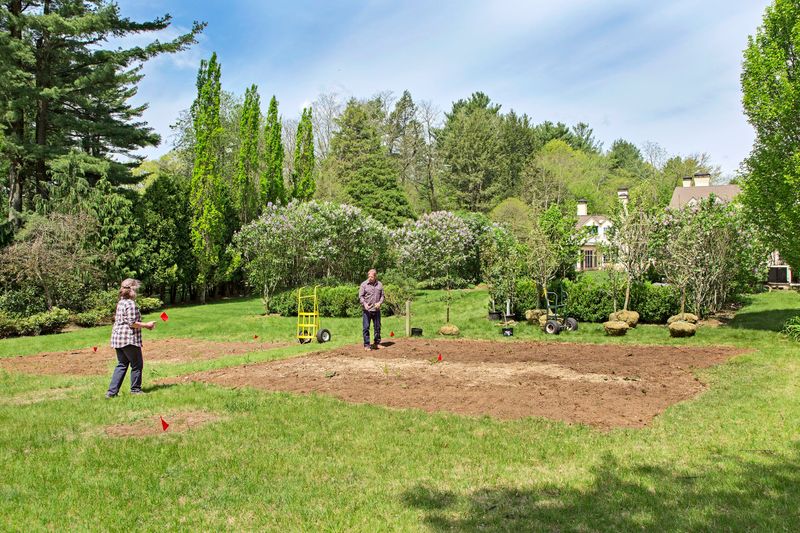
3. Mark Your Planting Spots
Before drilling , it ’s essential to plan and mark your planting spots . Define the layout by placing markers such as stakes or stones to ensure uniform spacing . This preparation stone’s throw helps in visualize the final system and prevents overcrowding .
Using a garden planner or a notebook computer can further enhance this cognitive operation , allowing you to sketch out the figure and make adjustments as necessary . Proper planning ensures that each plant find fair to middling sun and infinite , promote sound growth .
This integrated approach leads to a more aesthetically pleasing and organized garden .

© DIY Playbook
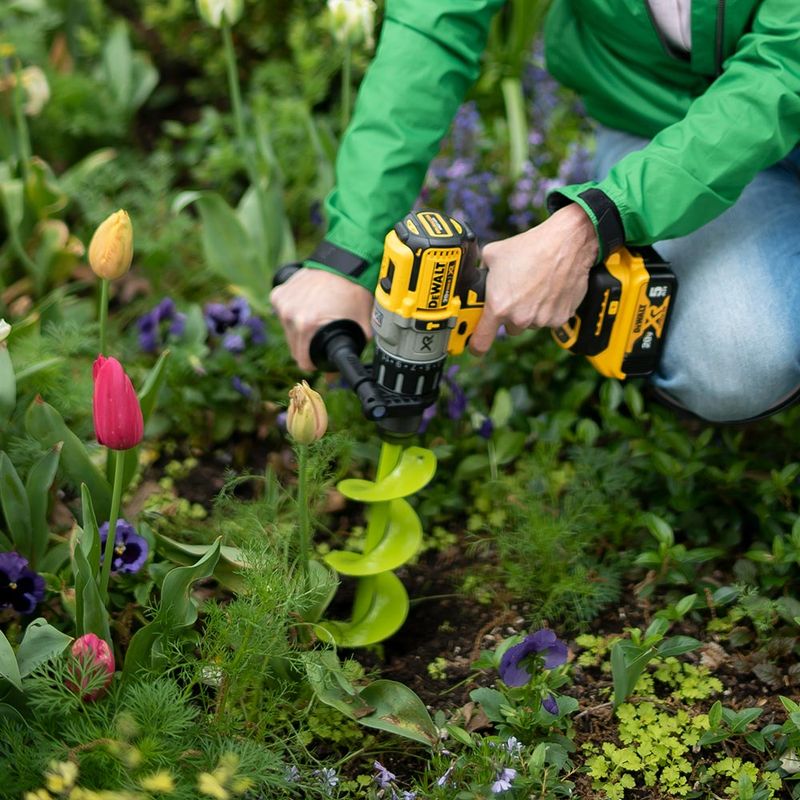
4. Hold the Drill Vertically
keep a upright exercise position is key for attain straight , clear holes . This proficiency forestall uneven planting depths , which can move plant stability and increase . Holding the drill upright minimizes the risk of damage adjacent plants or roots .
It ’s beneficial to do this technique on a less critical area if you ’re new to using a recitation for planting . maintain the drill stiff and ordinate insure uniformity across your planting arena .
This unproblematic yet effective tip can importantly impact the quality of your horticulture result , make water your setup process smoother .
© This Old House
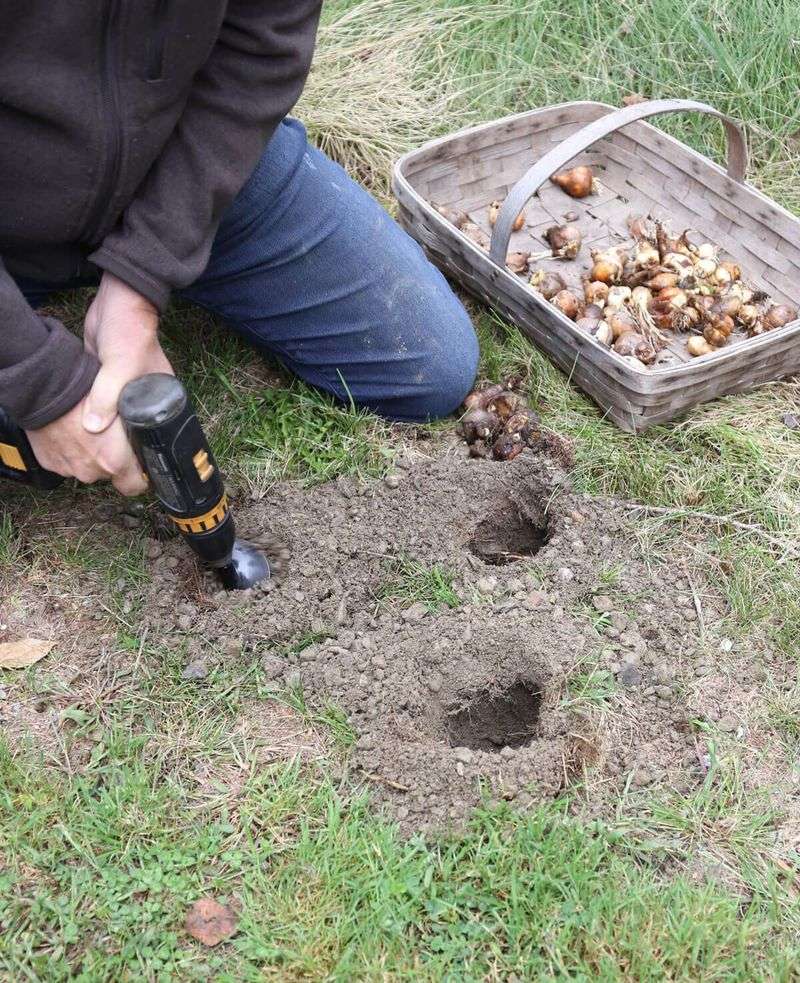
5. Drill Slowly and Steadily
When boring , target for a steady pace to let the gimlet minute do its workplace . Starting at a moderate stop number helps manage control and prevent the bit from tie or drifting . utilize light pressure to avoid forcing the drill , which could lead to damage or uneven holes .
A sluggish approach insure cleaner cuts and reduce soil disruption , preserving the natural layout . This technique is peculiarly utilitarian in stony or compact grime where resistivity is higher .
Patience during this step will pay back you with precision and well - defined planting spots , heighten your overall gardening experience .
© Fast Growing Trees
6. Clear the Hole
After exercise , it ’s important to pass the hole of loose stain and debris . Removing obstructions ensures a clean environment for the plant ’s roots , promoting healthy institution .
This footstep can be drop , yet it ’s crucial for optimum plant growth . Use a humble trowel or your hands to scoop out any excess materials . insure the hollow is tidy allows for easygoing planting and reduces accent on the plant .
This thoroughgoing preparation set up the stage for successful maturation and minimize future sustainment challenges , making it a vital part of the planting process .

© Doba
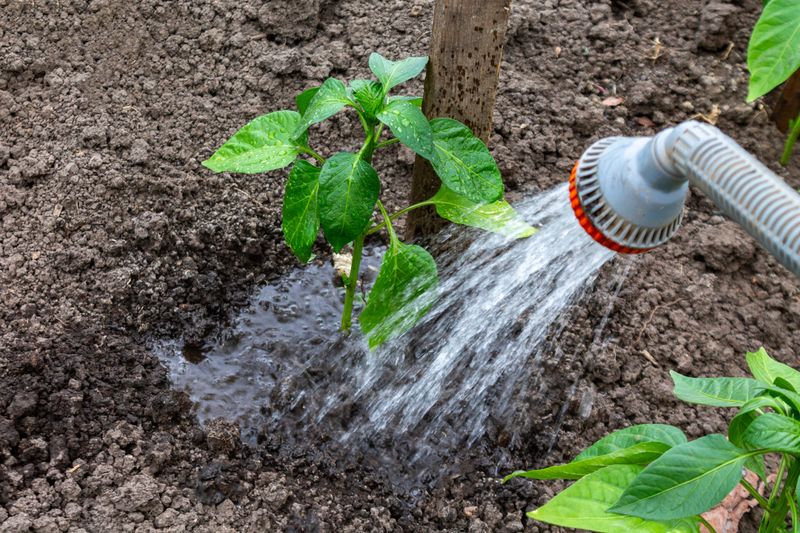
7. Plant and Water
Once the hole is prepped , carefully place your plant life or bulb inside . softly backfill with soil , secure it surrounds the root orchis evenly . This sustenance is essential for initial stability and growth . After planting , water thoroughly to settle the soil and eliminate aura pockets .
This step hydrates the industrial plant and helps base establish cursorily . even watering thereafter supports ongoing wellness and ontogeny . Proper planting and watering are foundational steps that , when done mightily , top to a thriving garden .
This nurturing process ensures that your plants have the in force start potential .
© Longfield Gardens
© Weston Nurseries
