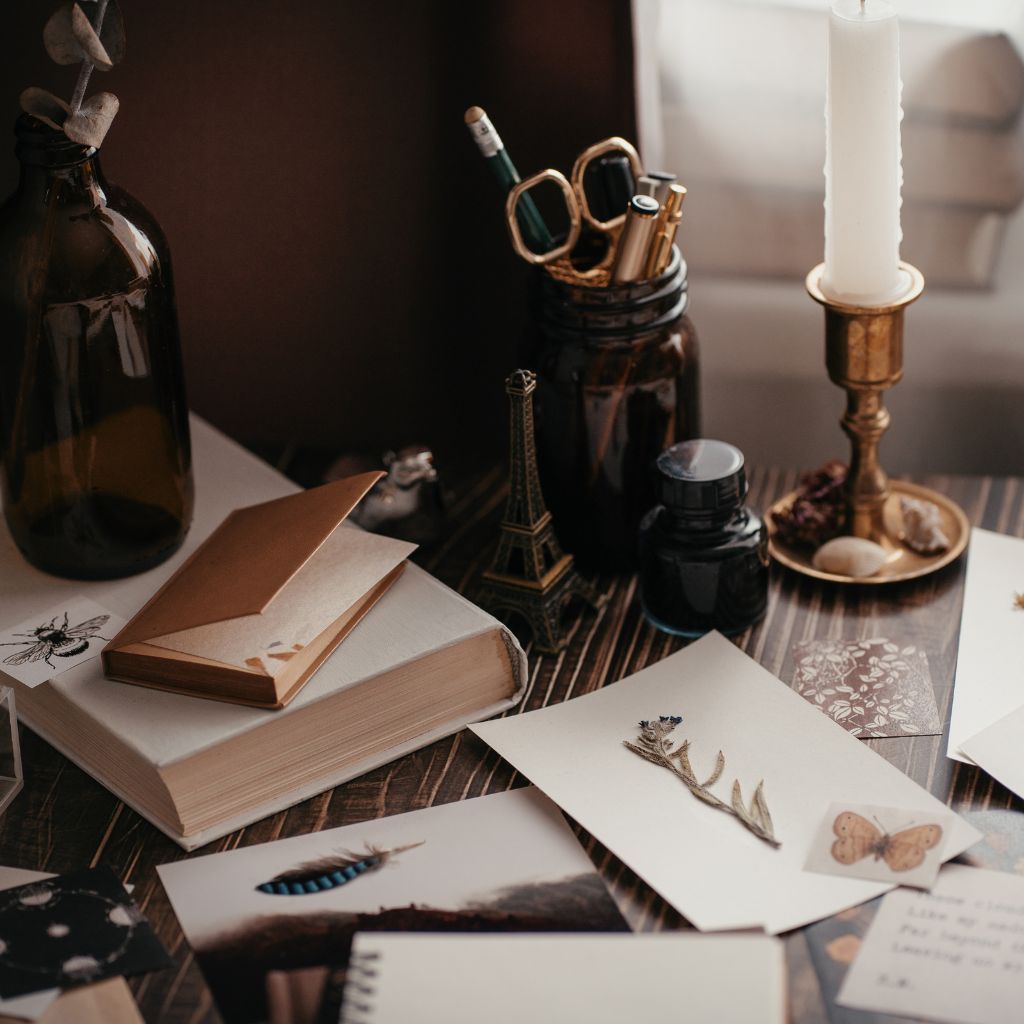
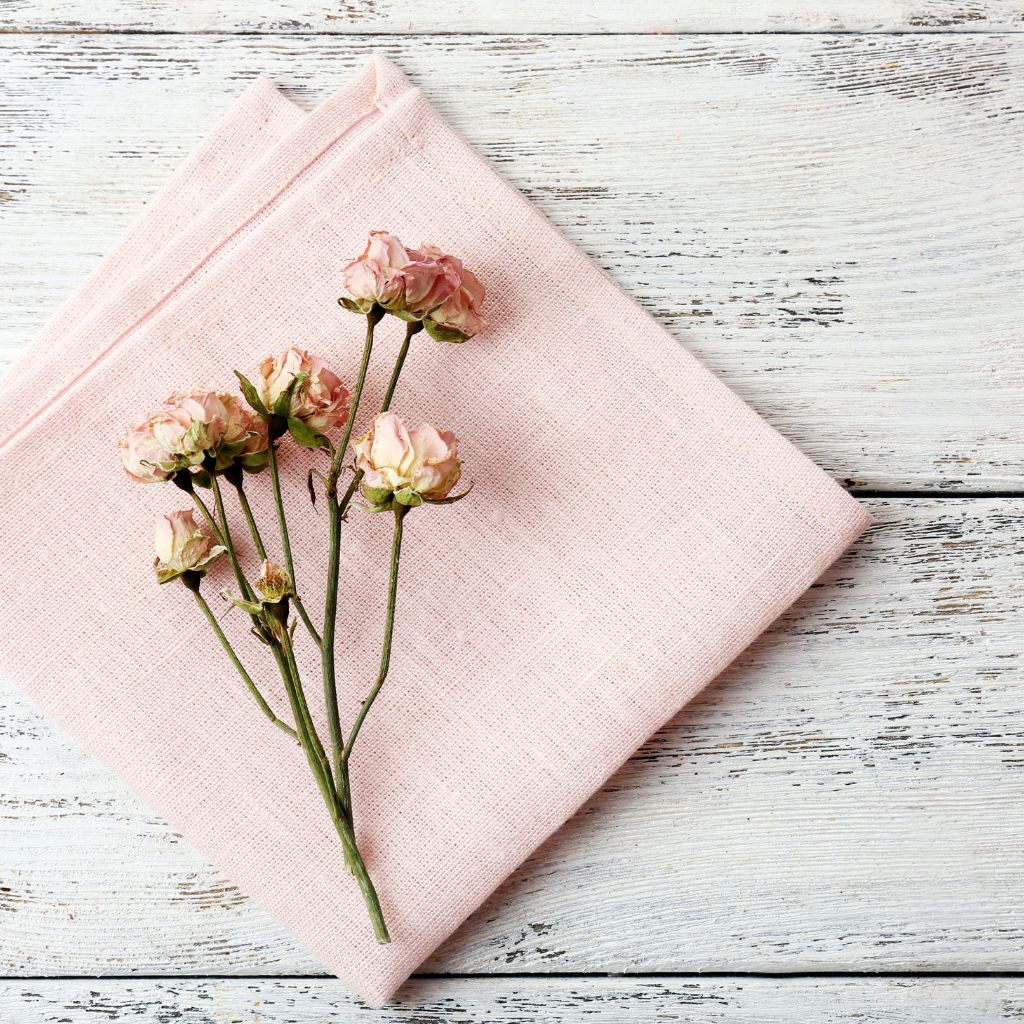
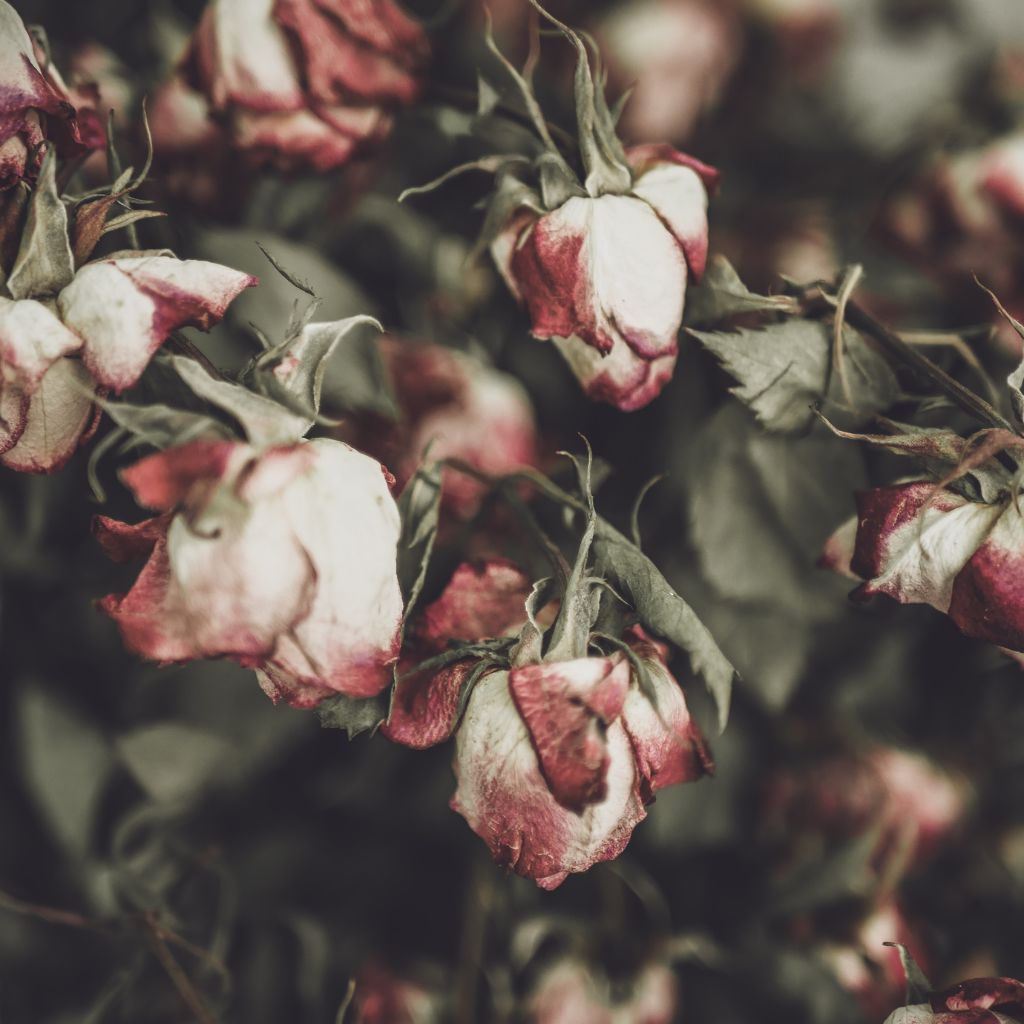
There ’s something truly magical about preserving flowers . Whether it ’s a fragrance from a special effect or a bundle of efflorescence from your own garden , dried flowers allow you to capture and cherish a moment forever .
But the magic trick to create long - permanent , vibrant dry out flowers is preserving their color — and doing it tight .
Flowers are , after all , delicate . They can lose their color and shape quickly if not handle decent . That ’s why watch how to dry out flowers expeditiously while preserving their beautiful hue is an all-important attainment for any DIY partisan .

In this guide , I ’ll walk you through several adjudicate - and - true method to dry out flowers quickly while prevent their color as vivacious as potential .
From traditional method to modern technique , you ’ll find everything you need to make sensational dry floral arrangements that last .
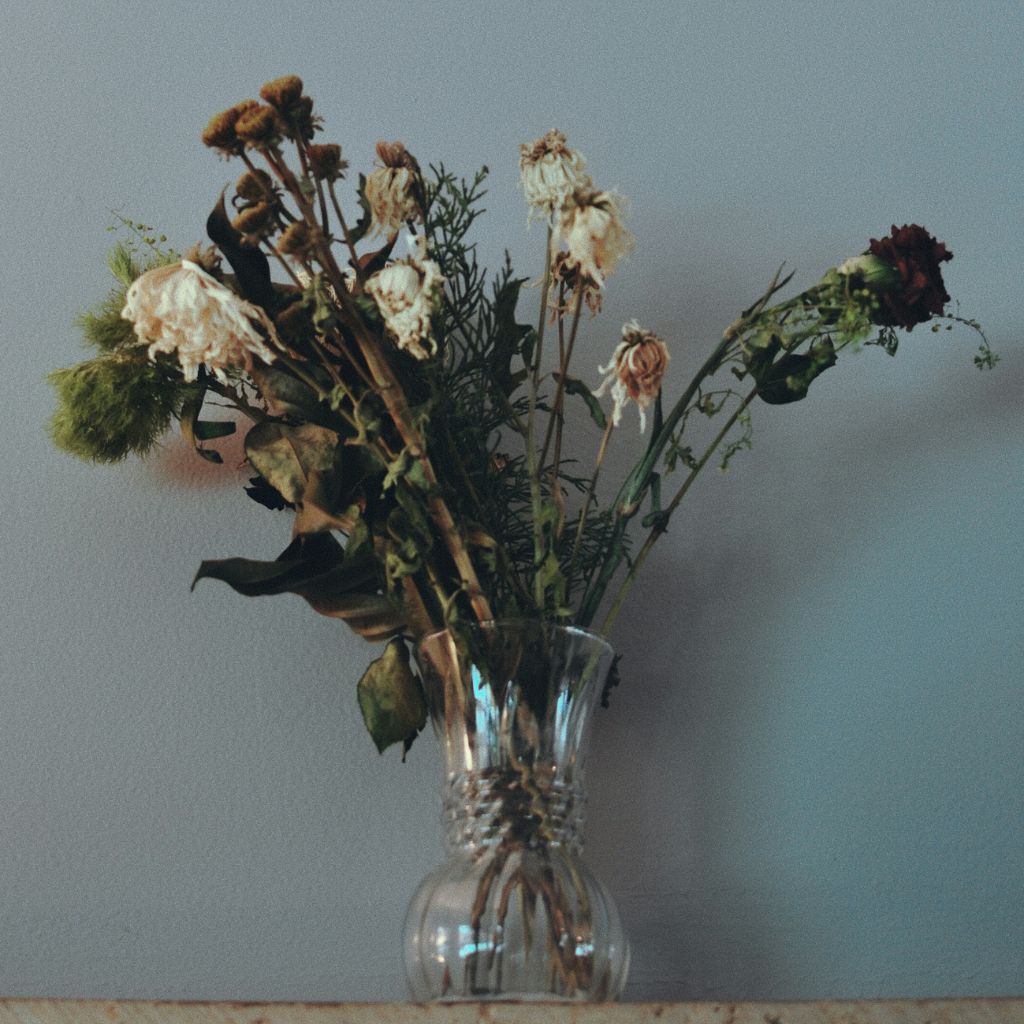
Why Dry Flowers?
Before we get into the method , permit ’s take a moment to revalue why we might want to dry flowers in the first topographic point . dry flowers add a touch of rustic charm and elegance to home plate décor .
They ’re also perfect for various craft labor such as wreaths , garlands , and press flower graphics . Plus , there ’s the sentimental facet .
Perhaps you want to keep a bridal bouquet , flower from a birthday , or the first blooms from your garden — dry out flowers allows you to preserve these remembering .
© Canva
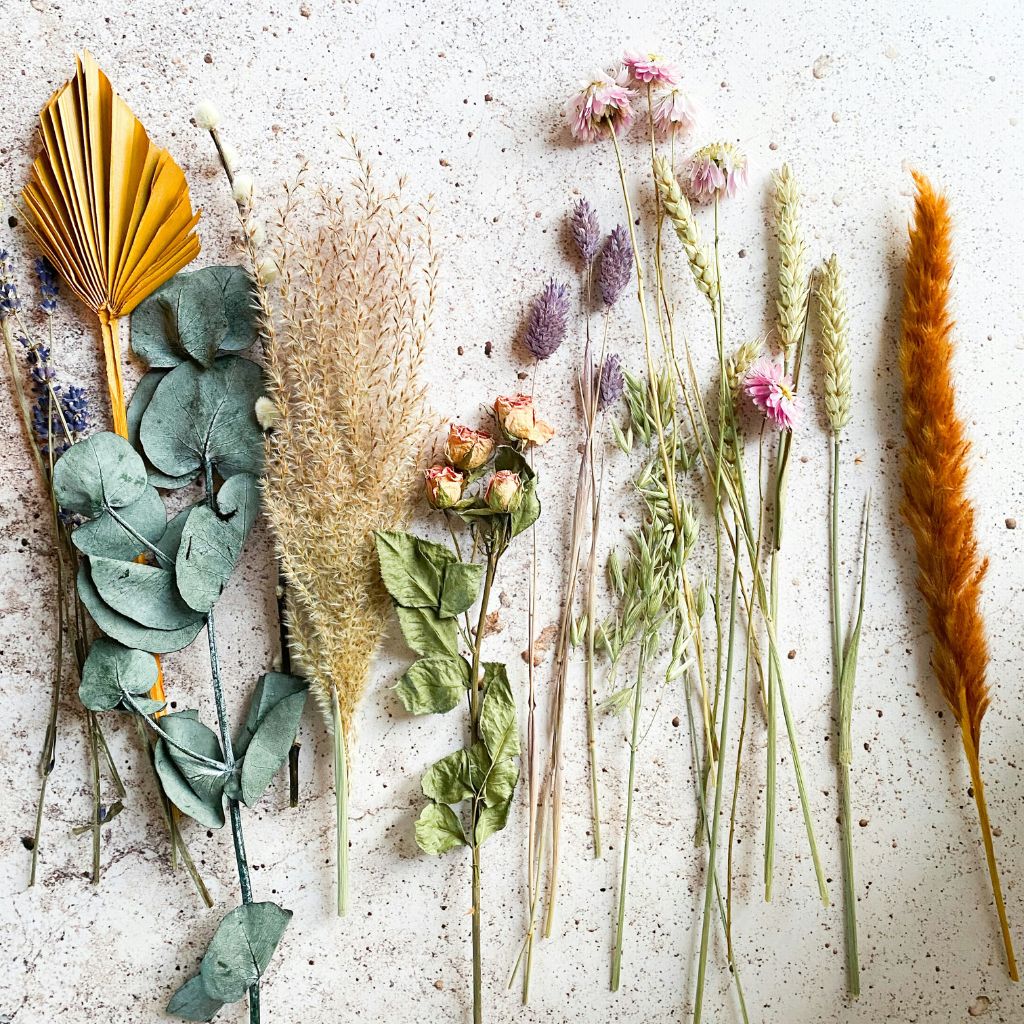
How to Choose Flowers for Drying
Not all flowers dry equally well , so it ’s authoritative to pick the right ones . Flowers with naturally vibrant colouring and strong stems are your near bet . Some peak that dry particularly well include :
It ’s undecomposed to foot bloom at their eyeshade — when they ’re just about to fully open but not yet wilting . If you wait too long , the flower petal may fall or become too fragile during the drying process .
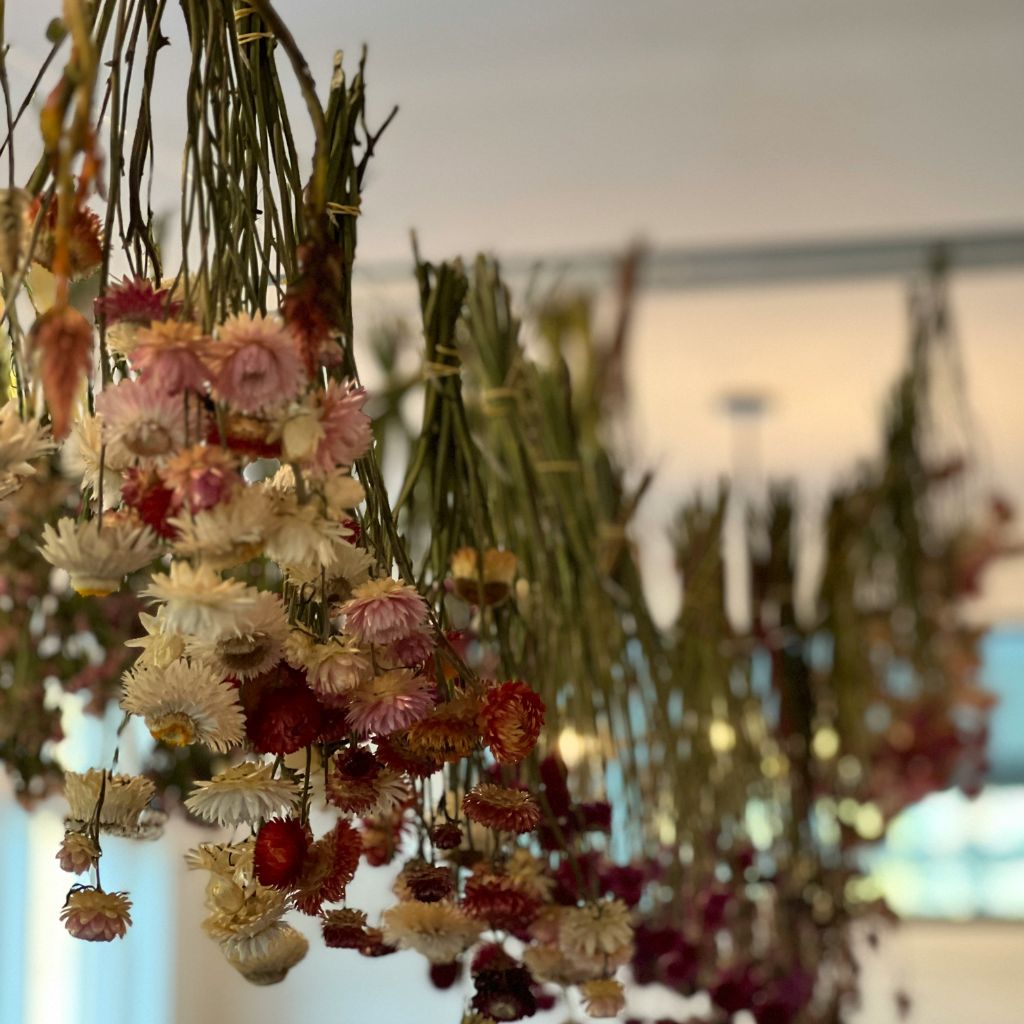
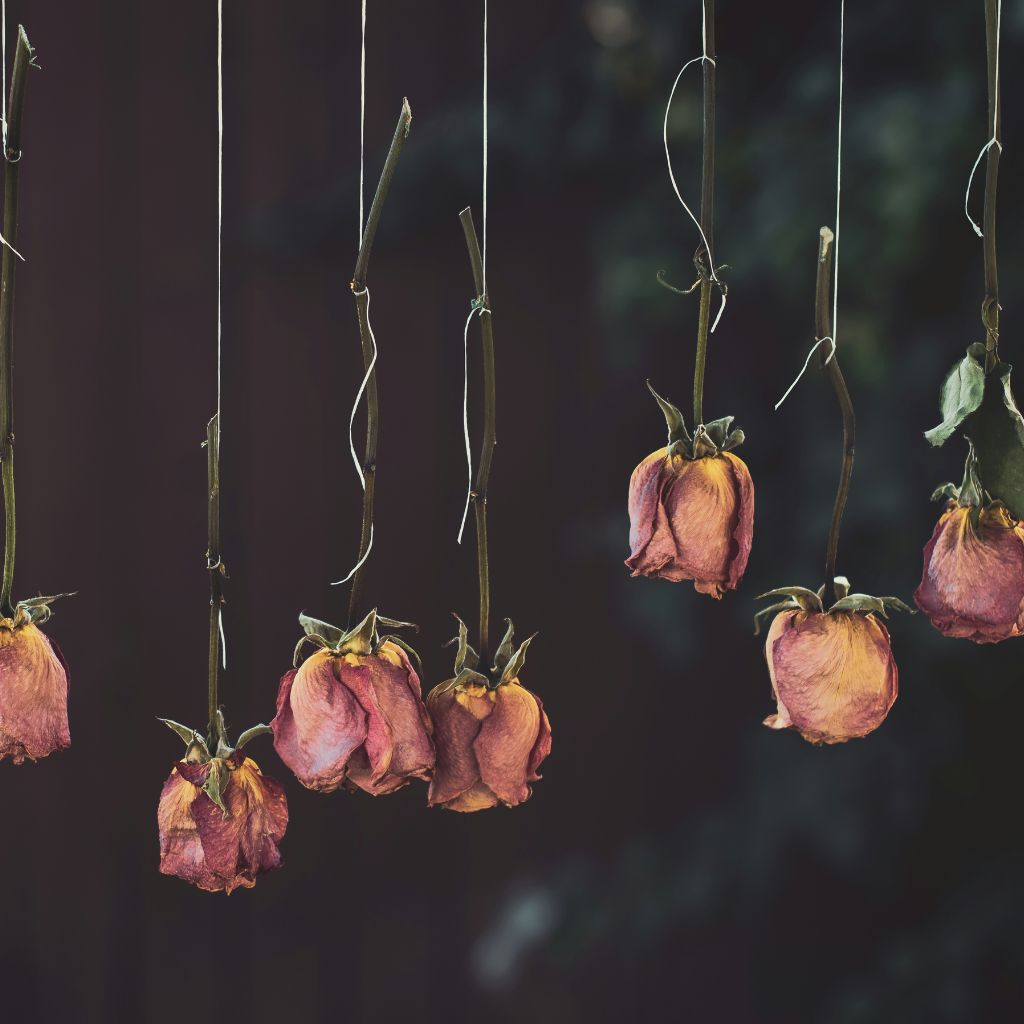
Method 1: Air Drying
zephyr dry is one of the previous and most traditional methods for drying flowers . It ’s childlike , does n’t require any special tools , and if done properly , it can help keep both the pattern and color of your blossom .
Steps for Air Drying Flowers:
1.Pick Your FlowersChoose flowers that are fresh and in full bloom . ensure to write out them betimes in the morning , after any dew has dry .
2.Prepare the FlowersRemove overabundance leaves from the stems . This will provide the flowers to dry quicker and keep moisture from getting trapped , which can cause mold .
3.Bundle the FlowersTie the efflorescence together in small bundles using twine or string . verify the stems are secure but not too tight to head off break down them .
© Canva
4.Hang Upside DownHang the flower bundles upside down in a ironical , dark , and well - ventilated expanse . Darkness avail to preserve the colour , and good tune circulation ensure that the flowers dry equally .
5.WaitAllow the flower to dry for about two to three calendar week . You ’ll know they ’re ready when the petals feel crisp to the touch and the stems are stiff .
Tips for Preserving Color:
To assist the bloom continue their color , string up them in a dark way with minimal vulnerability to sun . sun causes flowers to languish cursorily .
Consider using a fan to improve air circulation and speed up the drying cognitive operation without compromise the timbre of the peak .
Method 2: Microwave Drying
If you ’re looking for a loyal method to dry out flowers while preserving their colour , the microwave oven technique is a howling choice . Using a microwave avail to interlock in vivacious hues and works specially well for more delicate flowers .
Materials Needed:
Steps for Microwave Drying Flowers:
1 . Pick and Prepare Your FlowersChoose refreshful flowers , and remove any unwanted leave or extra stem .
2 . occupy a Microwave - Safe ContainerFill a shallow , microwave - dependable container with a layer of silica gel . This helps to preserve the flower ’s color and material body during the dry outgrowth .
3 . Place the Flowers in the Silica GelGently come in the flower face - up in the container and traverse them completely with more silica gel . Be careful not to crush the flower petal as you fulfil the container .
© Canva
4 . MicrowavePlace the container in the microwave and set it to average warmth . start out by zap the flowers for about 1 to 2 transactions . The metre will depend on the case of blossom and its size , so check them periodically to secure they ’re dry out by rights without burn .
5 . Cool and FinishAfter microwaving , cautiously dispatch the container and let the bloom sit in the silica gel for another 24 hours to finish the drying mental process . Once teetotal , softly sweep off the silica gel from the petal .
Silica gel works wonders for keeping flowers vibrant , as it absorbs wet while asseverate the construction and colour of the petal .
© Canva
Be cautious not to overheat the flowers , as they can lose their color and bod if microwaved for too long .
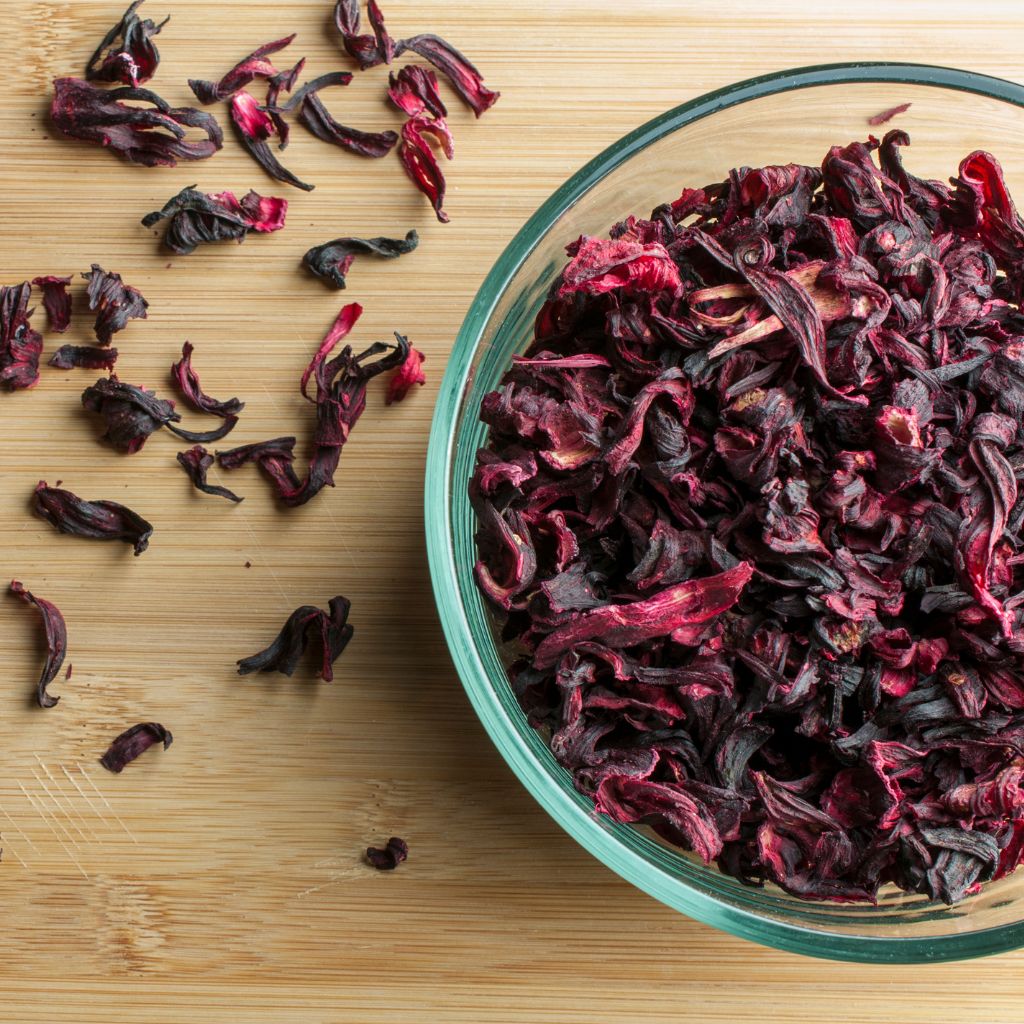
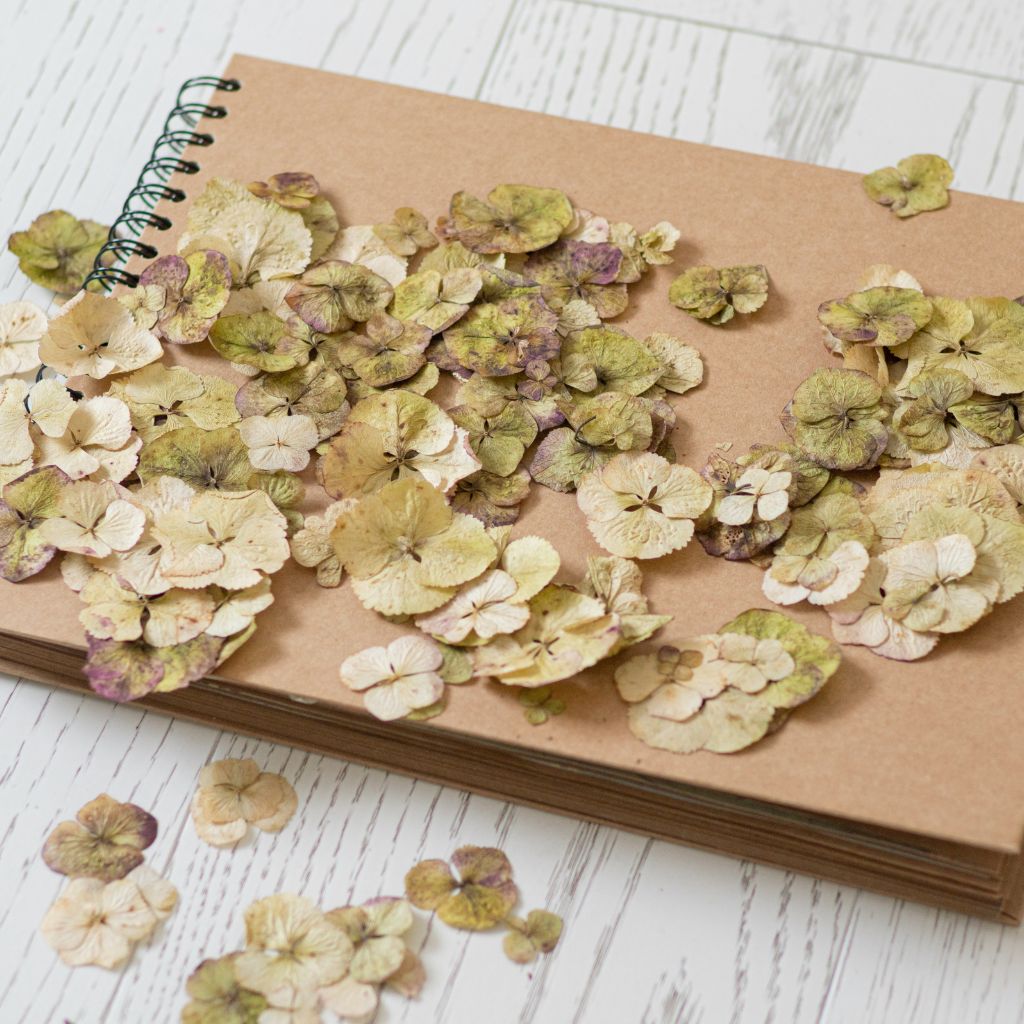
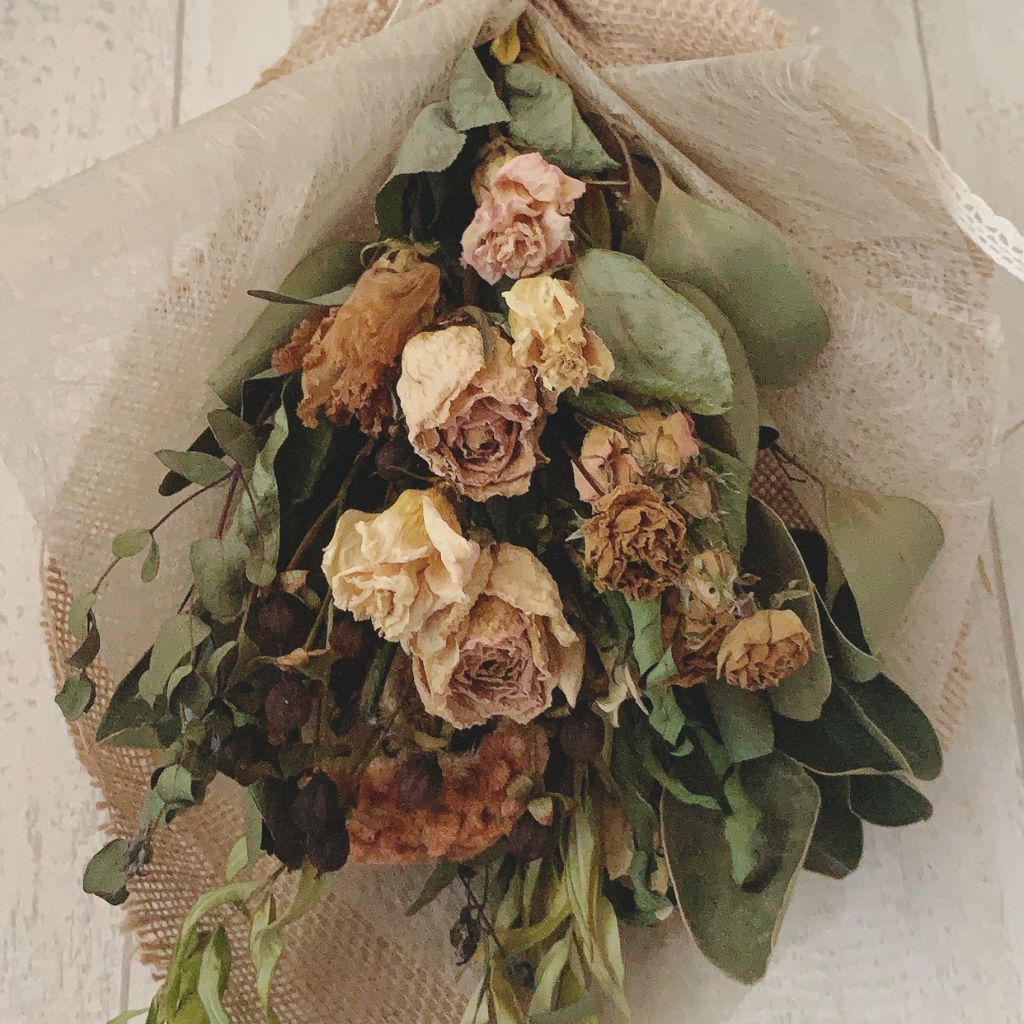
Method 3: Pressing Flowers
Pressing flowers is a simple method acting that ’s perfect for preserve colour , specially with categoric efflorescence like pansies , daisy , and reddish blue . Pressed flowers are great for artwork projects , bookmarks , or even frame as relic .
Steps for Pressing Flowers:
1 . Pick Fresh FlowersChoose flush that are n’t too thick , as flatter blooms contract better . If you ’re press thicker flowers , you might desire to dispatch some petals or leafage .
2 . Place in Between PaperLay the flowers between two sheets of parchment or blob composition . This help absorb moisture and prevents the flowers from sticking to the books .
3 . PressPlace the bloom and composition in between the Thomas Nelson Page of a heavy book . Stack additional books or free weight on top to apply pressure .
© Canva
4 . WaitLeave the flowers to press for 1 to 2 weeks . check out on them periodically to insure they ’re drying the right way .
5 . FinishOnce amply dry and flat , cautiously take away the flowers and utilise them in craftiness projects , framed graphics , or as a ornamental accent mark in your domicile .
To enhance the color saving , you could place the flower in a coolheaded , dark space while pressing . Light photo can dull the colour over time .
© Canva
Be sure to use absorbent paper to aid the flowers dry faster and maintain their resonance .
Method 4: Oven Drying
For a speedy and efficacious drying method , look no further than your kitchen oven . This method acting work well for sturdier flowers , such as rose or hydrangea , and the low heating avail conserve the colour .
Steps for Oven Drying Flowers:
1.Preheat Your OvenSet your oven to its lowest temperature , ideally around 100 - 150 ° F ( 38 - 65 ° coke ) .
2 . Prepare the FlowersPlace the flowers on a conducting wire rack or a baking tray lined with parchment paper . check that the flowers are evenly spaced to give up good air circulation .
3 . Dry in the OvenPlace the tray in the oven , leaving the door slightly open to allow wet to escape . permit the flowers dry out for about 2 to 3 60 minutes , checking on them periodically to ensure they do n’t over - dry or lose their color .
© Canva
4 . Cool and FinishOnce dry , take away the flowers from the oven and allow them to cool down . They should feel crisp to the touch and maintain their shape .
The Florida key to preserving color in the oven is to keep the temperature low and avoid verbatim sun . This minimizes the risk of fleet .
Sturdier efflorescence work best for this method , as frail flowers may become too brittle in the oven .

© Canva
Method 5: Using a Dehydrator
A intellectual nourishment dehydrator is n’t just for uphold fruits and veggie — it can be a antic tool for drying flowers as well . This method is loyal and efficient , locking in colouration while removing wet .
Steps for Dehydrating Flowers:
1 . Pick and Prepare FlowersSelect fresh blooms and remove any extra foliation . Place the blossom equally on the dehydrator trays .
2 . Set the TemperatureSet the dehydrator to its broken mise en scene , ordinarily around 100 - 110 ° F ( 37 - 43 ° vitamin C ) , and let the efflorescence dry out for several hr .
3 . hold in PeriodicallyKeep an eye on the flush as they dry , check they do n’t become too brittle or suffer their color .

© Canva
4 . FinishOnce the flowers are crisp and teetotal , take out them from the dehydrator and store or display them as desired .
Using a dehydrator allows for a dumb and steady drying process , which help maintain the flower ’s natural colors .
Like the oven method , it ’s important to quash over - drying the flowers , as this can dull their sonority .
© Canva
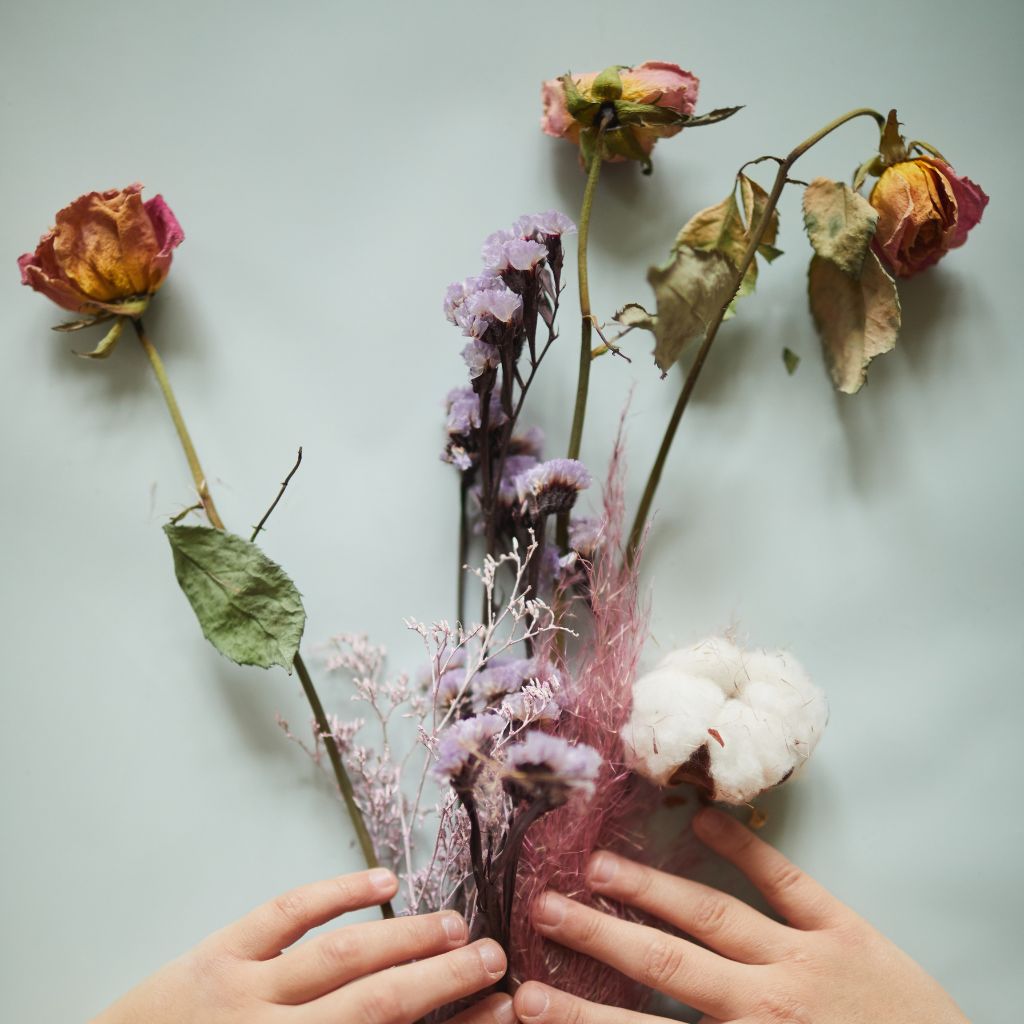
dry bloom is an enjoyable and rewarding process that lets you savor the beauty of your blooming long after they ’ve been picked .
Whether you ’re create a keepsake corsage , making pressed heyday art , or but preserve your garden ’s treasure , these dry out methods will help you do so quickly and effectively while keep the beautiful colors of your flowers .
pick out the method acting that works best for you , and before you get laid it , you ’ll have stunning dry flowers that are quick to exhibit in your home .
© Canva
© Canva
© Canva