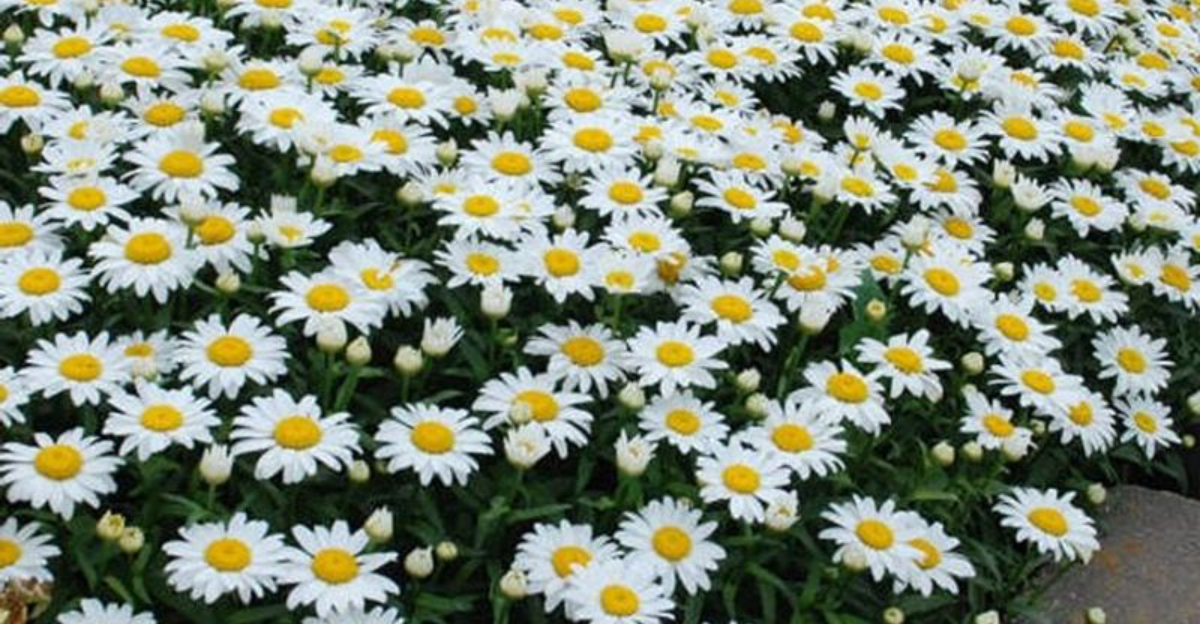
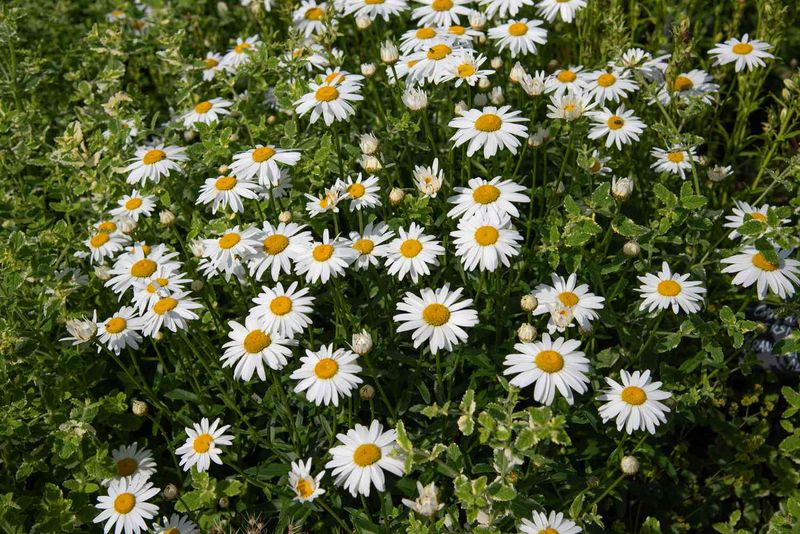
Discover the enchanting world of Shasta daisies with our template to 20 secrets that gardeners swear by for achieving arresting blooms .
These timeless dish , known for their pollyannaish clean petals and gay yellow centers , bring charm to any garden .
Whether you ’re a veteran gardener or just starting , these tips will aid you train robust , vibrant Shasta daisy that will make your garden the talk of the town of the neighborhood .
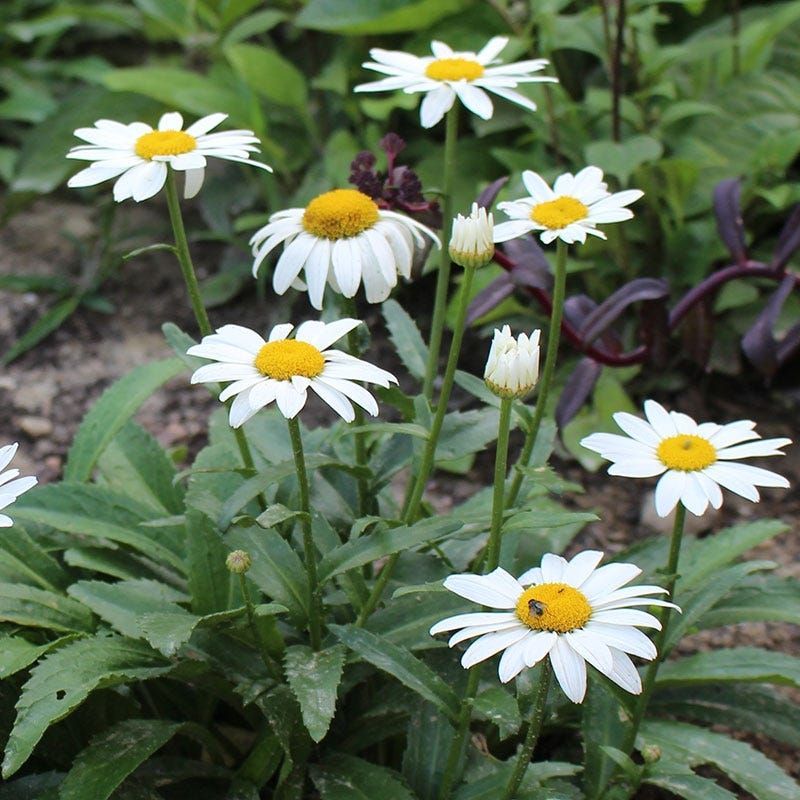
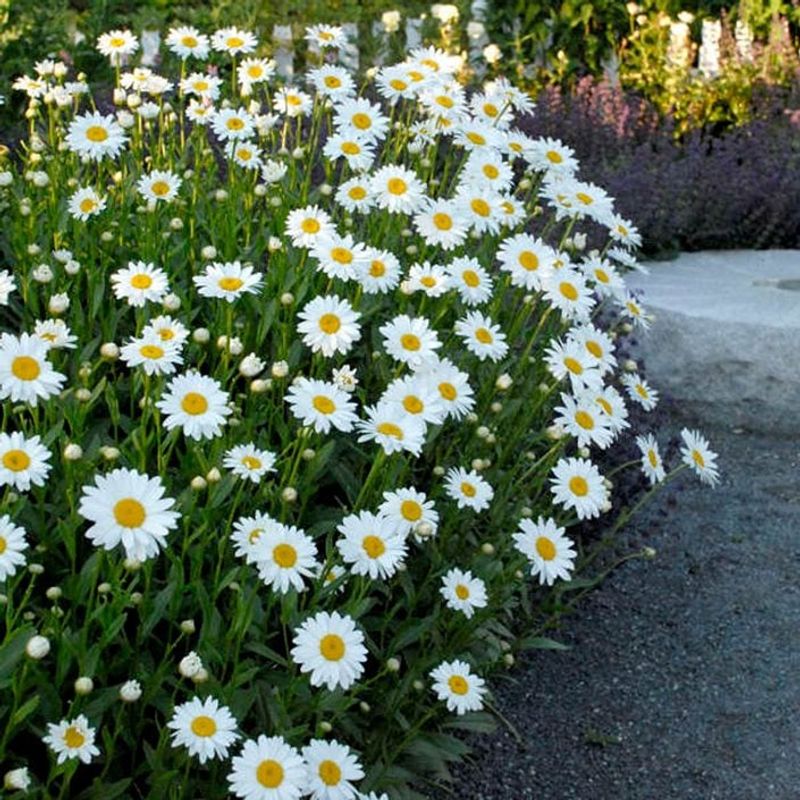
1. Choose the Right Variety
Selecting the right Shasta daisy variety is essential for your garden ’s success . Consider ‘ Becky ’ for its tall , stout stems or ‘ Snowcap ’ for a compact , neat coming into court . Each variety offers unequaled characteristics that can complement your garden purpose .
Whether you have ample outer space or a cozy garden bed , pick the right cultivar ensures that your Shasta daisies fly high and flower attractively . Be aware of your garden ’s demand and outer space constraints to make an informed choice .
The correct variety not only enhances your garden ’s aesthetic but also ensures sizeable ontogeny and abundant blossoming .
© American Meadows
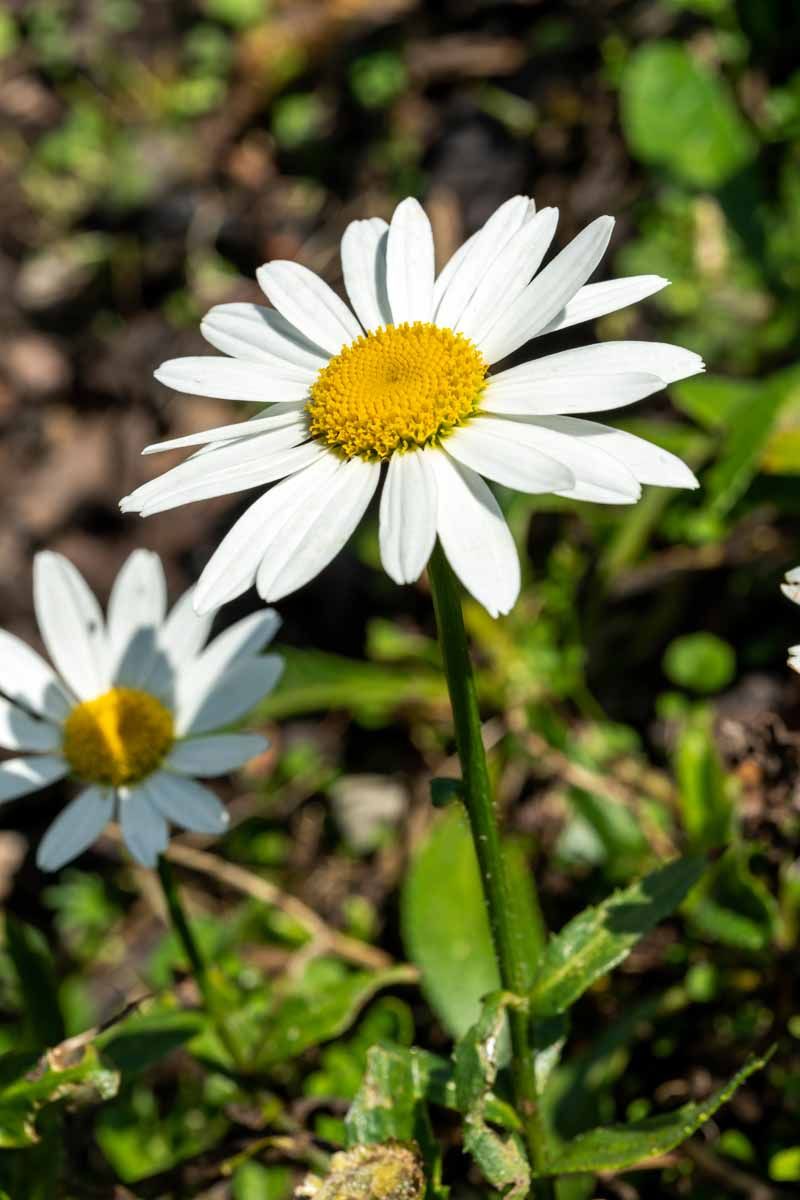
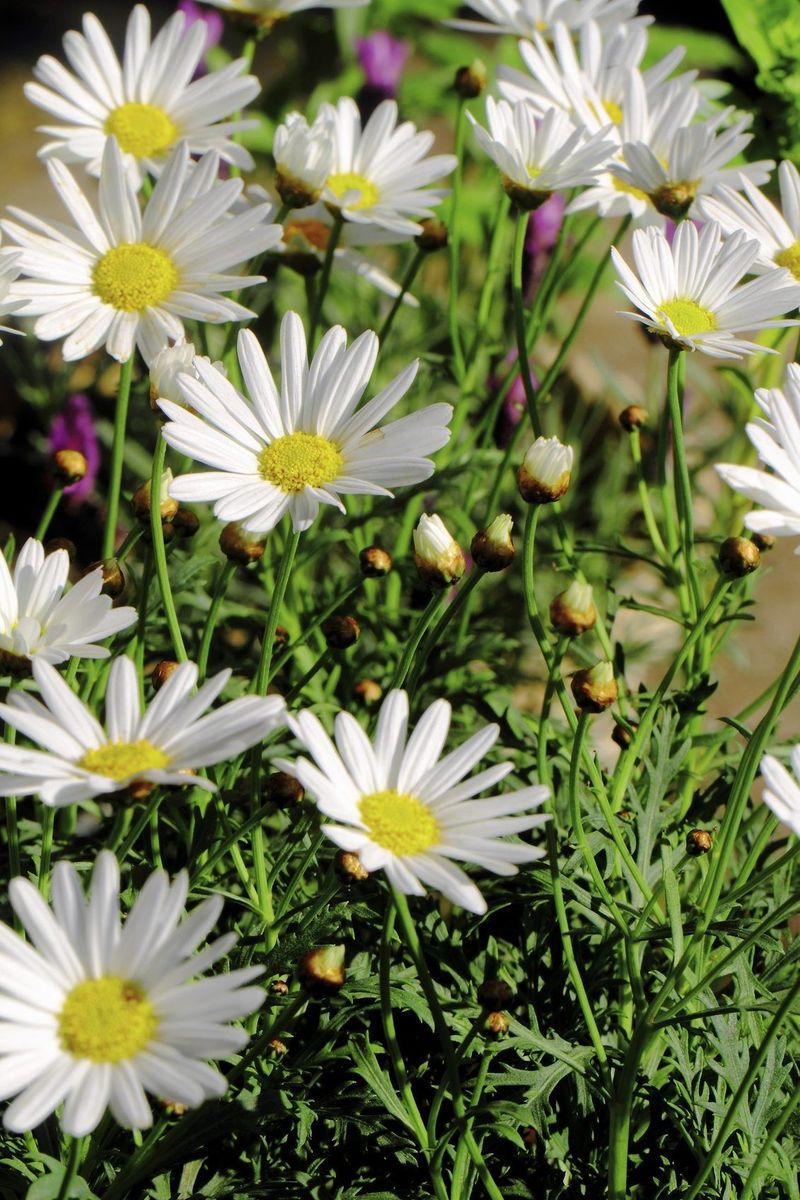
2. Plant in Full Sun
Sunshine is the lifeblood of Shasta daisy . These plant life thrive with at least six hr of direct sunlight each daytime . Position them in a gay spot to encourage vigorous ontogenesis and abundant efflorescence .
Without enough sun , daisies may become long-legged and make fewer prime . Full sun not only promote their beauty but also their resiliency , help them fend off blighter and diseases .
commemorate , fair to middling sun is essential for the photosynthesis procedure , which fuels their growth and blooming Hz , do your garden a radiant display of nature ’s good luck charm .
© Gardener’s Path
3. Well-Drained Soil is a Must
Shasta daisy despise sloughy roots . Ensuring well - drained soil is a non - negotiable tone for gardener . Incorporate gumption or compost to better drainage if your garden has heavy or clay soil .
This encourages healthy root system by preventing waterlogging , which can lead to theme rotting . The ideal soil is idle , allowing melody and moisture to circulate freely around the roots .
A proactive approach to soil preparation assure your daisies flourish , producing vivacious peak that stand tall and strong . retrieve , happy roots lead to happy plants that light up your garden with their ravisher .
© The Spruce
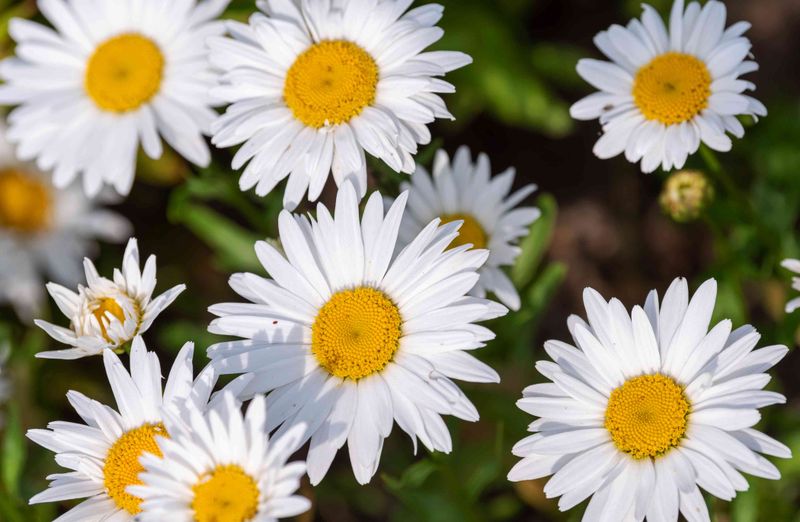
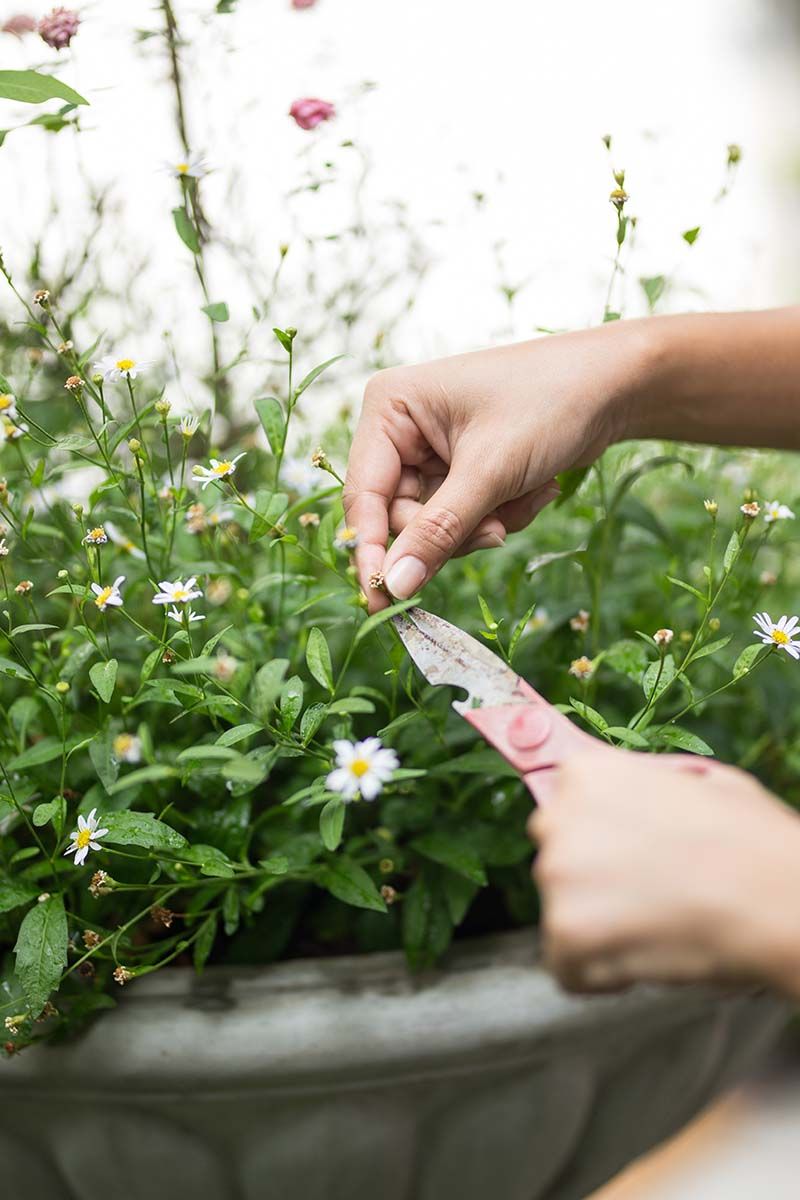
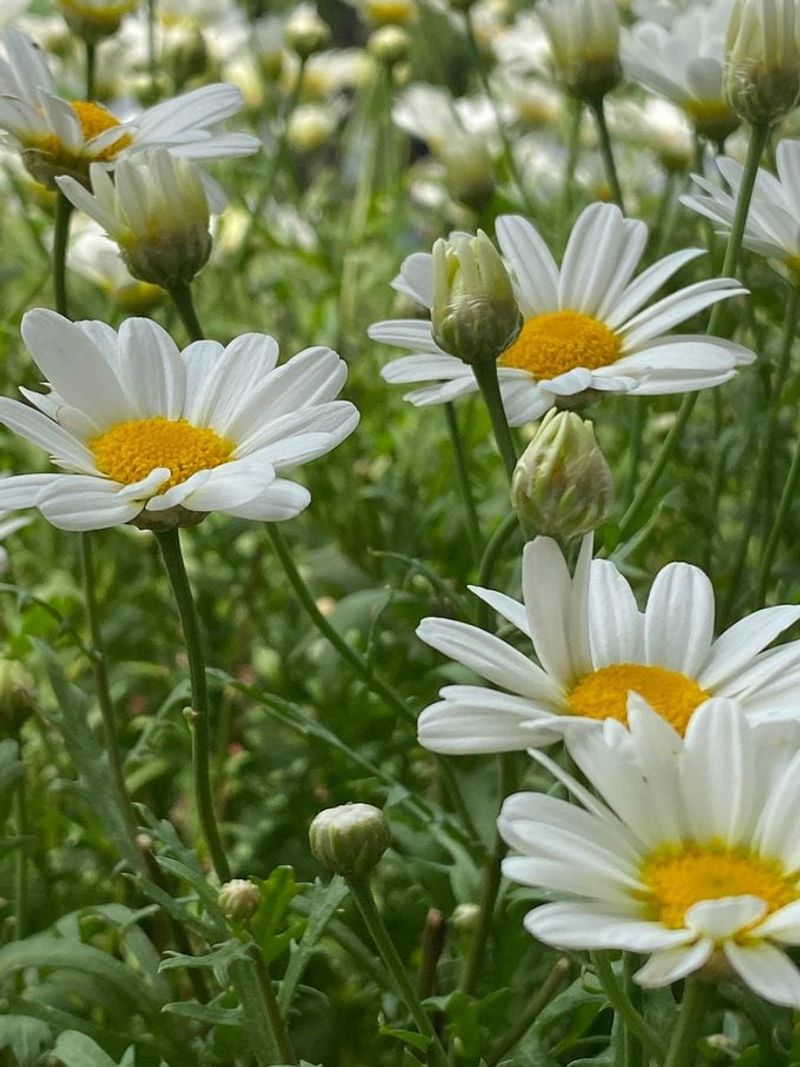
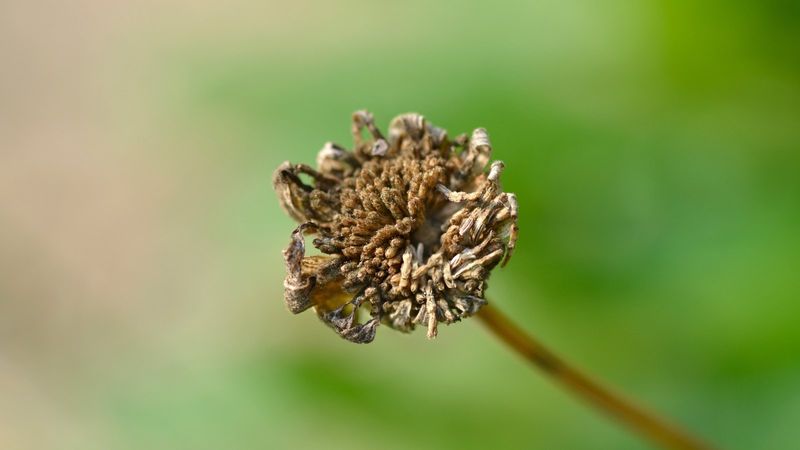
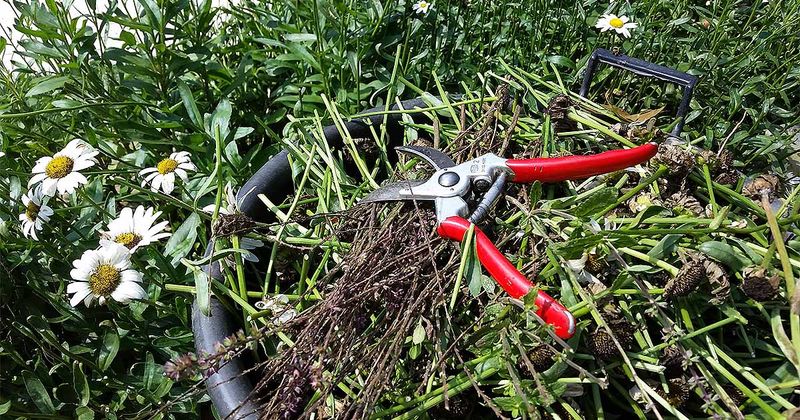
4. Deadhead Regularly for More Blooms
Regular deadheading keeps Shasta daisies blooming all season long . Removing spent flowers boost the plant to produce new blooms rather than expend push on seed production .
This simple task significantly extends the flowering period , ensuring a continuous show of vivacious , fresh blooms . Use unclouded , sharp pruning shears for precise cuts that minimize plant damage .
Deadheading also improves the plant ’s overall show , keeping it cracking and sizeable . Embrace this routine as part of your gardening practice to maximise the beauty and seniority of your daisy ’ delightful blossoms .
© Gardener’s Path
5. Don’t Over-Fertilize
It ’s well-heeled to think that more fertiliser mean more blooms , but not with Shasta daisy . Over - fertilizing , especially with mellow nitrogen fertilizers , can encourage leafy ontogeny at the disbursal of flowers .
Aim for a balanced or low - nitrogen fertilizer apply meagrely , once in natural spring . This provides essential nutrients without overwhelm the plants . A lightsome hand with fertiliser helps keep the correct balance , kick upstairs vibrant efflorescence while ensuring lush , green leafage .
commend , relief is central to keep a healthy , palmy garden that showcases the natural splendor of Shasta daisy .
© The Spruce
6. Water Smartly
Mastering the art of lachrymation is vital for Shasta daisies . These plants prefer cryptical , infrequent lachrymation , allowing their roots to grow potent and deep . Once established , they are unmistakably drought - tolerant , managing well with less frequent watering .
Overwatering can chair to soggy roots and works strain , so it ’s authoritative to have the soil dry out out somewhat between waterings .
monitor atmospheric condition condition and adjust your watering bit accordingly control your daisies remain healthy and resilient , quick to grace your garden with their stunning flowered exhibit . Water wisely for a garden full of life and colour .
© Planet Natural
7. Divide Every 2-3 Years
Dividing Shasta daisies every two to three years regenerate the plant , preventing overcrowding and promoting vigorous growth . former spring or fall is the complete clock time for this task . Use a needlelike nigger to jab up the clumps , ascertain you retain mint of source .
Split the clumps into pocket-sized plane section and replant them at the same depth they were growing . This cognitive operation not only encourages healthier plants but also allow for you to boom your garden with raw salad days .
Dividing is a rewarding practice that keeps your garden vibrant and full of life year after yr .
© Flower Magazine
8. Mulch for Moisture and Weed Control
Mulching is a nurseryman ’s best Quaker when it comes to Shasta daisy . A abstemious stratum of mulch help hold grease moisture , reducing the need for frequent lacrimation . It also act as a raw barrier against weeds , minimizing competition for nutrient .
Choose constitutive mulch like bark check or drinking straw for a natural face that complements your garden . disperse it evenly , leaving space around the base of the plants to forbid rot .
Mulching not only conserves water supply and reduces weeds but also adds an attractive finish to your garden bed , enhancing the overall esthetic .
© Dappled Skies and Diys
9. Pinch Early Growth for Bushier Plants
Want bushier Shasta daisies ? Pinch back former growth in leaping . This technique encourages the industrial plant to ramify out , resulting in stronger , more stocky maturation . The increased branching not only enhances the works ’s body structure but also leads to more efflorescence .
It ’s a simple yet in force manner to improve the appearance and performance of your daisy . Use your fingers or modest scissor hold to remove the tips of young shoots .
This small act of guardianship results in a full , more full-bodied plant life that will stand out in your garden with its lush foliage and abundant peak .

© PictureThis
10. Stake Tall Varieties
Tall Shasta daisy change can be prone to flopping , especially in nothingness or rain . Staking furnish substantive support , keeping your plant just and their blooms pristine . Choose stake that blend with the garden or enhance its aesthetical .
Insert them early in the growing season to guide the plant life as they grow . assure the stems loosely to deflect damage . right staking ensures that your daisies maintain their shape and continue to be a focal point in your garden .
This preventive step add together to the garden ’s appeal , showcasing your blooms at their best .
© Birds and Blooms
11. Watch for Fungal Issues
Fungal issues like powdery mould and root rot can plague Shasta daisies . see good air circulation around the plant is crucial to forestall these problems . Space your daisies adequately and avoid overhead watering to downplay moisture on the leaf .
on a regular basis inspect and transfer any diseased or dead foliage to maintain plant life health . These proactive steps help make an environment where fungi shinny to thrive , keeping your daisy healthy and vibrant .
A little vigilance go a longsighted path in preserving the beauty and longevity of your garden ’s floral treasures .

© Week
12. Don’t Cut Back Too Early
Resist the impulse to cut back Shasta daisies too early in the fall . Leaving the base intact over wintertime provides cold protection and aids biodiversity by offer solid food for pollinators with their seed head .
This natural approach not only profit the ecosystem but also add together wintertime stake to your garden . Come springtime , once the risk of exposure of frost has passed , you may trim back the old emergence to make way for Modern shoots .
By delaying your cutback , you ’re nurture a healthier , more resilient garden that ’s ready to flower beautifully when the warm months return .
© Gardener’s Path
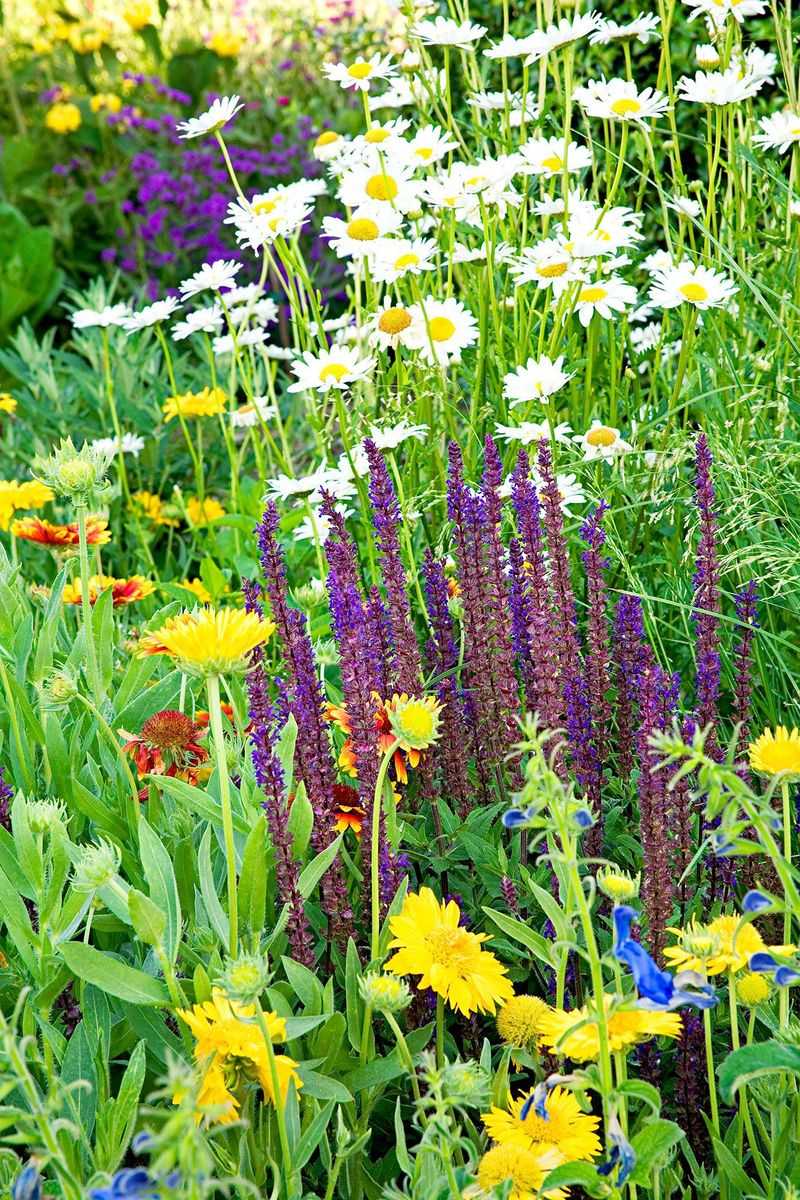
13. Plant with Companions
Pairing Shasta daisies with companion industrial plant like coneflower , pitch-black - eyed Susans , salvia , and coreopsis widen the flower meter and offers pest security . These combination produce a dynamic , visually appealing garden that boom from spring through fall .
Each flora complement the others , enhancing the overall garden blueprint . fellow traveler planting not only hike beauty but also promotes a goodly garden ecosystem by attract good dirt ball and dissuade gadfly .
Embrace this symbiotic relationship to create a lively and balanced garden that captivates with its colour and multifariousness throughout the maturate season .
© Better Homes & Gardens
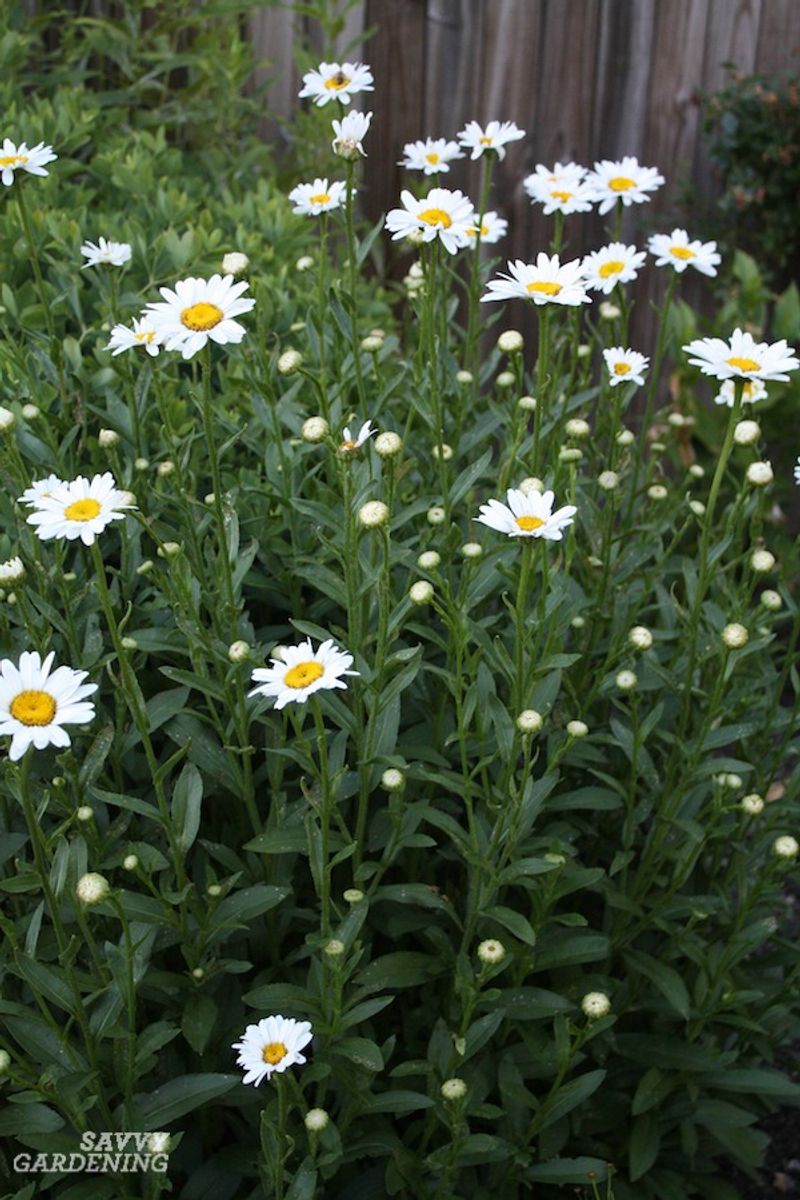
14. Use for Pollinators and Cut Flowers
Shasta daisy are a delectation for pollinators , attracting bee and butterfly stroke with their brilliant efflorescence . They make splendid cut flowers , lasting up to 10 days in a vase , land a touch of garden stunner indoors .
Their tough stems and large , cheerful heyday lighten any elbow room . By providing a nectar beginning , you patronize local pollinator population while enjoying their elegant front .
Whether left to bloom in the garden or arranged in a stylish bouquet , Shasta daisies volunteer versatility and charm . Celebrate these dual benefit by incorporating them into your floral repertory .

© Savvy Gardening
15. Start from Seed or Transplant?
begin Shasta daisy from seed is price - effective but requires forbearance , as they take fourth dimension to bloom . transplant offer a quicker route to flower , ideal for gardeners eager for immediate results .
Both method have their merits , so choose found on your timeline and gardening goals . seed provide the satisfaction of nurturing plants from the source , while transplants offer convenience and speeding .
Consider your skill level and available imagination to make the best alternative for your garden . Whether you seed seeds or works transplants , the journey to vibrant blooms is rewarding .
© Epic Gardening
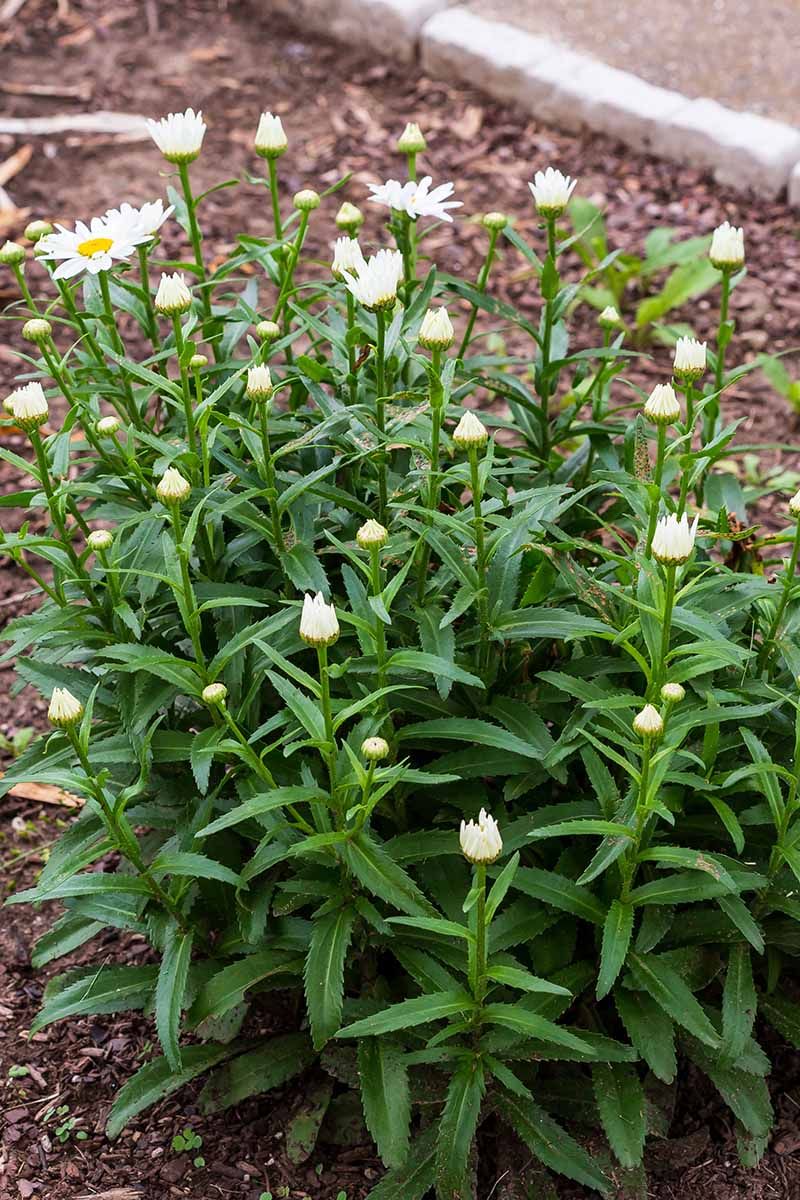
16. Prune in Fall or Early Spring
Pruning Shasta daisies can be done in downfall or other springiness , depending on your garden ’s need . cut back foliation to just above ground level once it browns and dies back . This further new growth and tidies up your garden bed .
Fall pruning can help gear up your garden for winter , while spring pruning remove honest-to-god growth to receive unfermented shoots . Both approaches insure that your daisy remain intelligent and vigorous , ready to produce abundant blooms .
Tailor your pruning routine to become your gardening style and climate for the best results .
© Gardener’s Path
17. Grow in Containers
Compact Shasta daisy multifariousness , like ‘ Snow Lady ’ , are perfect for container horticulture . This method brings the beauty of daisies to patios and balcony , offering flexibleness in garden design .
insure your container has drainage fix to foreclose waterlogging . Container - grown daisy require regular watering and feeding due to circumscribed soil book . The portability of containers allows you to move your daisies to optimum sunshine locations or protect them from harsh weather condition .
Embrace container gardening to revel Shasta daisies in pocket-size spaces , creating a vibrant , aliveness display wherever you choose .
© Gardening Know How
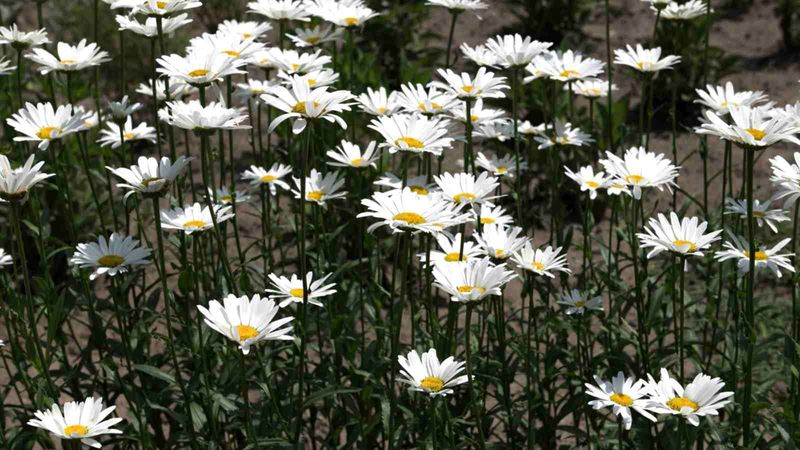
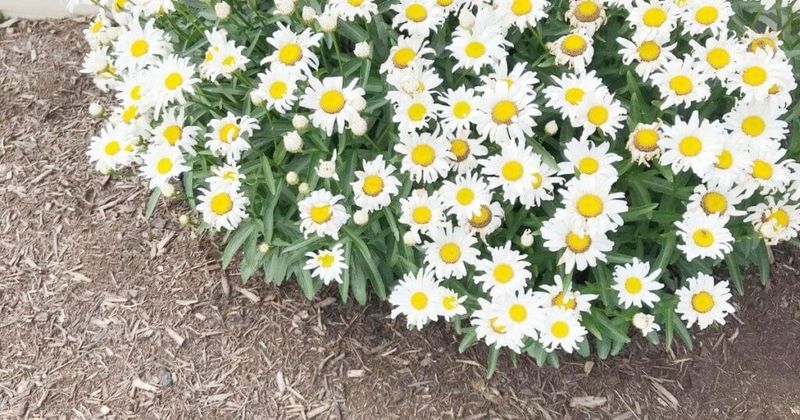
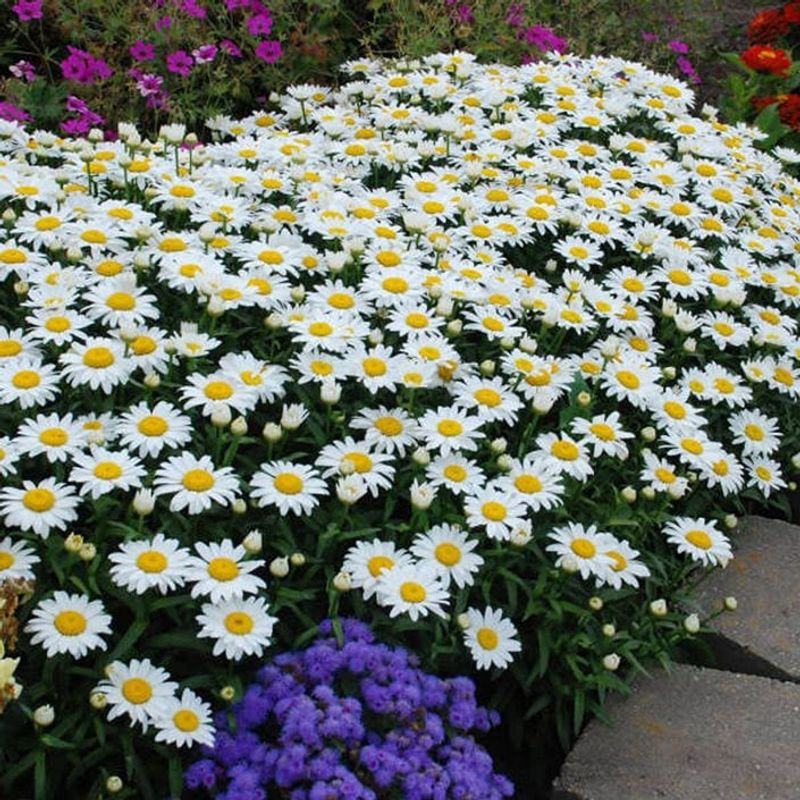
18. Avoid Overcrowding
Proper spatial arrangement is essential for goodish Shasta daisies . Plant them 12 to 24 inch asunder to ensure safe atmosphere circulation , which reduces the peril of disease . Overcrowding can extend to contender for nutrients , stunting ontogenesis and bloom voltage .
tolerable spacing allows each plant to get at sunlight and resources , promoting racy growth and a full display of blooms . By giving your daisy way to breathe , you further a thriving garden environs .
This heedful planning leads to healthier plants that provide a lavish , floral spectacle throughout the growing time of year .
© Garden Design
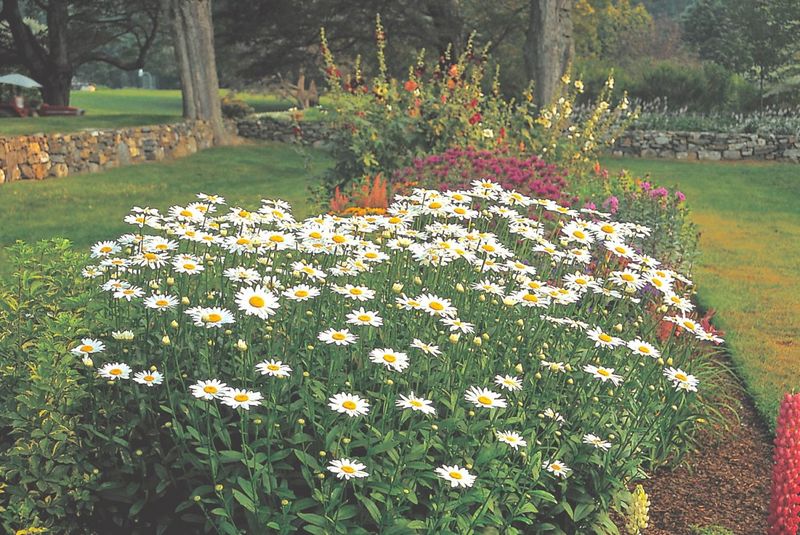
19. Use in Borders and Cottage Gardens
Shasta daisy are a classic alternative for molding and bungalow gardens . Their healthy , unsloped maturation substance abuse and long - lasting blooms make them ideal for structured or capricious garden styles .
As border plants , they define pathways and edges , creating a clean , cohesive look . In bungalow gardens , their freewheeling spirit complement other recurrent deary , adding layer of texture and colour .
Whether you prefer a formal or informal garden esthetical , Shasta daisies bring timeless spell and elegance . Embrace their versatility to enhance your garden ’s visual entreaty and create a welcoming outdoor outer space .
© Garden Design
20. Be Patient the First Year
The first year with Shasta daisies require longanimity as they instal their roots . Initial increase may be slow , and bloom sparse , but pore on build a hard foundation . Healthy roots are vital for future outgrowth and abundant blossoming in subsequent twelvemonth .
Provide reproducible care and resist the urge to overmanage . By the second twelvemonth , your longanimity will be rewarded with more racy plants and a profusion of blooms .
retrieve , gardening is a journeying , and nurturing these daisies today rig the stage for a flourishing garden in the season to add up .
© Savvy Gardening
