We may earn revenue from the products available on this page and participate in affiliate programs . Learn More ›
Even if a way does n’t have an outside paries , it does n’t require to be windowless and stuck without a source of lifelike light . While traditional window impart some natural light around the perimeter of the base , those national space , stairwell , and residence that are n’t on the perimeter can benefit from Christ Within from above . ( For those rooms that do n’t have lineal admission to the roof , a cannular fanlight is an option . ) However , before you trust to it , it ’s a good approximation to learn how to establish a fanlight .
In addition to the welfare of natural light , a ventilate skylight installation can increase the airflow through the abode , allowing impudent air to circulate back into the home as stale air escape cock , without postulate to give neighbor a peek straight off inside the house . expend this templet to find out more about skylight installation , what to know about rent a professional for the Book of Job , and how this abode upgrade can improve the look and mapping of a family .
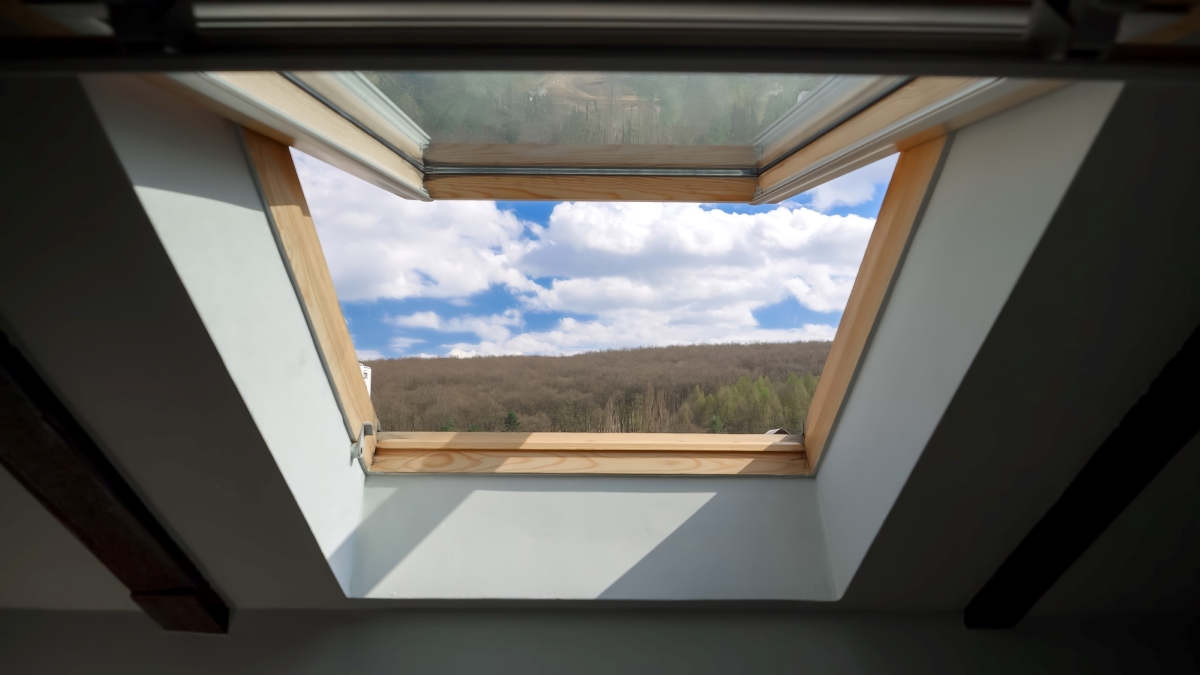
Photo: Kryzhov/Depositphotos
Benefits of Skylights in the Home
Since it ’s a big project , it ’s important to have a unspoiled reason of the benefit of this rising slope before hiring a crew to instal a skylight . The upsides of this home upgrade include :
Can I Install a Skylight Myself?
Knowledgeable DIYers can learn how to put in a fanlight , but it ’s necessary to note that this is a dangerous projection that can be both difficult and hazardous for inexperient DIYers . To fill out this type of work , installers use a measuring tape , carpenter ’s hearty , plumb lineage , and hammer to assess and mark the installation location , then they rely on a manus saw or electric saw to write out a hole through the roof , before frame in the skylight frame . It ’s also not a one - mortal job .
give that the skylight must be instal through the roof , skylight installersneed to rely on their breeding and experience with ladders and fall stoppage equipment to remain safe on the job . Similarly , installers need to be able to create an installation architectural plan , take detailed measuring , and accurately cut through the ceiling of the home . With this in brain , installing a skylight is a problem that should be left to a professional contractor or extremely experienced DIYers .
Skylight Installation Cost
have that askylight installation costcan range from $ 1,000 to $ 2,700 on mean , homeowner who are concerned in learn how to correspond a skylight need to consider the potential fanlight replenishment cost before starting this type of project . On average , installing a new skylight will cost about $ 1,860 , but the cost range for this labor can rebel reckon on the size of it , locating , andtype of fanlight .
Similarly , the cost of the installation can increase base on the type and sales pitch of the roof , accessibility , and the local labor rate . Before start this project , get quotation mark from at least three reputable skylight installment companies in your domain to ensure you are getting a fair terms for the body of work .
What to Consider Before Installing a Skylight
Adding a fanlight offers a mess of welfare , but there are some drawback and other factors to consider before installing a fanlight , including DOE efficiency , cap character , roof slope , roof precondition , news leak , and potential for trash dyke formation .
How to Install a Skylight
Installing a skylight can be a great room to improve natural light and air flow throughout a home , but this is n’t a project that most DIYers can handle , specially due to the potential difference for personal wound that total with work on the roof . However , it ’s still a good idea to have a basic understanding of the steps and processes involved with fanlight installing before hiring a crew of professionals .
Step 1: Measure the pitch of your roof.
Before selecting a skylight style , the slant of the cap will need to be quantify to limit which eccentric of skylight is suitable . kerb - mounted skylight are best for homes with more or less flat roofs , where the pitch is less than 3/12 . If the pitch exceeds 3/12 , then the installer should put in a deck - mounted skylight for the best issue .
To recover the pitch , measure the horizontal aloofness from the peak of the ceiling to the exterior paries , which is otherwise know as the run , then measure the vertical lift from the base of the cap to the peak of the cap . Finally , part the rise by the footrace to determine the slant or gradient of the cap .
Step 2: Plan skylight placement.
fanlight do n’t just sit on top of the roof . The installer will need to figure out where the skylight can be placed inside the home , where it wo n’t interfere with any structural dower of the cap or frame system . Ideally , the fanlight should be positioned in a room , hall , or stairwell that have small to no natural light and has no obstructions , including organ pipe , drains , vents , or wiring .
take note : If any structural portion do need to be removed , make certain to check the local construction codes and determine the skylight frame requirements before legal proceeding .
Step 3: Cut a rough opening from inside.
After select the location for the skylight facility , the installer will need to locate the rafters using a stud viewfinder . Mark the skylight installment position between the baulk , then slew the rough porta using a dry wall byword . Remove the cut drywall and any insulation or other debris to get a clear sentiment of the underside of the cap .
From inside , force back a deck of cards make out up through the roof at each turning point of the rough opening . This will make it gentle to measure and edit the fanlight hole in the ceiling of the place .
Step 4: Remove roof shingles.
Locate the screws that were driven up through the roof , then expend a chalk line to mark the destine position of the skylight . Strip the shingles inside the marked area and about 6 to 12 in outside the marked expanse . If the shingle are in expert contour and remotion is done right , the shingles may be able to be reused .
After removing the shingles , refashion the outline with the chalk line if ask . Then the installer or a benefactor can remove the gaoler that were acting as a guide .
Step 5: Cut into the roof.
Before cutting the roof , be careful to debar pace on the cutout as you run . It could collapse under weight . To snub the gap , follow the chalk bloodline create in the previous dance step to cut out a kettle of fish in the roof for the skylight . Use a round adage to cut along three sides of the quarry opening . A supporter involve to be inwardly to help hold the roof cutout as you cut through the 4th side . This forbid the cutout from simply falling and hurting someone or damage the storey or furniture .
make the opening for skylight instalment by nailing down sheathe around the perimeter of the opening , then attach a strip of self - adhesive membrane along the bottom bound of the opening . If you are installing a curb - mounted skylight , you will call for to measure and cut several 2x6s to make a orthogonal chassis around the opening , then get nails in at an angle to toe this curb bit to the roof .
Step 6: Place the skylight.
Ask the helper to elapse the skylight up through the curtain raising from at heart to get it onto the roof . Rest one bound of the fanlight against the bottom edge of the sill , then gradually low the rest of the skylight onto the cap .
When it ’s in position , tug 2 - column inch roofing nails through the fanlight brackets . For American Stock Exchange - mounted skylights , repulse the nails into the curb , but for deck - jump on fanlight , the nails should be driven into the nearby rafters for support .
Step 7: Seal the sides of the skylight.
body of water can enter through the skylight if it is not sealed properly . Cover the bottom boundary of the fanlight with a strip of rainproof membrane , which should extend about 6 inches past the sides of the skylight .
Where it extends out from the skylight on either side , cut a 45 - academic degree cunt in the tissue layer , then secure the top part of the cut membrane to the fanlight frame and the bottom part of the cut tissue layer to the roof . ingeminate this process to seal off the top and both position of the fanlight in the same style .
Step 8: Add the sill and step-flash the sides.
Nail the roof shingle back into place around the bottom of the fanlight . Slide the U - shaped metallic element sill over the bottom of the skylight , then nail it to the ceiling at the top away corners of the sill . compensate the exposed sides of the sill with shingles , then begin installing the step - flash .
With the first L - influence objet d’art of whole step flash , overlap the top half of the shingles that are covering the sill flashing . Drive two nail through the top external quoin to bear it in place , then cover it with a shake . Overlap the next stair flash piece of music on top of the shake , before securing it again with a nail on the top away corner . Place another shingle on top of that tone flashing spell , then keep alternating step flash composition and zoster on both sides of the fanlight .
Use counterflashing strip that snap onto the rim of the skylight to embrace the upright legs of the step flash . Next , lift the shingle above the fanlight , write out the underlayment sheeting , and slide the top edge of the saddle scoot through the slit in the underlayment . Position the flash against the skylight , then lift the shingles and secure the flashing at the top corners with a few nails , before adding the net layer of shingles over the flashing .

Photo: bizmaker/Depositphotos
To finish this rising slope projection , return inside and replace any insulant that was remove during the installation mental process . Installers can practice metallic element corner string of beads to create a border around the fanlight or they can choose to use dry wall clay and tape to patch up the drywall . If there is extensive harm , the exist drywall may need to be removed and replaced with raw dry wall sheets that are trim to the specific proportion of the skylight . Afterpatching the drywall , detail the trimming , and then premier andpaint the ceilingand any trim to eat up the job .
How to Maintain Your Skylight
skylight do n’t require a lot of maintenance to keep them in just shape , but there are some steps homeowners should keep an eye on to ensure the skylight remain both functional and aesthetically attractive .
stick around on top of the following fanlight maintenance tasks to extend the liveliness of the skylight and keep it dust - free .
Everything You Need for a Lush and Healthy Lawn

Photo: Vaicheslav/Depositphotos
maintain your sens green and your plants thriving does n’t just take a green pollex — it starts with the right tool and supplies .
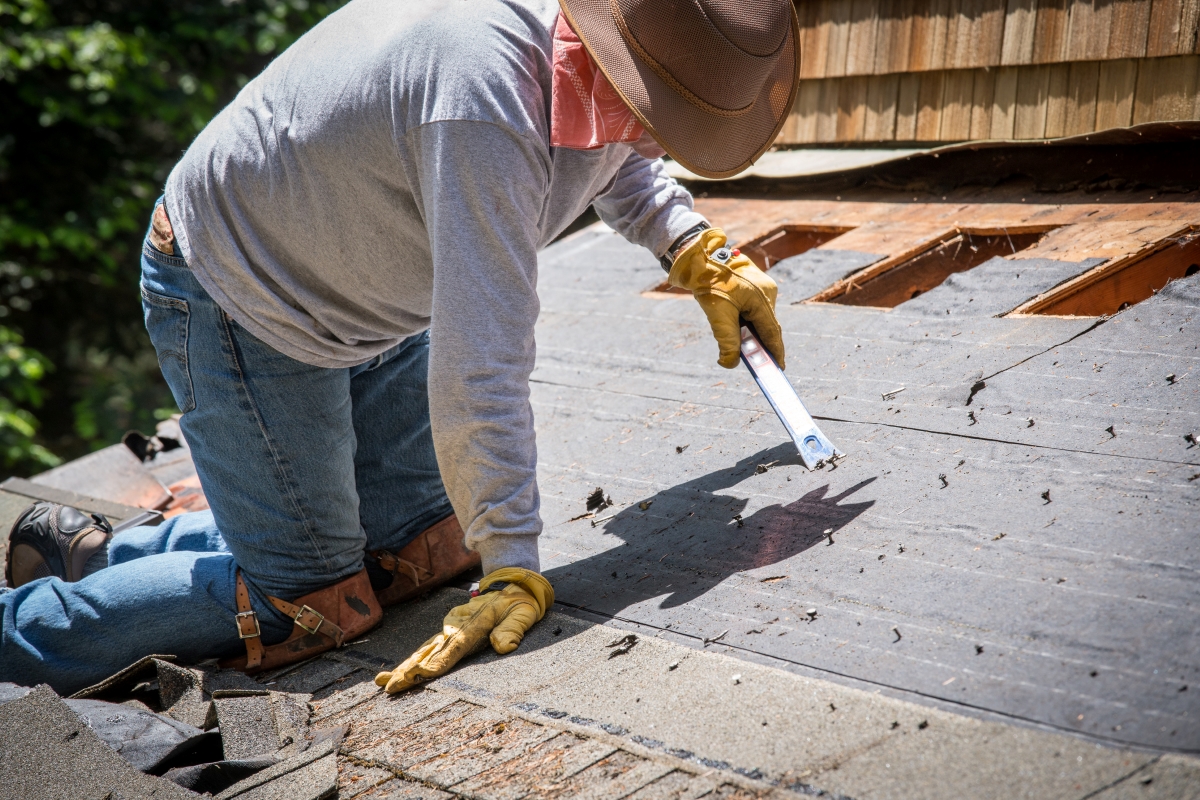
Photo: Bill Oxford/Et+ via Getty Images

Photo: bizmaker/Depositphotos

Photo: Huntstock/Brand X Pictures via Getty Images

