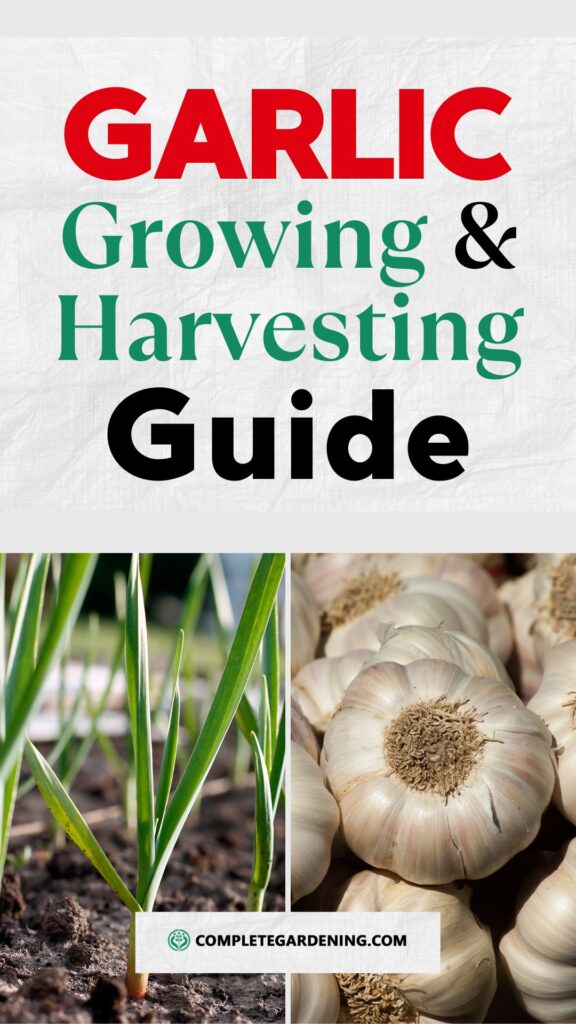
transmute your cooking with the productive , aromatic flavor of homegrown garlic ! This powerful light bulb not only heighten countless dishes but also propose health benefits like boost resistance and heart and soul health .
Easy to grow , garlic suits gardeners of all levels . This scout will walk you through each pace , from selecting the best variety to harvest and storing your craw .
Whether you ’re an experient gardener or just starting out , you ’ll learn how to cultivate garlic that ’s fresher and more flavorful than stock - buy . get ’s search the joys of originate your own ail !
Why Grow Garlic?
Garlic is not only a culinary delight but also boasts legion health benefits .
It ’s known for its antibacterial , antiviral , and antifungal properties , and it ’s rich in vitamins C and B6 , manganese , and selenium .
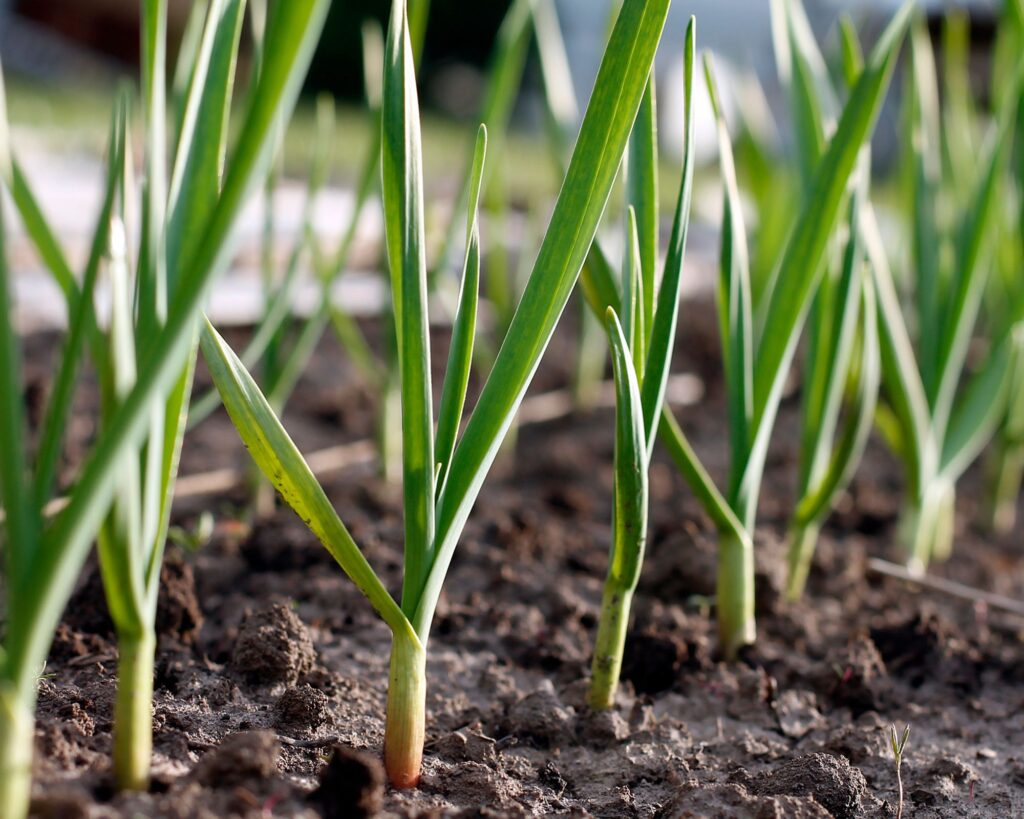
Growing garlic is comparatively promiscuous and call for minimal space , make it an fantabulous option for both seasoned gardener and beginners .
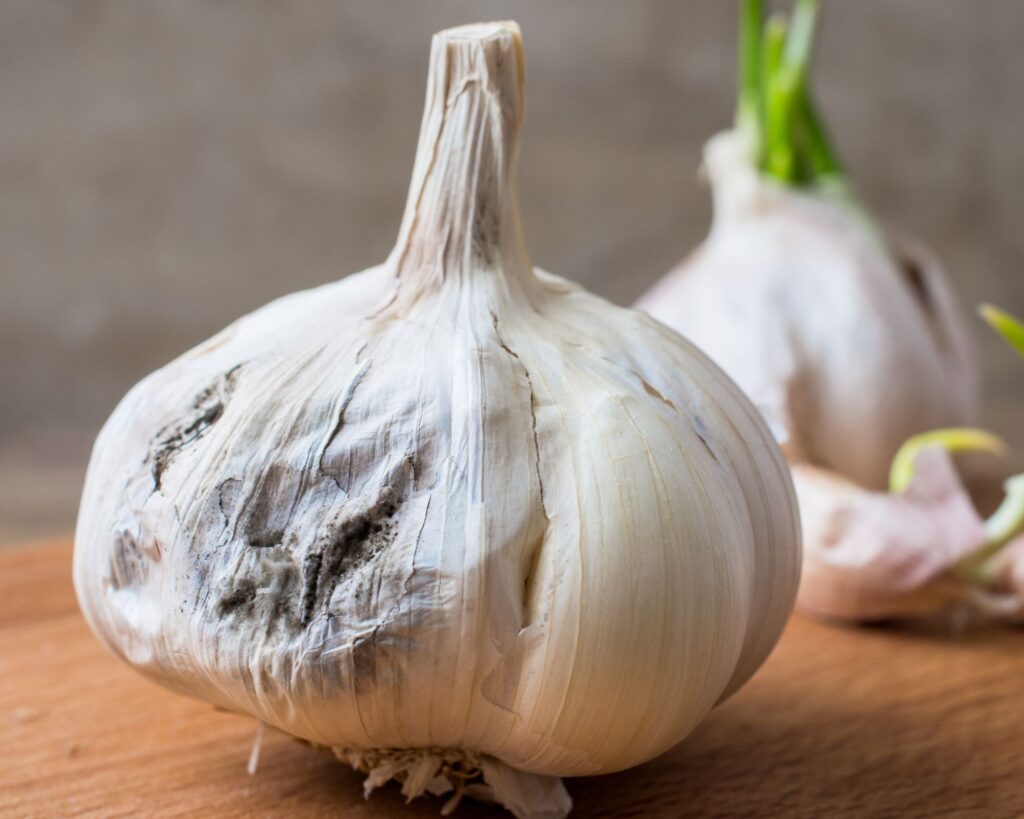
©Canva
Selecting the Right Variety
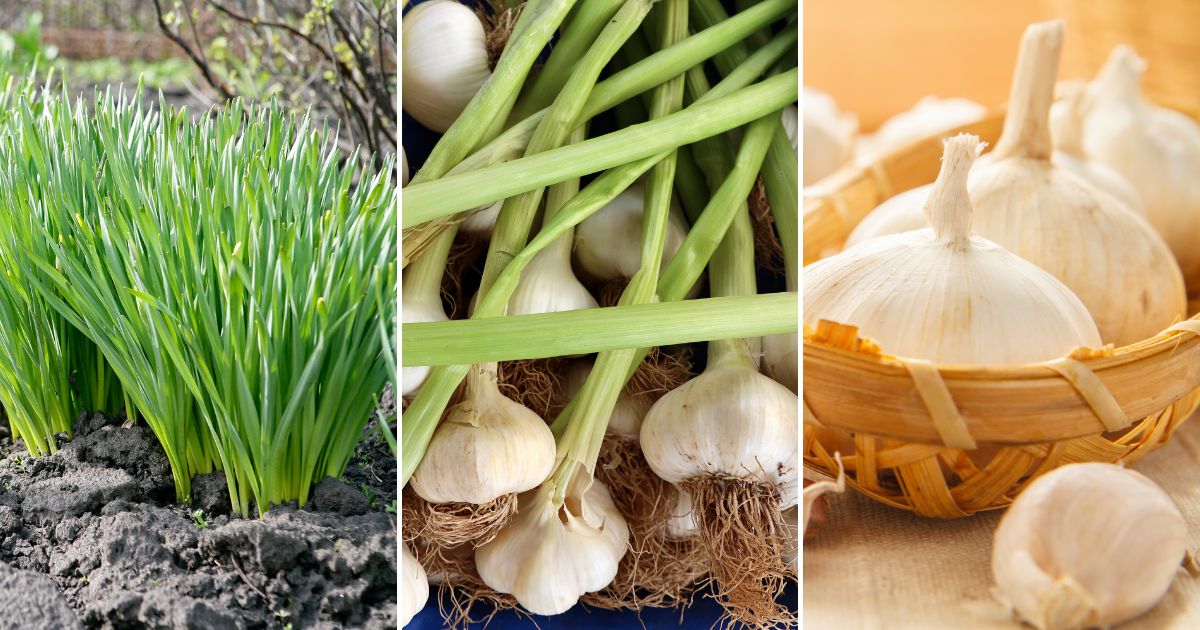
Garlic comes in two main types : hardneck and softneck .
Preparing the Soil
Garlic thrives in well - drained , prolific soil with a pH between 6.0 and 7.0 . Here are the steps to prepare your grime :
1.Choose the Right Location : Select a sunny spot in your garden that receives at least six hours of direct sunshine daily .
2.Test the Soil : lead a ground test to determine its pH and nutritive point . Amend the soil with compost or well - rotted manure to improve fertility .

Source: Reddit
3.Prepare the bottom : Loosen the soil to a deepness of at least 12 inch , removing any weeds or dust . Create raised bed if your soil is heavy clay to control proper drain .
Planting Garlic
Garlic is typically planted in the fall , about six weeks before the first hard frost . Here ’s how to do it :
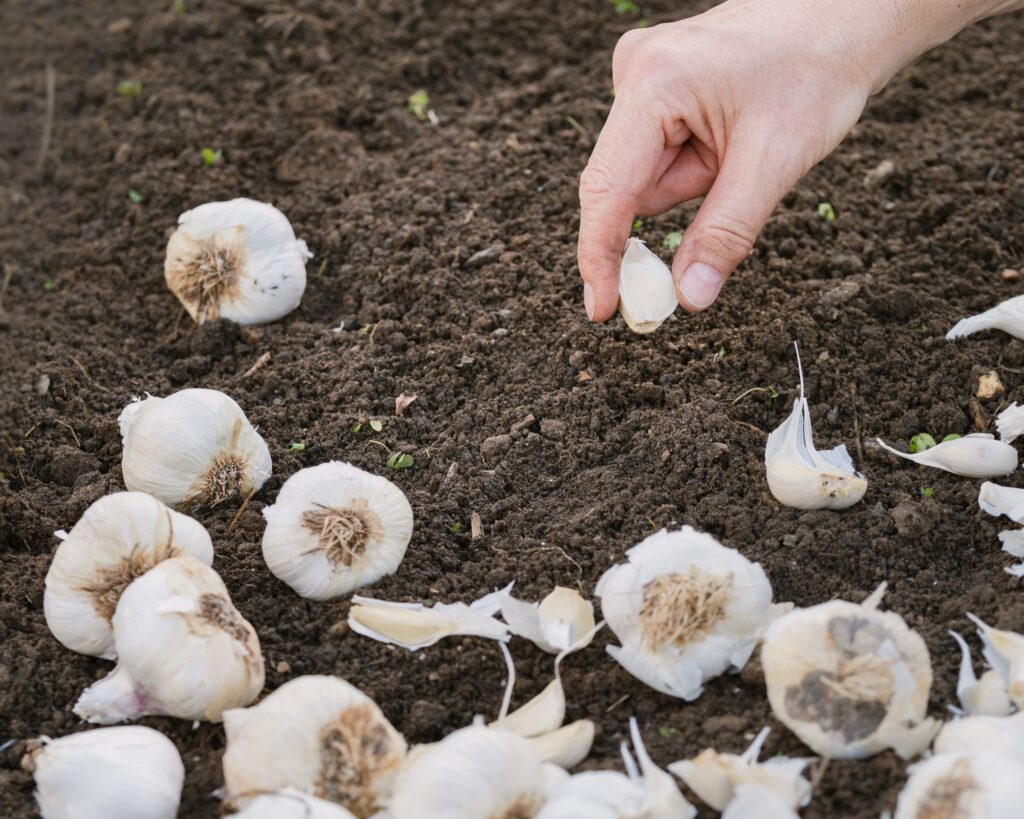
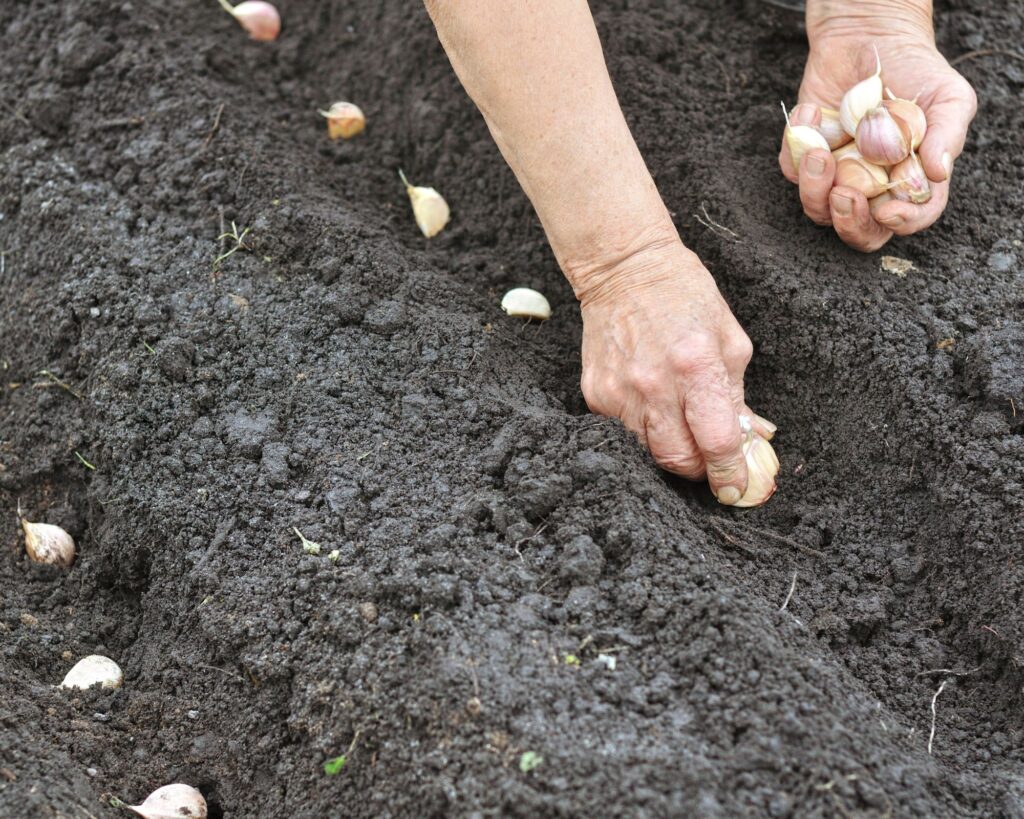
1.Separate the Cloves : Break apart the garlic bulbs into individual cloves , leave the papery peel inviolate . pick out the gravid Eugenia aromaticum for planting as they will produce the bad lightbulb .
2.Plant the Cloves : constitute the clove about 2 inches deep , with the pointed death facing up , and space them 6 inches apart . Rows should be space 12 column inch apart .
©Canva
3.Mulch : use a 3 - 4 inch stratum of mulch , such as stubble or leaves , to isolate the soil , hold moisture , and suppress locoweed .
Caring for Your Garlic
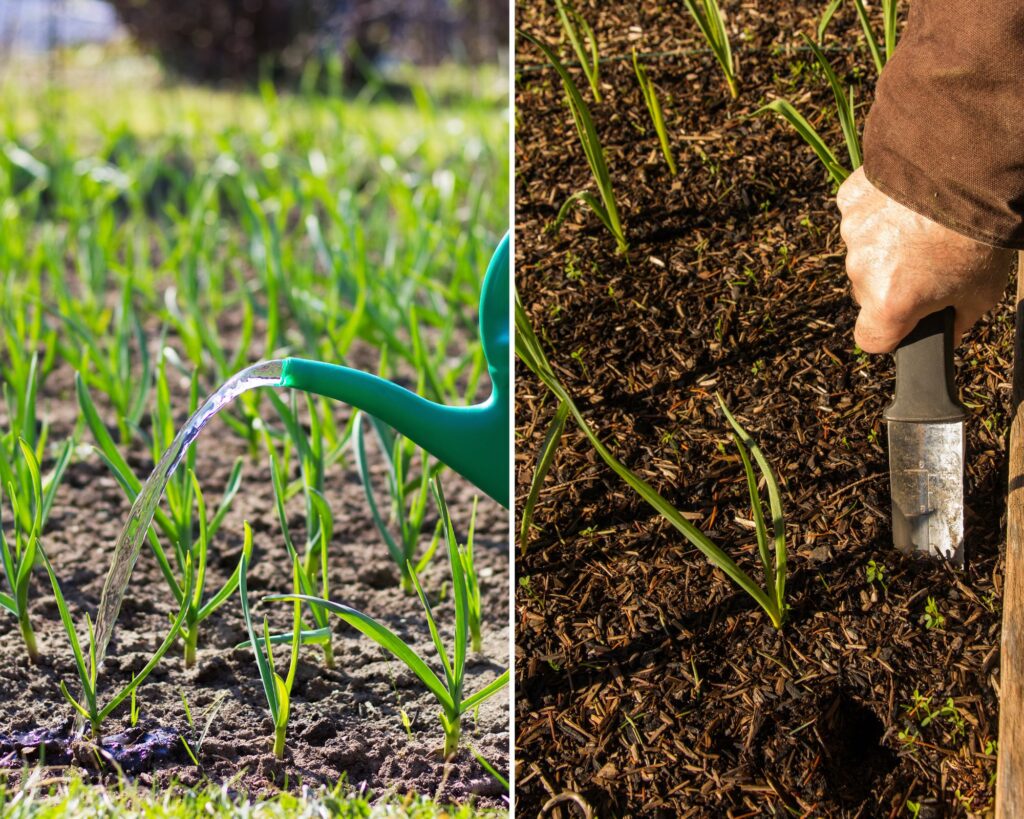
Garlic requires minimum maintenance , but there are a few key pattern to assure a healthy crop :
1.Watering : Garlic needs coherent wet , especially during the early stages of growth and light bulb establishment . pee deep , providing about 1 inch of urine per week . Reduce lachrymation as the plants maturate to prevent bunk .
2.Fertilizing : feed in your garlic with a balanced fertiliser or compost tea in early spring when the shoots set about to egress . fend off high - nitrogen fertilizers as they can promote overweening leaf growth at the disbursement of bulb development .
©Canva
3.Weeding : Keep the garlic seam free of green goddess , which can contend for nutrients and urine . Mulching helps reduce sess growth , but hired man - weeding may still be necessary .
4.Scape Removal : If you ’re growing hardneck Allium sativum , remove the scape ( bloom stalks ) when they start up to loop . This direct the plant ’s energy toward bulb ontogenesis . shaft are edible and can be used in preparation .
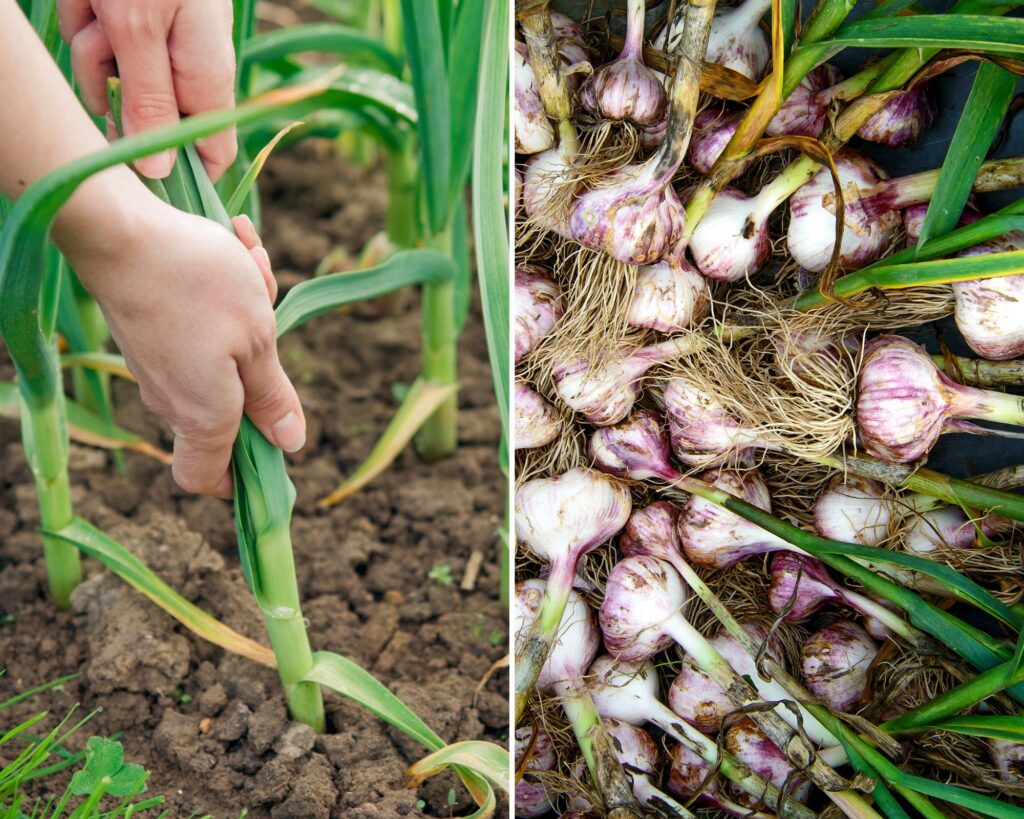
Harvesting Garlic
The timing of garlic harvest is of the essence for obtaining the just flavor and storage quality . Garlic is usually ready to harvest in mid to late summer , bet on the mixed bag and grow conditions .
1.Watch for sign : When the abject leave-taking turn lily-livered and start to croak back , it ’s a sign that the garlic is ready to harvest . Typically , about half to two - thirds of the leaves will have plow brown .
2.Check the Bulbs : Carefully dig up a few bulbs to check their size and peignoir quality . The bulbs should be plump and in full mould , with tight , dry skin .
©Canva
3.Harvesting : Use a garden fork or spadeful to gently lift the bulbs out of the soil . Be measured not to spite or damage the bulbs as this can affect their reposition life-time .
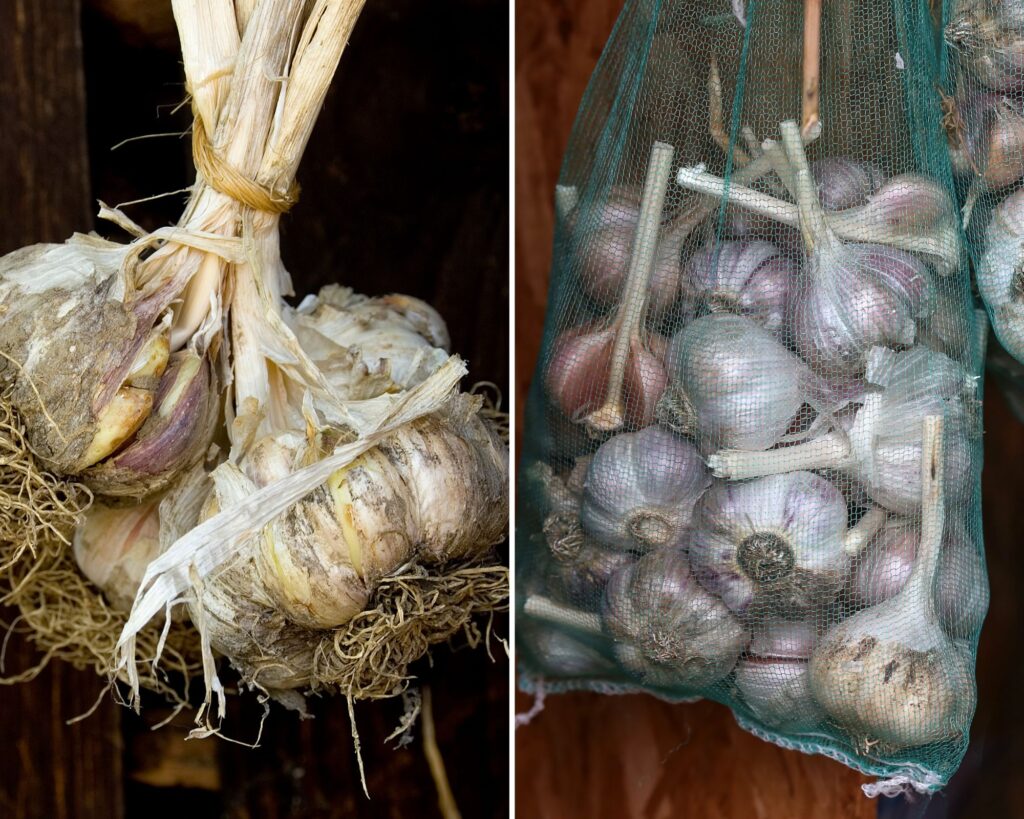
Curing and Storing Garlic
1.Drying : Brush off surplus soil but do not moisten the lightbulb . lie down the ail in a individual level or hang up them in bunches in a well - ventilated , dry , and shaded area . forefend unmediated sunlight , as it can blacken the bulb . leave the garlic to dry out for 3 - 4 weeks .
2.Cleaning : After the ail is fully cured , dress the beginning and bring down the prow to about 1 inch above the bulb . bump off any dirty or escaped out skin , but be deliberate not to expose the cloves .
3.Storage : memory Allium sativum in a cool , dry , and dark place with ripe air circulation . idealistic entrepot conditions are between 60 - 65 ° farad and 40 - 60 % humidity . avert storing garlic in the refrigerator , as the cold temperature can make it to stock .
©Canva
Common Problems and Solutions
While garlic is relatively easy to originate , it can be susceptible to certain pests and disease . Here are some common issues and how to come up to them :
1.Garlic rust fungus : This fungous disease appears as orange spots on the leave . Remove and destroy touched leave-taking , and avoid overhead watering to melt off humidness around the flora .
2.White Rot : This grime - borne disease do yellowing leaves and white fungous growth at the base of the flora . Rotate crops and avoid planting garlic in the same spot for several year to prevent this issue .
©Canva
3.Onion maggot : These pests can damage the bulbs by burrow into them . employ course covers to protect young plants and practice crop rotary motion to minimize infestations .
Growing your own garlic is a fulfil effort that yield flavorful , sizeable bulbs for your kitchen .
By pick out the right variety , preparing the grunge , implant right , and providing right care , you may enjoy a bountiful harvest .
©Canva
With this complete scout , you ’re well - equip to embark on your garlic - growing journeying and draw the reward of homegrown garlic .