Vanilla is one of the world ’s most in demand spices , have it away for its sweet , aromatic flavor and versatility in everything from desserts to perfumes .
What many do n’t realize is that the journey from vanilla noggin to extract involves a punctilious cultivation process that begins with the ontogeny of vanilla extract orchidaceous plant .
In this guide , I ’ll take the air you through everything you necessitate to know to grow your own vanilla dome — whether you ’re cultivating them in your backyard or in a cautiously controlled indoor environment .
get ’s explore the prowess of growing this beautiful orchid and bringing out the full feeling of vanilla attic .
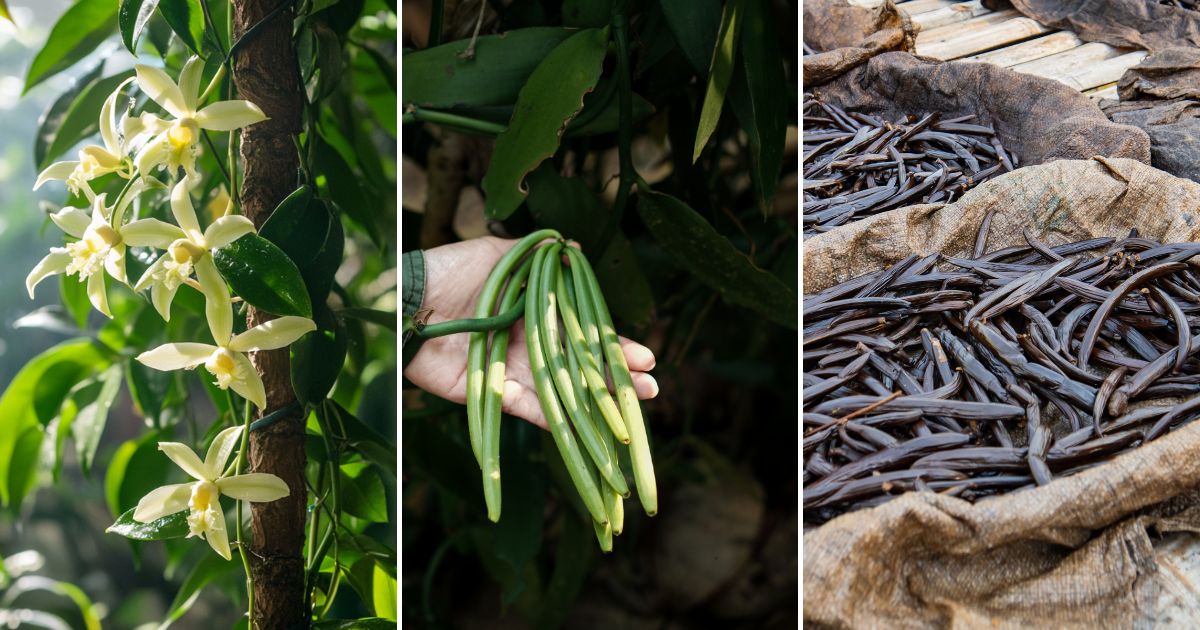
A Quick Introduction to Vanilla Orchids
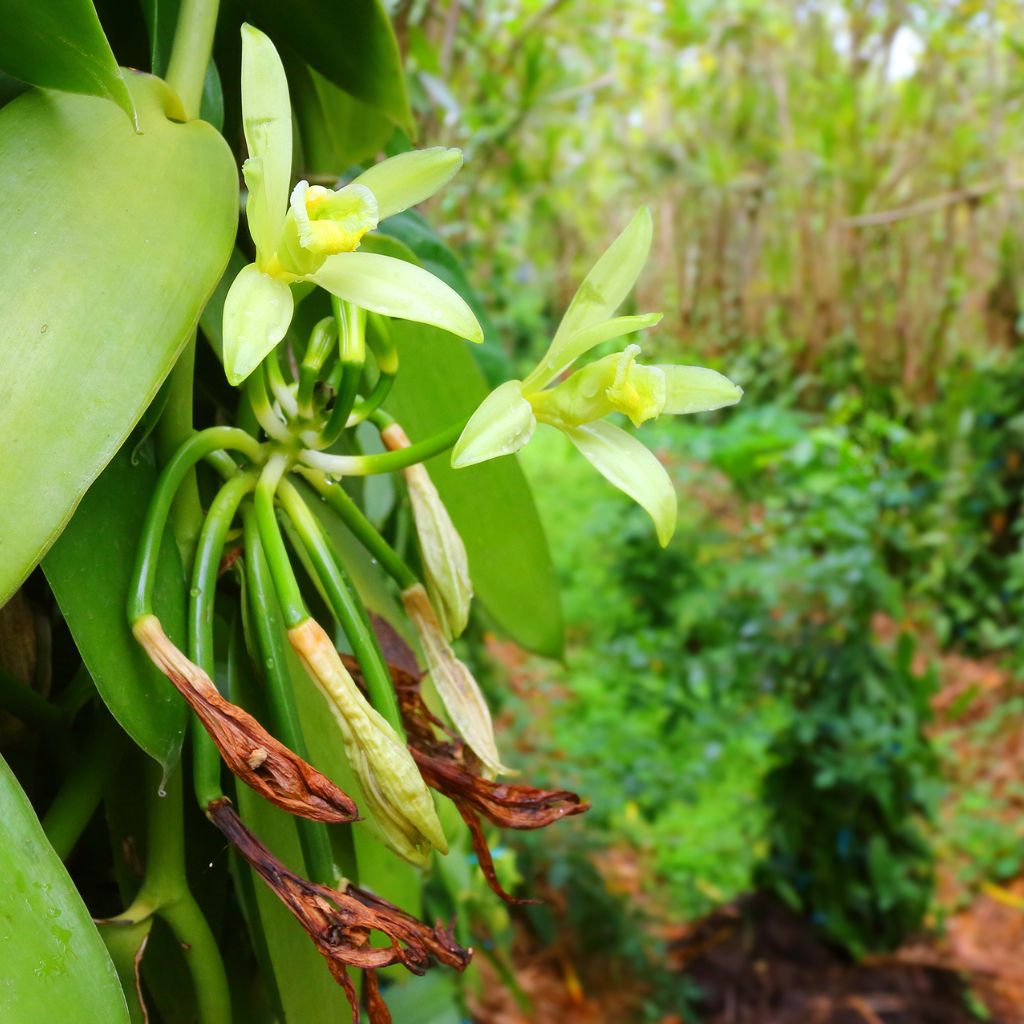
Vanilla beans fare from the vanilla orchid , scientifically known asVanilla planifolia . This tropic vine thrive in strong , humid environment , with the absolute majority of the world ’s vanilla extract yield happening in Madagascar , Indonesia , and Mexico .
The plant can attain telling length of up to 30 groundwork , with recollective , overweight green stems that twine around supporting social organization .
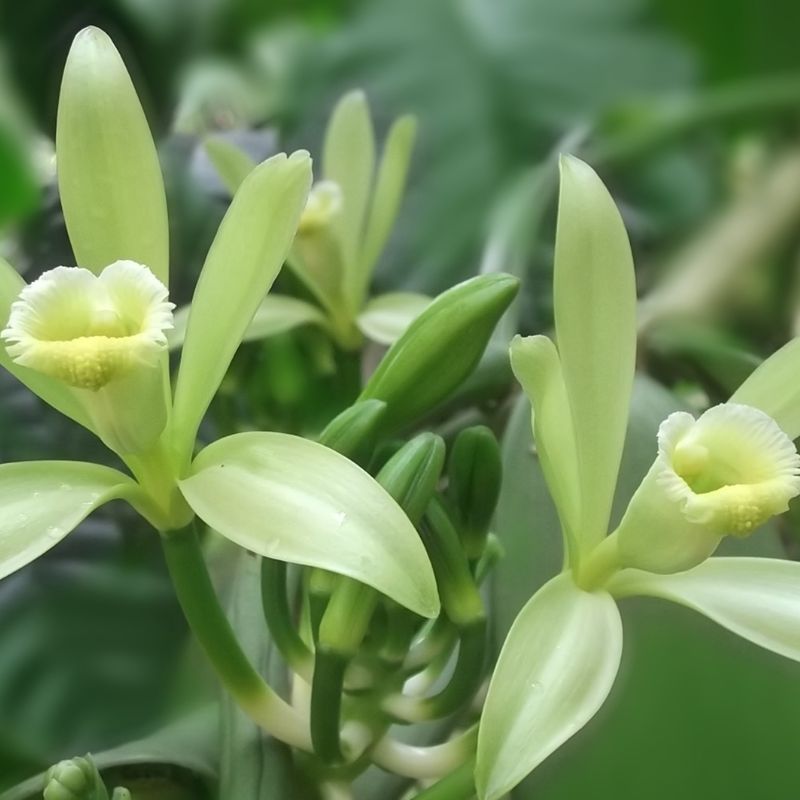
The vanilla extract orchidaceous plant is unique among works because it requires hand pollination to bring about beans .
© Complete Gardening
In their rude habitat , vanilla orchids are pollinate by specific specie of bee , but outside of those regions , growers must pollinate the heyday manually to bring forth vanilla pods .
Vanilla cultivation can be a parturiency of love , but with patience , care , and attention to item , you may grow your own vanilla beans at home . Here ’s how !
Selecting the Right Conditions for Growing Vanilla
Before you come out , it ’s important to understand that vanilla orchids are frail industrial plant that require very specific growing conditions . Mimicking their natural habitat as closely as potential is key to success .
Temperature and Humidity
Vanilla orchids thrive in warm , tropic clime . Ideally , the daytime temperature should be between 75 and 85 degrees Fahrenheit , while nighttime temperatures should not drop below 60 degree .
Humidity is also essential — point for 70 to 80 percent humidness throughout the grow outgrowth . If you ’re growing your vanilla orchid indoors , investing in a humidifier can facilitate observe these levels .
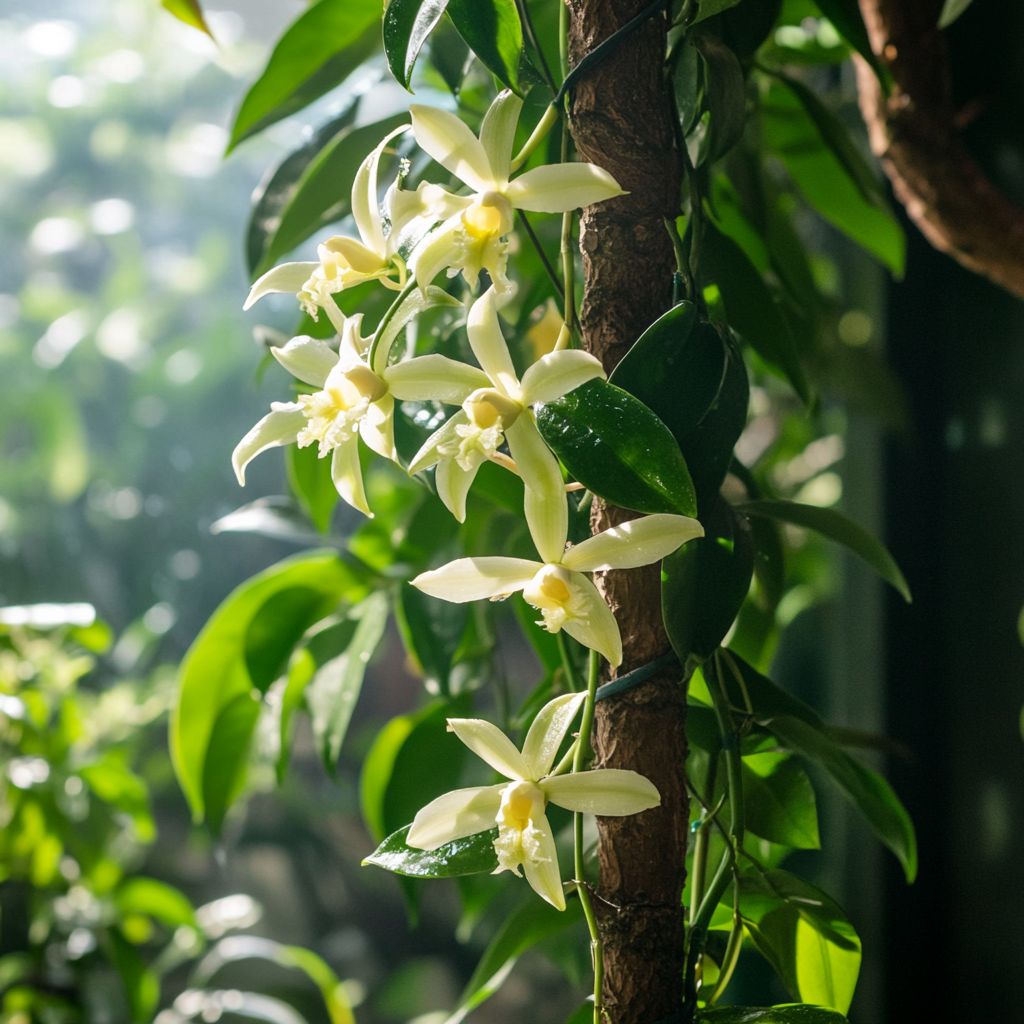
Light Requirements
While vanilla orchids need plenty of burnished , collateral lightness to mature , direct sunlight can scorch the delicate leaves .
post your plant in an area that receives permeate sunlight or apply a grow light if you ’re raise indoors . A shaded greenhouse or a positioning near a windowpane that cause sunrise sunlight and good afternoon shade is perfect .
Soil and Potting Medium
Vanilla orchidaceous plant prefer a unaffixed , well - enfeeble potting intermixture that allows their root to breathe . A compounding of orchidaceous plant barque , sphagnum moss , and coconut stubble is an splendid mix for grow vanilla . you could also add perlite for better drainage .
If you ’re growing the orchidaceous plant in a pot , make certain it has plenty of drain holes to prevent water from sitting at the roots . Vanilla roots are sensitive to decompose , so a well - drain medium is essential .
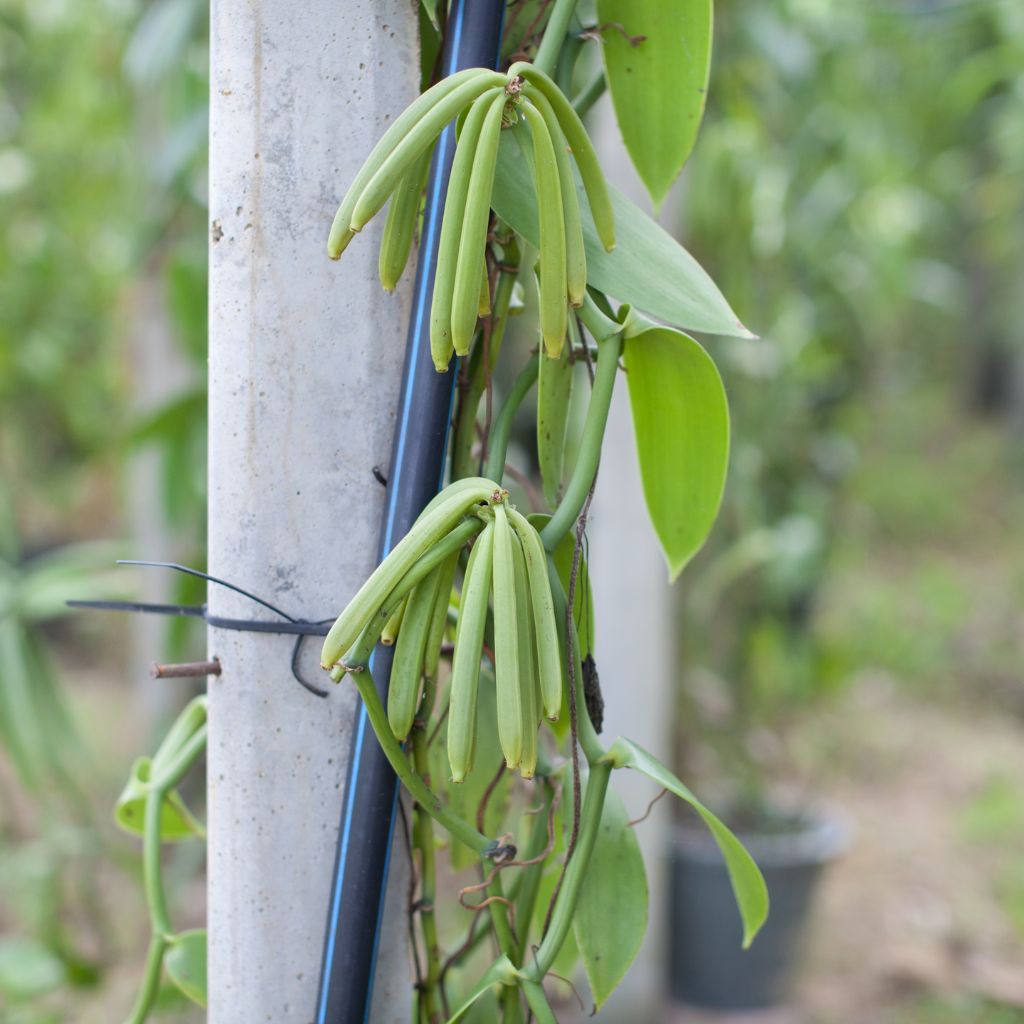
Space and Support
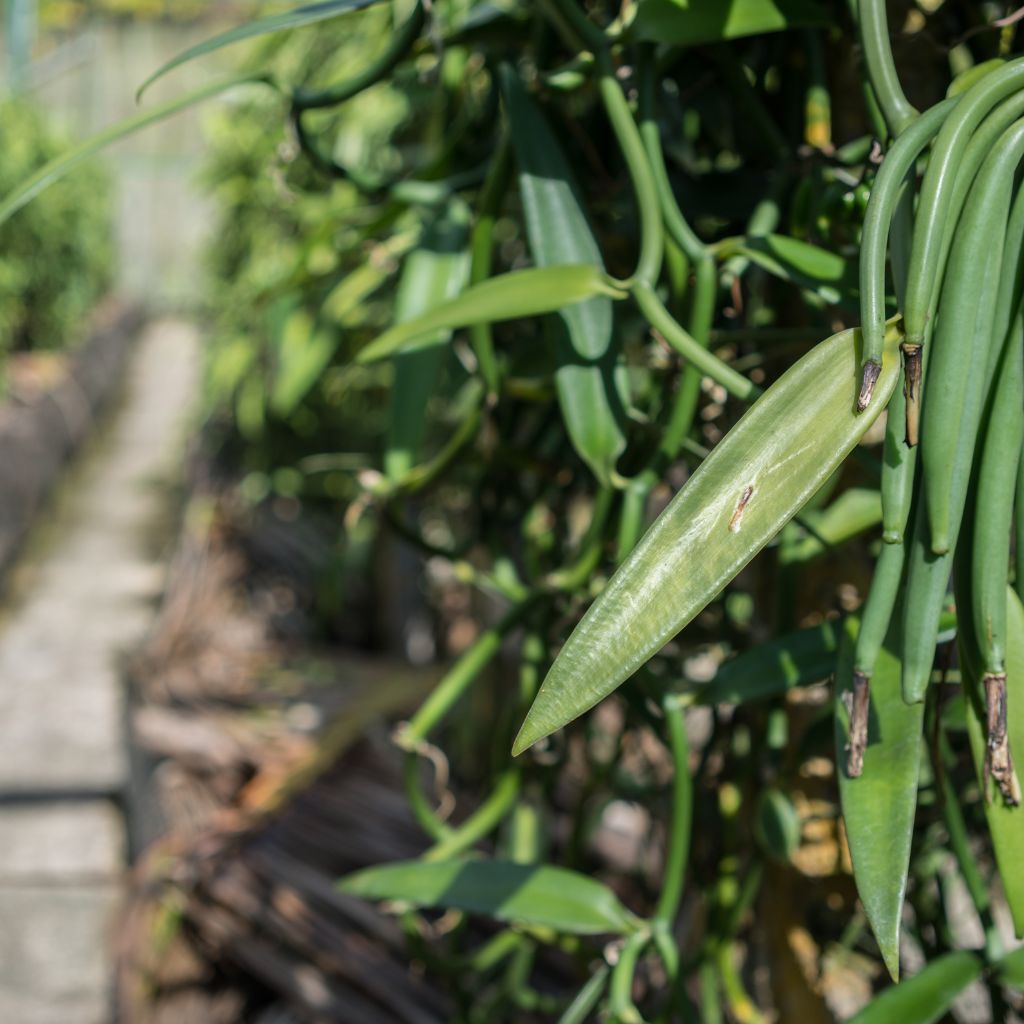
Vanilla is a mounting vine , so it involve a structure to digest its growth . you may use a treillage , a wager , or another nearby plant as a musical accompaniment arrangement .
Keep in mind that vanilla extract vines can originate quite long , so ensure the backing structure is improbable enough to accommodate its length as it matures .
Planting Your Vanilla Orchid
Vanilla orchids can be propagated from cuttings , which is the easiest path to set out grow at house . Here ’s a mere footfall - by - stride guide to getting your vanilla orchid cutting planted and ready for outgrowth .
1.Obtain a Cutting : You ’ll need a vanilla extract orchid cutting that ’s about 12 - 18 inches long . Make certain the cutting has a few healthy , aeriform roots and at least three to four leaves .
2 . Prepare the Potting Medium : Fill a peck with your chosen orchid potting mix . It should be loose enough to drain well while retaining enough moisture for the orchid ’s roots .
© Complete Gardening
3.Plant the Cutting : Insert the bottom ending of the cutting into the potting spiritualist , burying it about 2 - 3 inches deep . verify the aerial root are in contact with the backup complex body part and the potting mix .
4 . weewee and Humidify : Water the cutting thoroughly but do n’t saturate the pot medium . Keep the environment humid and mist over the leaves regularly to put up extra moisture .
5.Provide Support : As your vanilla orchidaceous plant raise , it will need to climb . link the vine to your sustenance structure , but be heedful not to splice it too tightly , as this can damage the industrial plant .
© Canva
Now , all that ’s left to do is nurture your orchidaceous plant as it grows and grow !
Caring for Your Vanilla Orchid
Vanilla orchids demand uniform tutelage to grow healthily and eventually produce bean plant . Below are the key elements of vanilla extract orchid care .
Watering
Vanilla orchid prefer evenly moist but not waterlogged soil . During the growing time of year , irrigate your orchid once or twice a week , ensuring the potting sensitive prohibitionist out more or less between waterings .
It ’s good to irrigate early in the day to allow excess moisture to evaporate , which help prevent root word rotting . During cooler months or the plant ’s dormant catamenia , reduce tearing to about once a calendar week .
Do n’t leave to mist the leaves regularly , as vanilla extract orchidaceous plant soak up moisture through their leaves , too .

© Complete Gardening
Fertilizing
To encourage strong growth and blooming , feed your vanilla orchid with a balanced fertilizer every two to four weeks during the growing time of year ( leap and summer ) .
you could expend an orchid - specific fertilizer or a diluted cosmopolitan - purpose liquid fertilizer . In the fall and wintertime months , when growth slow , you’re able to reduce or stop feeding the plant wholly .
Pruning
Pruning your vanilla extract orchid can help manage its growing and encourage blooming . Trim away any beat or yellow leaf to keep the plant looking sizable .
you’re able to also trim back long vines that have become unruly , but deflect cutting too much , as this can slow up down ontogeny .
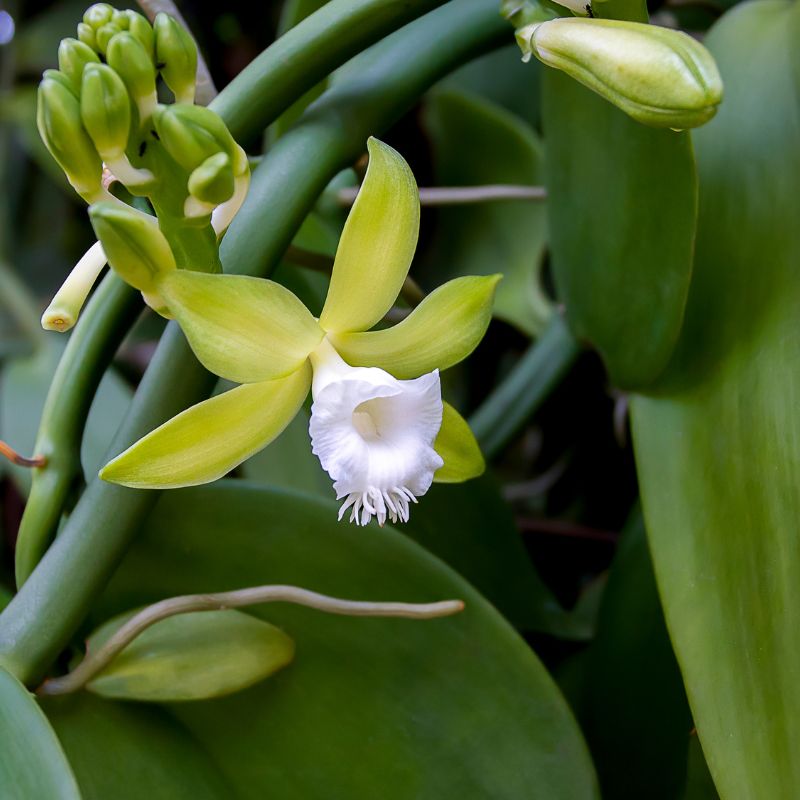
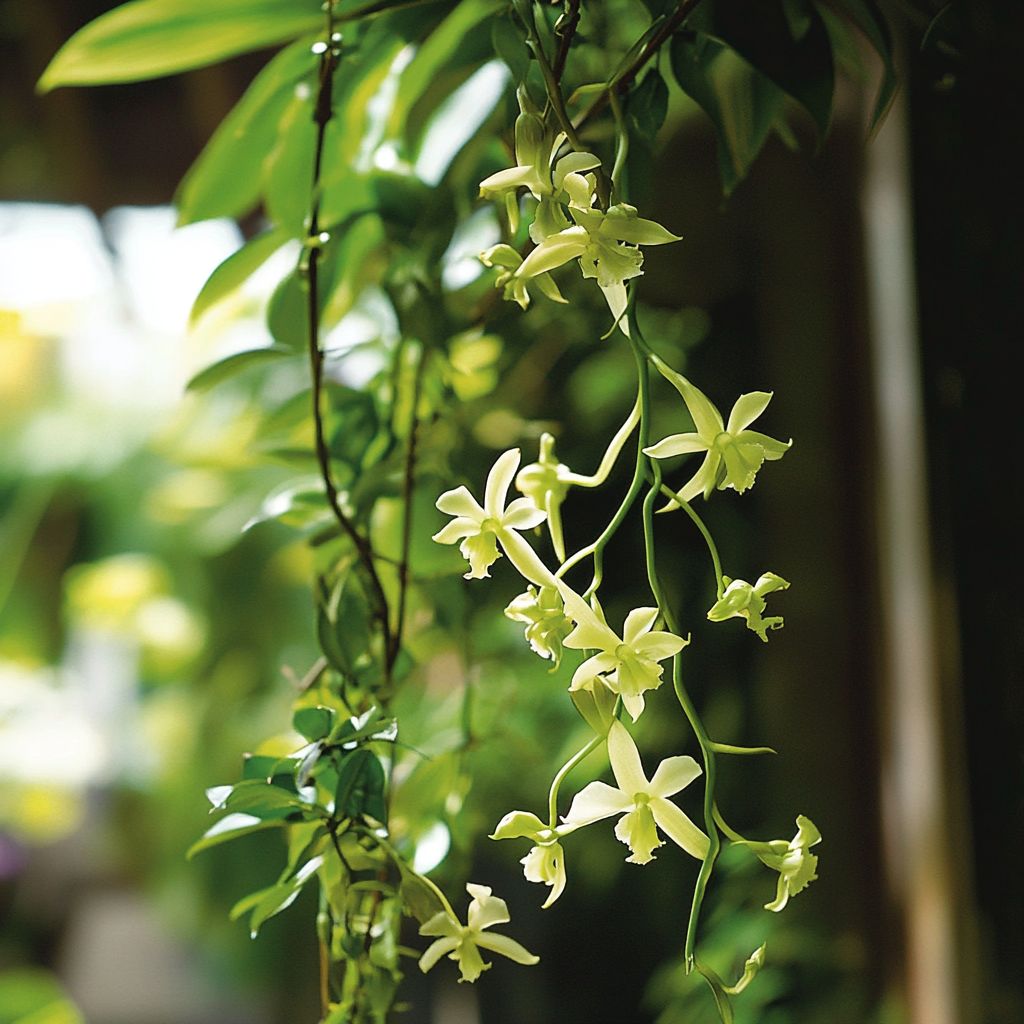
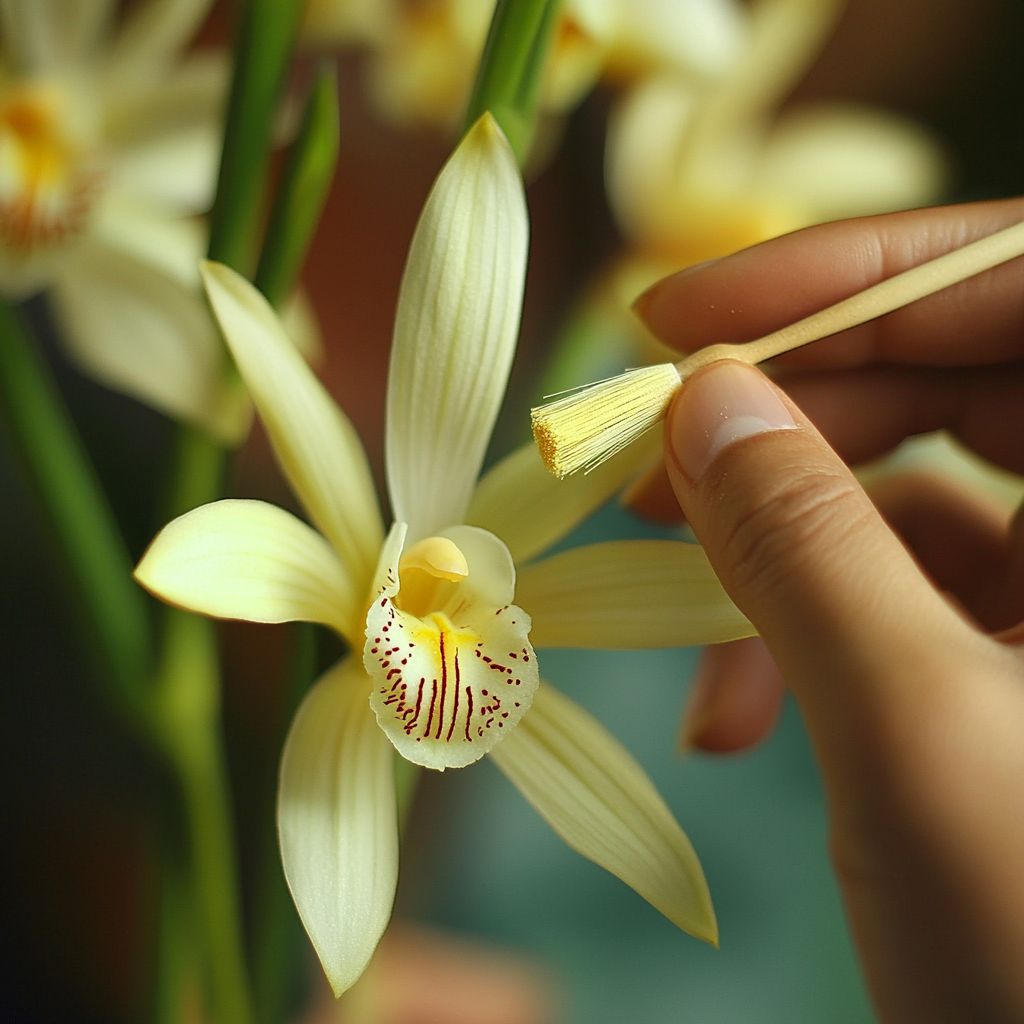
Pollination
pollenation is a crucial part of vanilla product . The vanilla orchid only blooms for one day , and for produce beans , it must be pollinated during this unforesightful window of meter .
In regions outside of the vanilla extract orchid ’s native range , instinctive pollinators are scarce , so hand pollination is necessary .
To hand - pollinate your orchid , you ’ll need a lowly , diffuse brush or a toothpick . Gently transplant the pollen from the flower ’s anther to its stigma .
© Canva
This process requires a firm hand and longanimity but is well worth the effort when your plant get producing vanilla pods .
Harvesting and Curing Vanilla Beans
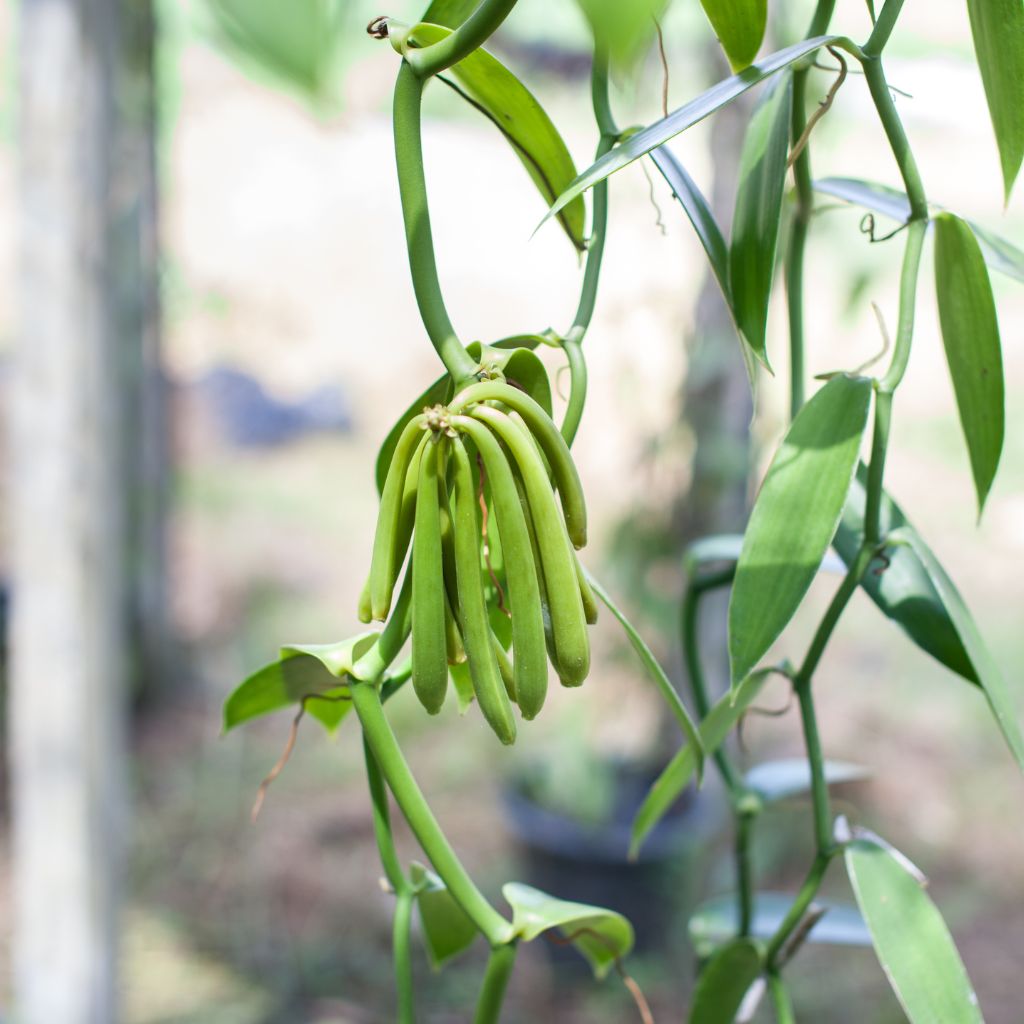
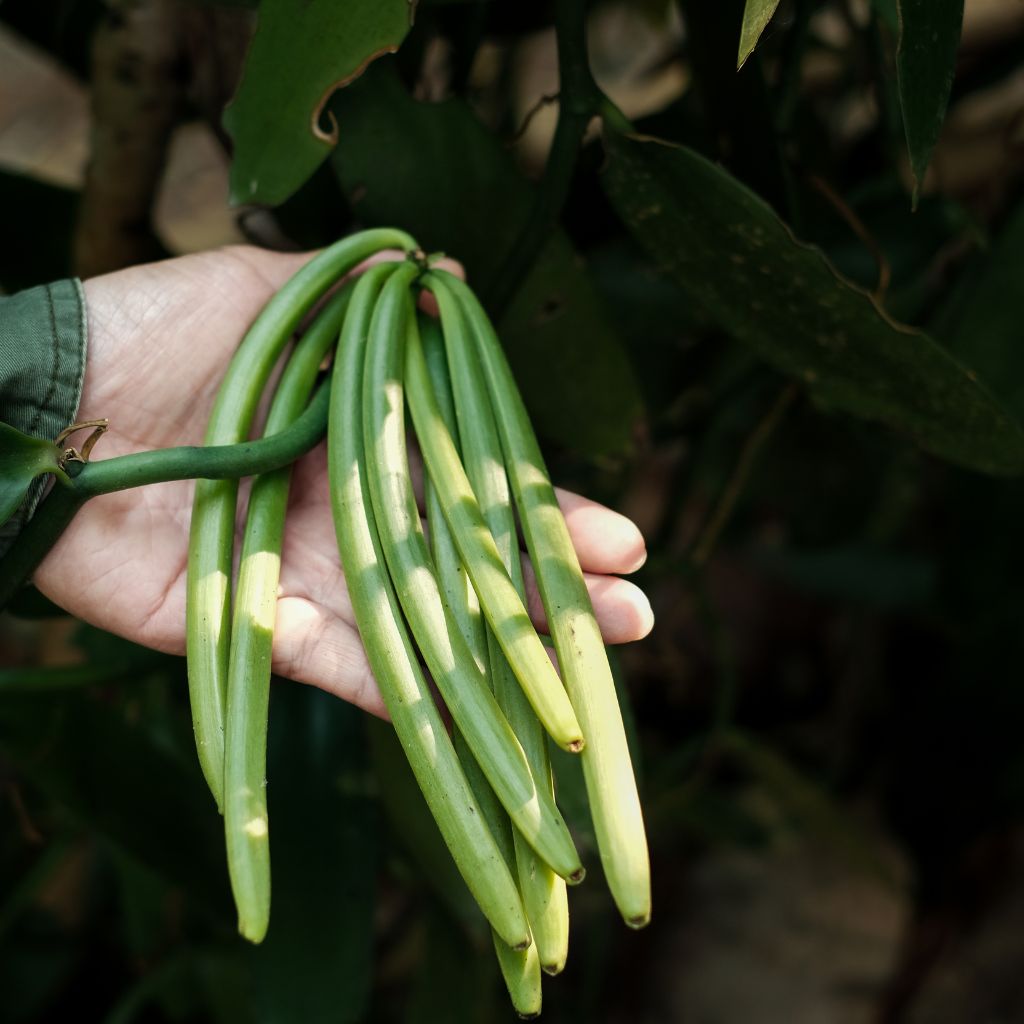
Growing vanilla beans direct time and patience , as the bean take about nine months to fully develop after pollenation .
Once the attic are quick , they will sprain a xanthous - green colour and start to cleave at the tip . This is your sign that it ’s prison term to harvest !
Harvesting
Cut the beans from the vine using sterilized scissors or pruning shears . Be careful not to damage the plant life or any formulate beans . vanilla extract beans are not yet aromatic when they ’re harvested ; the flavor comes from the cure cognitive operation .
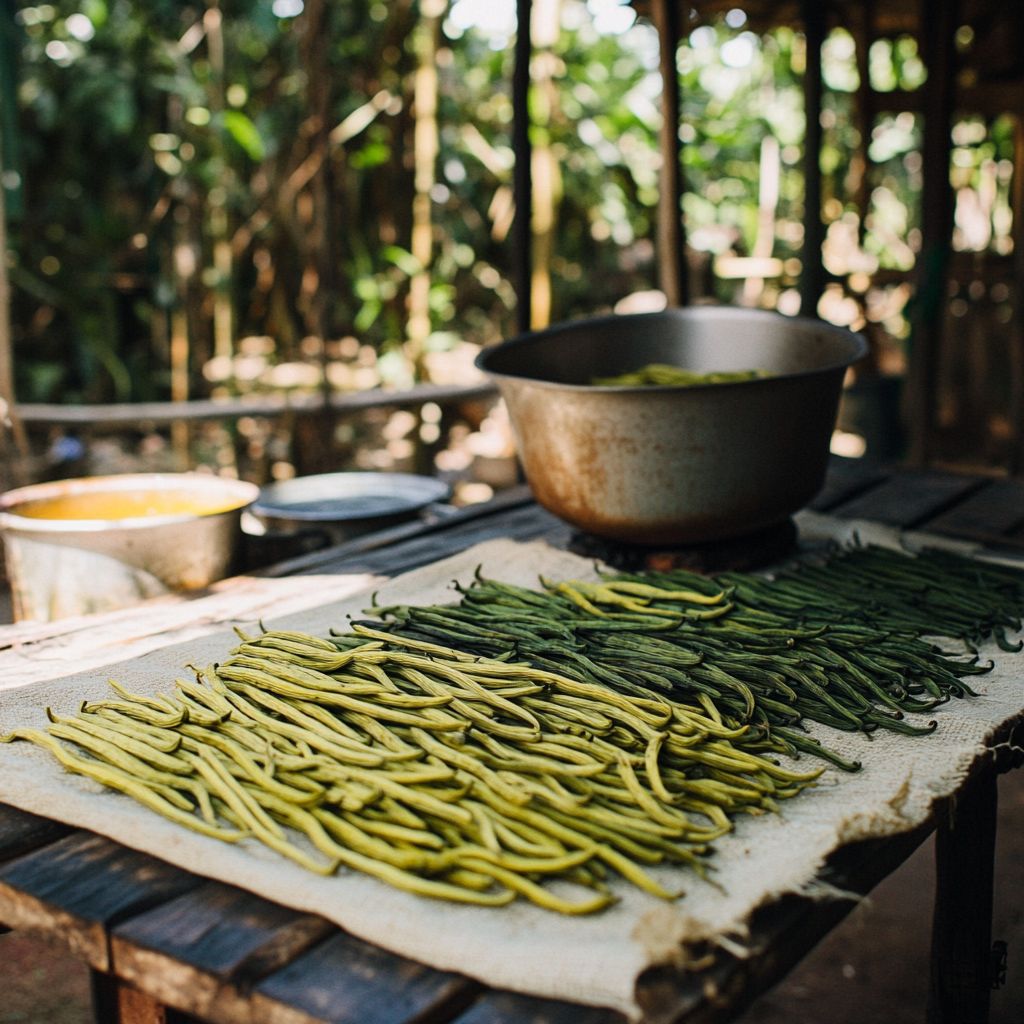
Curing Vanilla Beans
Curing vanilla attic is an art in itself . This process bring out the bean ’s rich , complex flavor and ensures a retentive ledge life . Here ’s a basic method for curing vanilla extract beans at home plate :
1 . blanch : Boil a pot of water and overwhelm your freshly harvest beans in the water for about 2 - 3 instant . This help stop over enzyme body process and kickstarts the curing mental process .
2.Sweating : Remove the noodle from the water supply and wrap them in a towel or cloth . target the beans in a tender , humid office ( around 110 ° F ) for about 24 hour . This encourages fermentation , which is essential for developing flavor .
© Canva
3.Drying : After sudation , lay the beans out in a sunny spot to dry . Rotate them every day to ensure even dry out . This can take several week , and the beans should become pliable and sour in people of color .
4 . Storing : Once the bean are amply heal , store them in airtight container , forth from light and heat . Properly cure vanilla edible bean can last for year and will develop even rich flavors over time .
Troubleshooting Common Vanilla Orchid Problems
Like any works , vanilla orchids can bump issues during their growth . Here are a few usual problems and how to clear them :
Yellowing Leaves : This could be a foretoken of overwatering or too much unmediated sunlight . Check your watering agenda and move the plant to a shadier spot if needed .
Root Rot : If the soil stays too wet , the root can get down to molder . verify your potting mixture drains well and reduce watering if necessary .
© Complete Gardening
No Flowers : Vanilla orchids wo n’t flower until they ’re ripe , which can take several age . Ensure the plant has proper light , humidness , and food to encourage blooming when the time is correct .
grow vanilla extract orchids and producing your own vanilla beans is a long and rewarding process .
With the ripe conditions , careful attention , and a bit of patience , you may enjoy bracing , home base - grown vanilla in your kitchen .
© Complete Gardening
apply your homemade vanilla beans in baking , infusions , or homemade vanilla infusion , and savour the fat flavor that add up from a flora you nurtured from start to finishing .
Vanilla cultivation is unfeignedly an art , and with a picayune bit of drill , you ’ll be well on your room to becoming a master vanilla extract cultivator !
© Canva
© Canva

© Canva
© Complete Gardening
© Canva
© Canva
© Complete Gardening

© Canva
